• Welcome to Jetboaters.net!

    We are delighted you have found your way to the best Jet Boaters Forum on the internet! Please consider Signing Up so that you can enjoy all the features and offers on the forum. We have members with boats from all the major manufacturers including Yamaha, Seadoo, Scarab and Chaparral. We don't email you SPAM, and the site is totally non-commercial. So what's to lose? IT IS FREE!

    Membership allows you to ask questions (no matter how mundane), meet up with other jet boaters, see full images (not just thumbnails), browse the member map and qualifies you for members only discounts offered by vendors who run specials for our members only! (It also gets rid of this banner!)

    free hit counter

My Winter Project

The next step with the trailer is to inspect the bearings. I plan on looking at the springs, cleaning things up and replacing the inner seals while I’m at it.

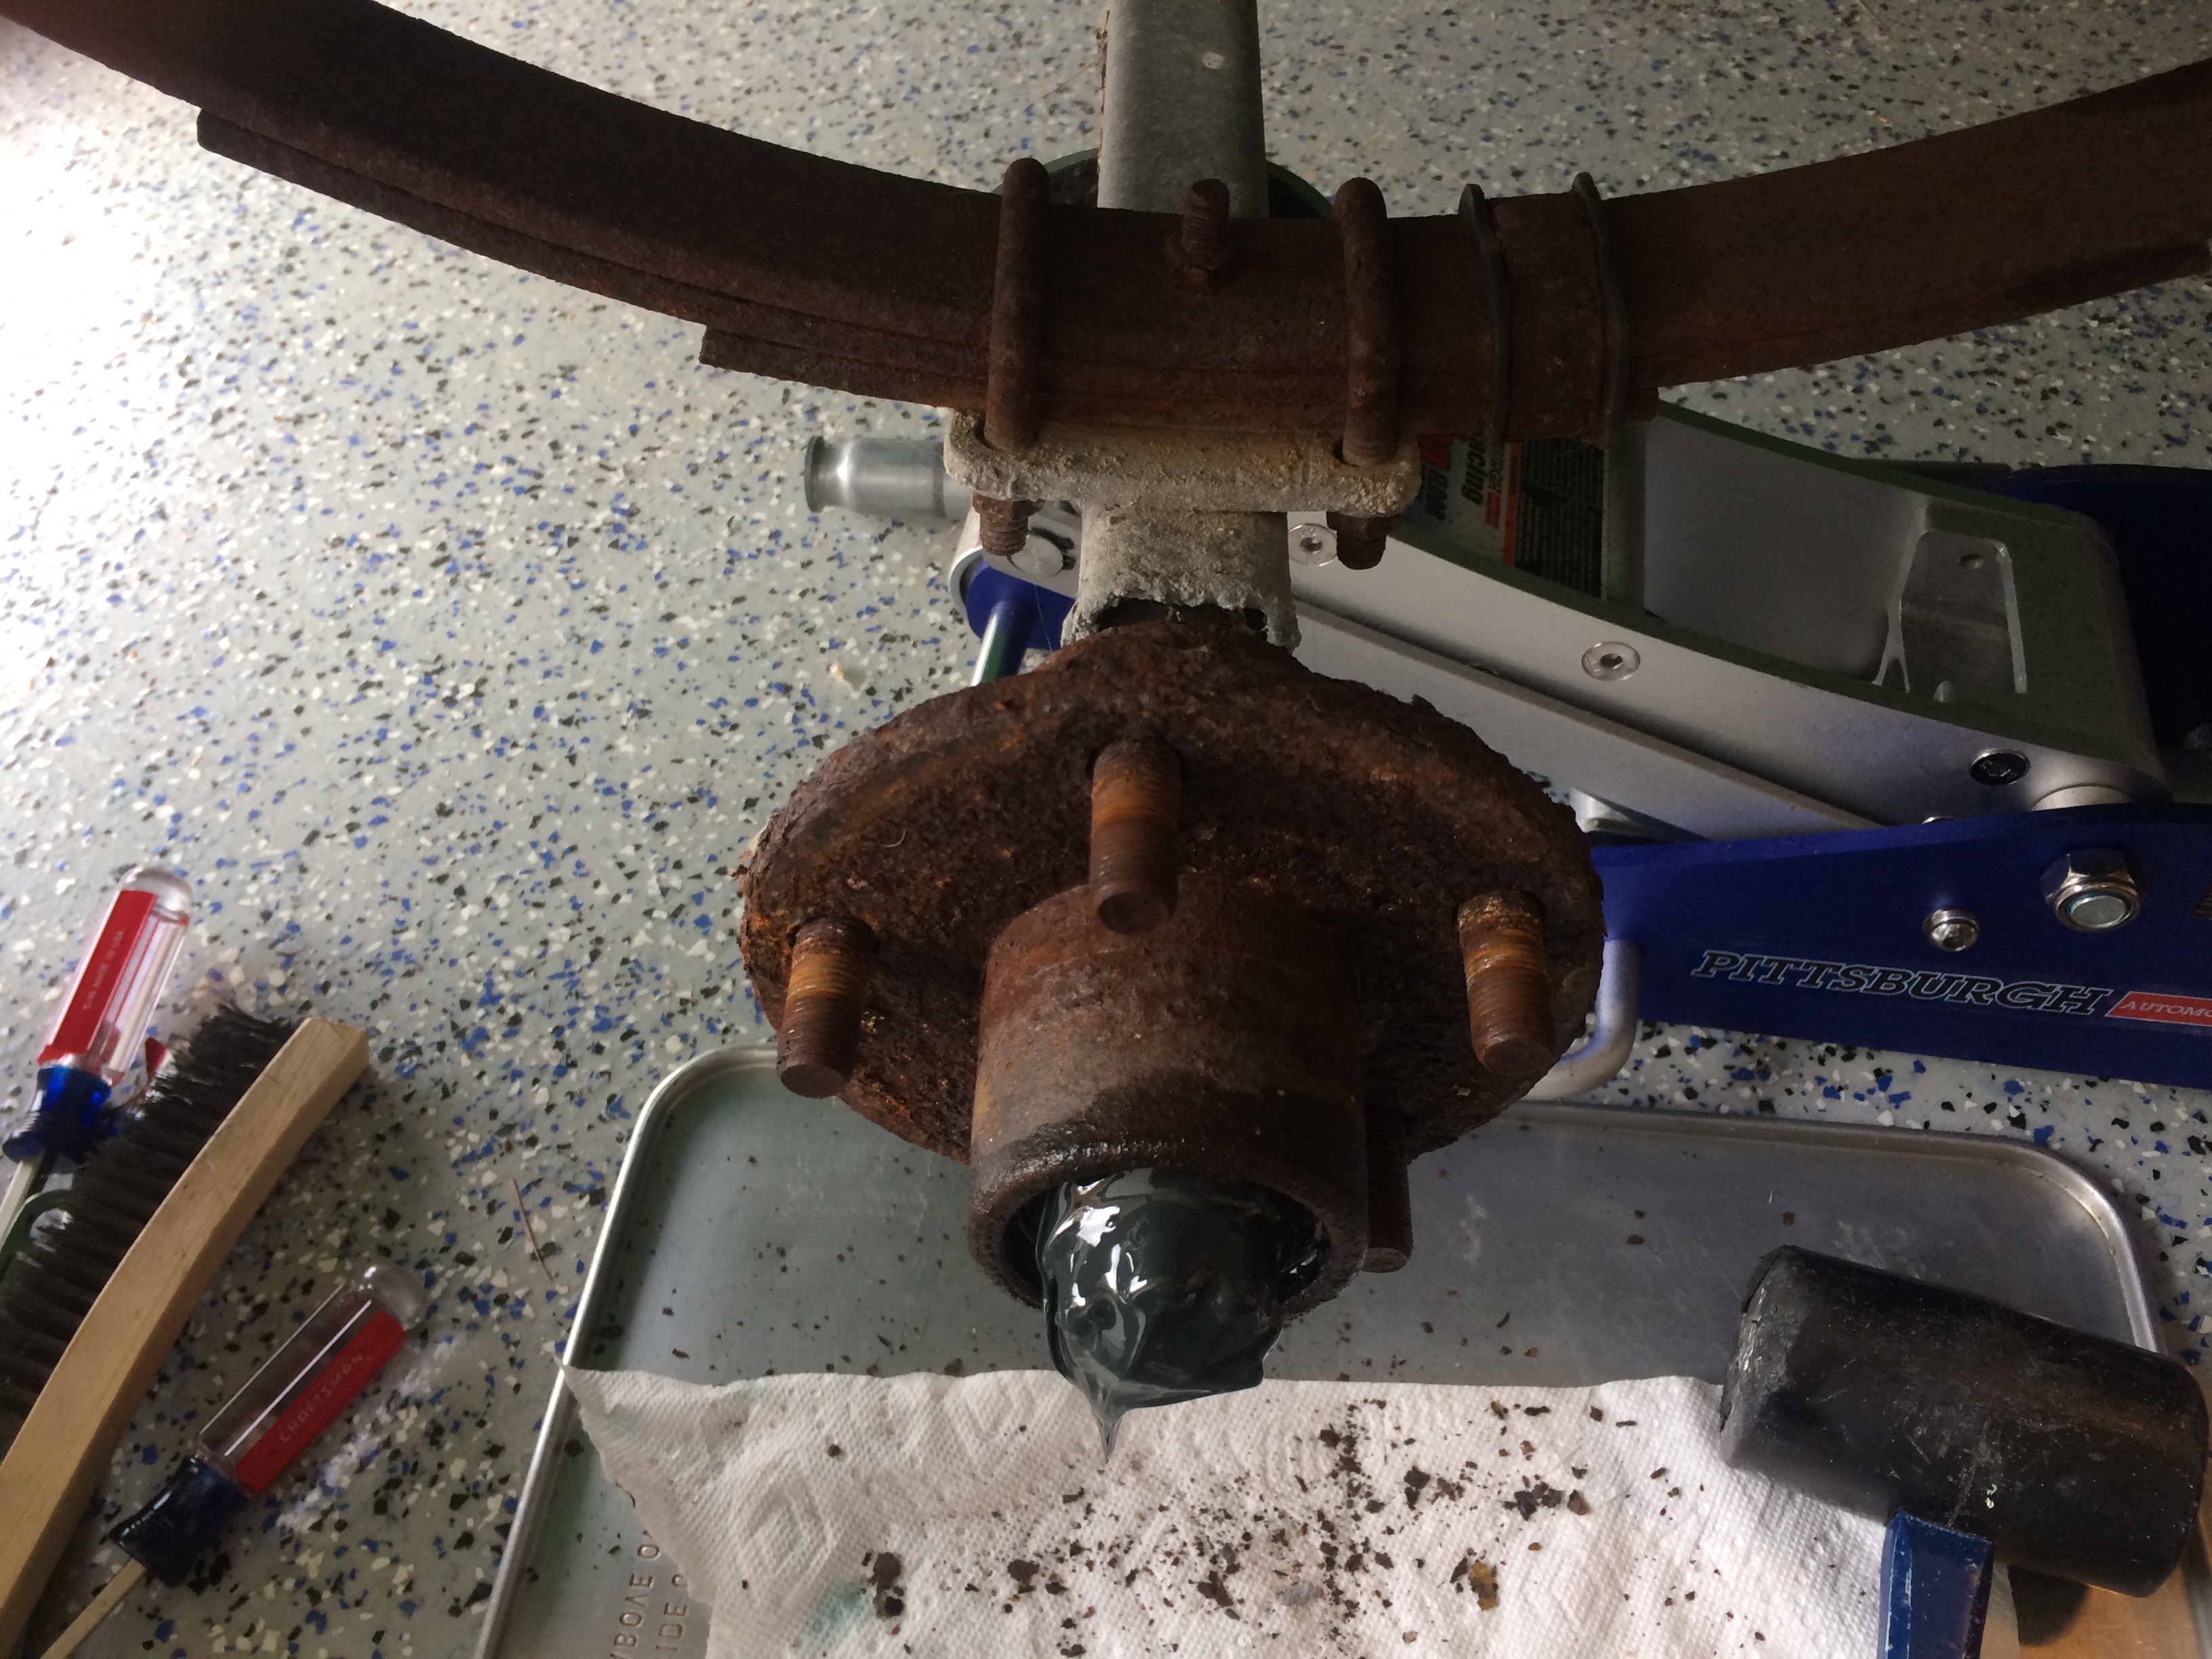
After pulling of the wheels it was more clear what I was up against. I’ve never owned a trailer that been in salt water before and I think things were better than expected. Sure there was a lot of surface rust and some was even flaking off. But structurally, everything seemed strong.


After removing the bearing buddies I could see a lot of grease. It was a bit more liquified that I’d want but there was no water intrusion at all. I was happy to find that somebody had packed it full at one point.


The hubs, bearings and races all looked good. So I simply removed the inner seals, repacked the bearings, cleaned everything up with a wire wheel, repainted, reinstalled bearings and new seals and put things back together.


The bearing buddies however were packed on the outside with grease that had been heavily contaminated with sand. I tore those down too and cleaned them up prior to reinstalling them. Then I added bearing buddy bras/dust covers to keep the dirt and debris out.


I also cleaned up the rims and repainted them with a galvanized paint. I do plan on replacing the rims and tires down the road if I’m going to keep this for any length of time. I don’t want to be towing this trailer through the desert with these old tires.


I did get a chance to adjust the bow stop too. Now it lines up perfectly with the WaveRunner.


So, the only things left to do with the trailer are replacing the swivel jack and figuring out tie down strap. But I should be able to scrounge up something that’ll work in the meantime to secure the ski.

At this point, I could probably make my way to the water and run this thing. ;)
 
I have never seen the device you used to pack the bearings. Where did you get it?
 
Both of those bearing packers are cool but don’t see a lot of benefit over just putting the whole bearing into the can of grease and the pressing the grease into it with my gloved hands. Am I missing something?
 
Both of those bearing packers are cool but don’t see a lot of benefit over just putting the whole bearing into the can of grease and the pressing the grease into it with my gloved hands. Am I missing something?

probably not, I had never repacked a bearing before so I bought that, it does work good as you get to see the new grease get pressured through the bearing as you push down on the cap,

That being said I might recommend itsdgm's next time for small jobs as you pump directly into the zerk to the bearing and can easily change types of grease, in mine you load the grease in the bottom and now I've got a bottom full of grease that I have to remove if I want to use a different kind on the next bearing.
 
Hmmm...I just plop a bunch of grease in my ungloved hand and rock the bearing back and forth. I guess it is time to step into the 90's.
 
Hmmm...I just plop a bunch of grease in my ungloved hand and rock the bearing back and forth.

Ewww! How uncivilized. JK

@itsdgm , Dennis, we are experiencing sunny and clear skies and record highs here in NCal. If you are experiencing the same in SCal I hope you get the chance to take out the new Waverunner.
 
Ewww! How uncivilized. JK

@itsdgm , Dennis, we are experiencing sunny and clear skies and record highs here in NCal. If you are experiencing the same in SCal I hope you get the chance to take out the new Waverunner.
Yeah. Weathers been great. But I’ve been buried at work and haven’t had a chance to get it out yet. To be honest, I know where the launch ramp is at Dana point, but I’ve never launched there before. So I need to look into that too. But I’m getting close.
 
UPDATE: sorry it’s been so long since my last update.

Here are the know issues that still need attention, but i probably could still test run the ski regardless.

1. Seat needs a new cover
2. Steering seems tight
3. Reverse seems tight.

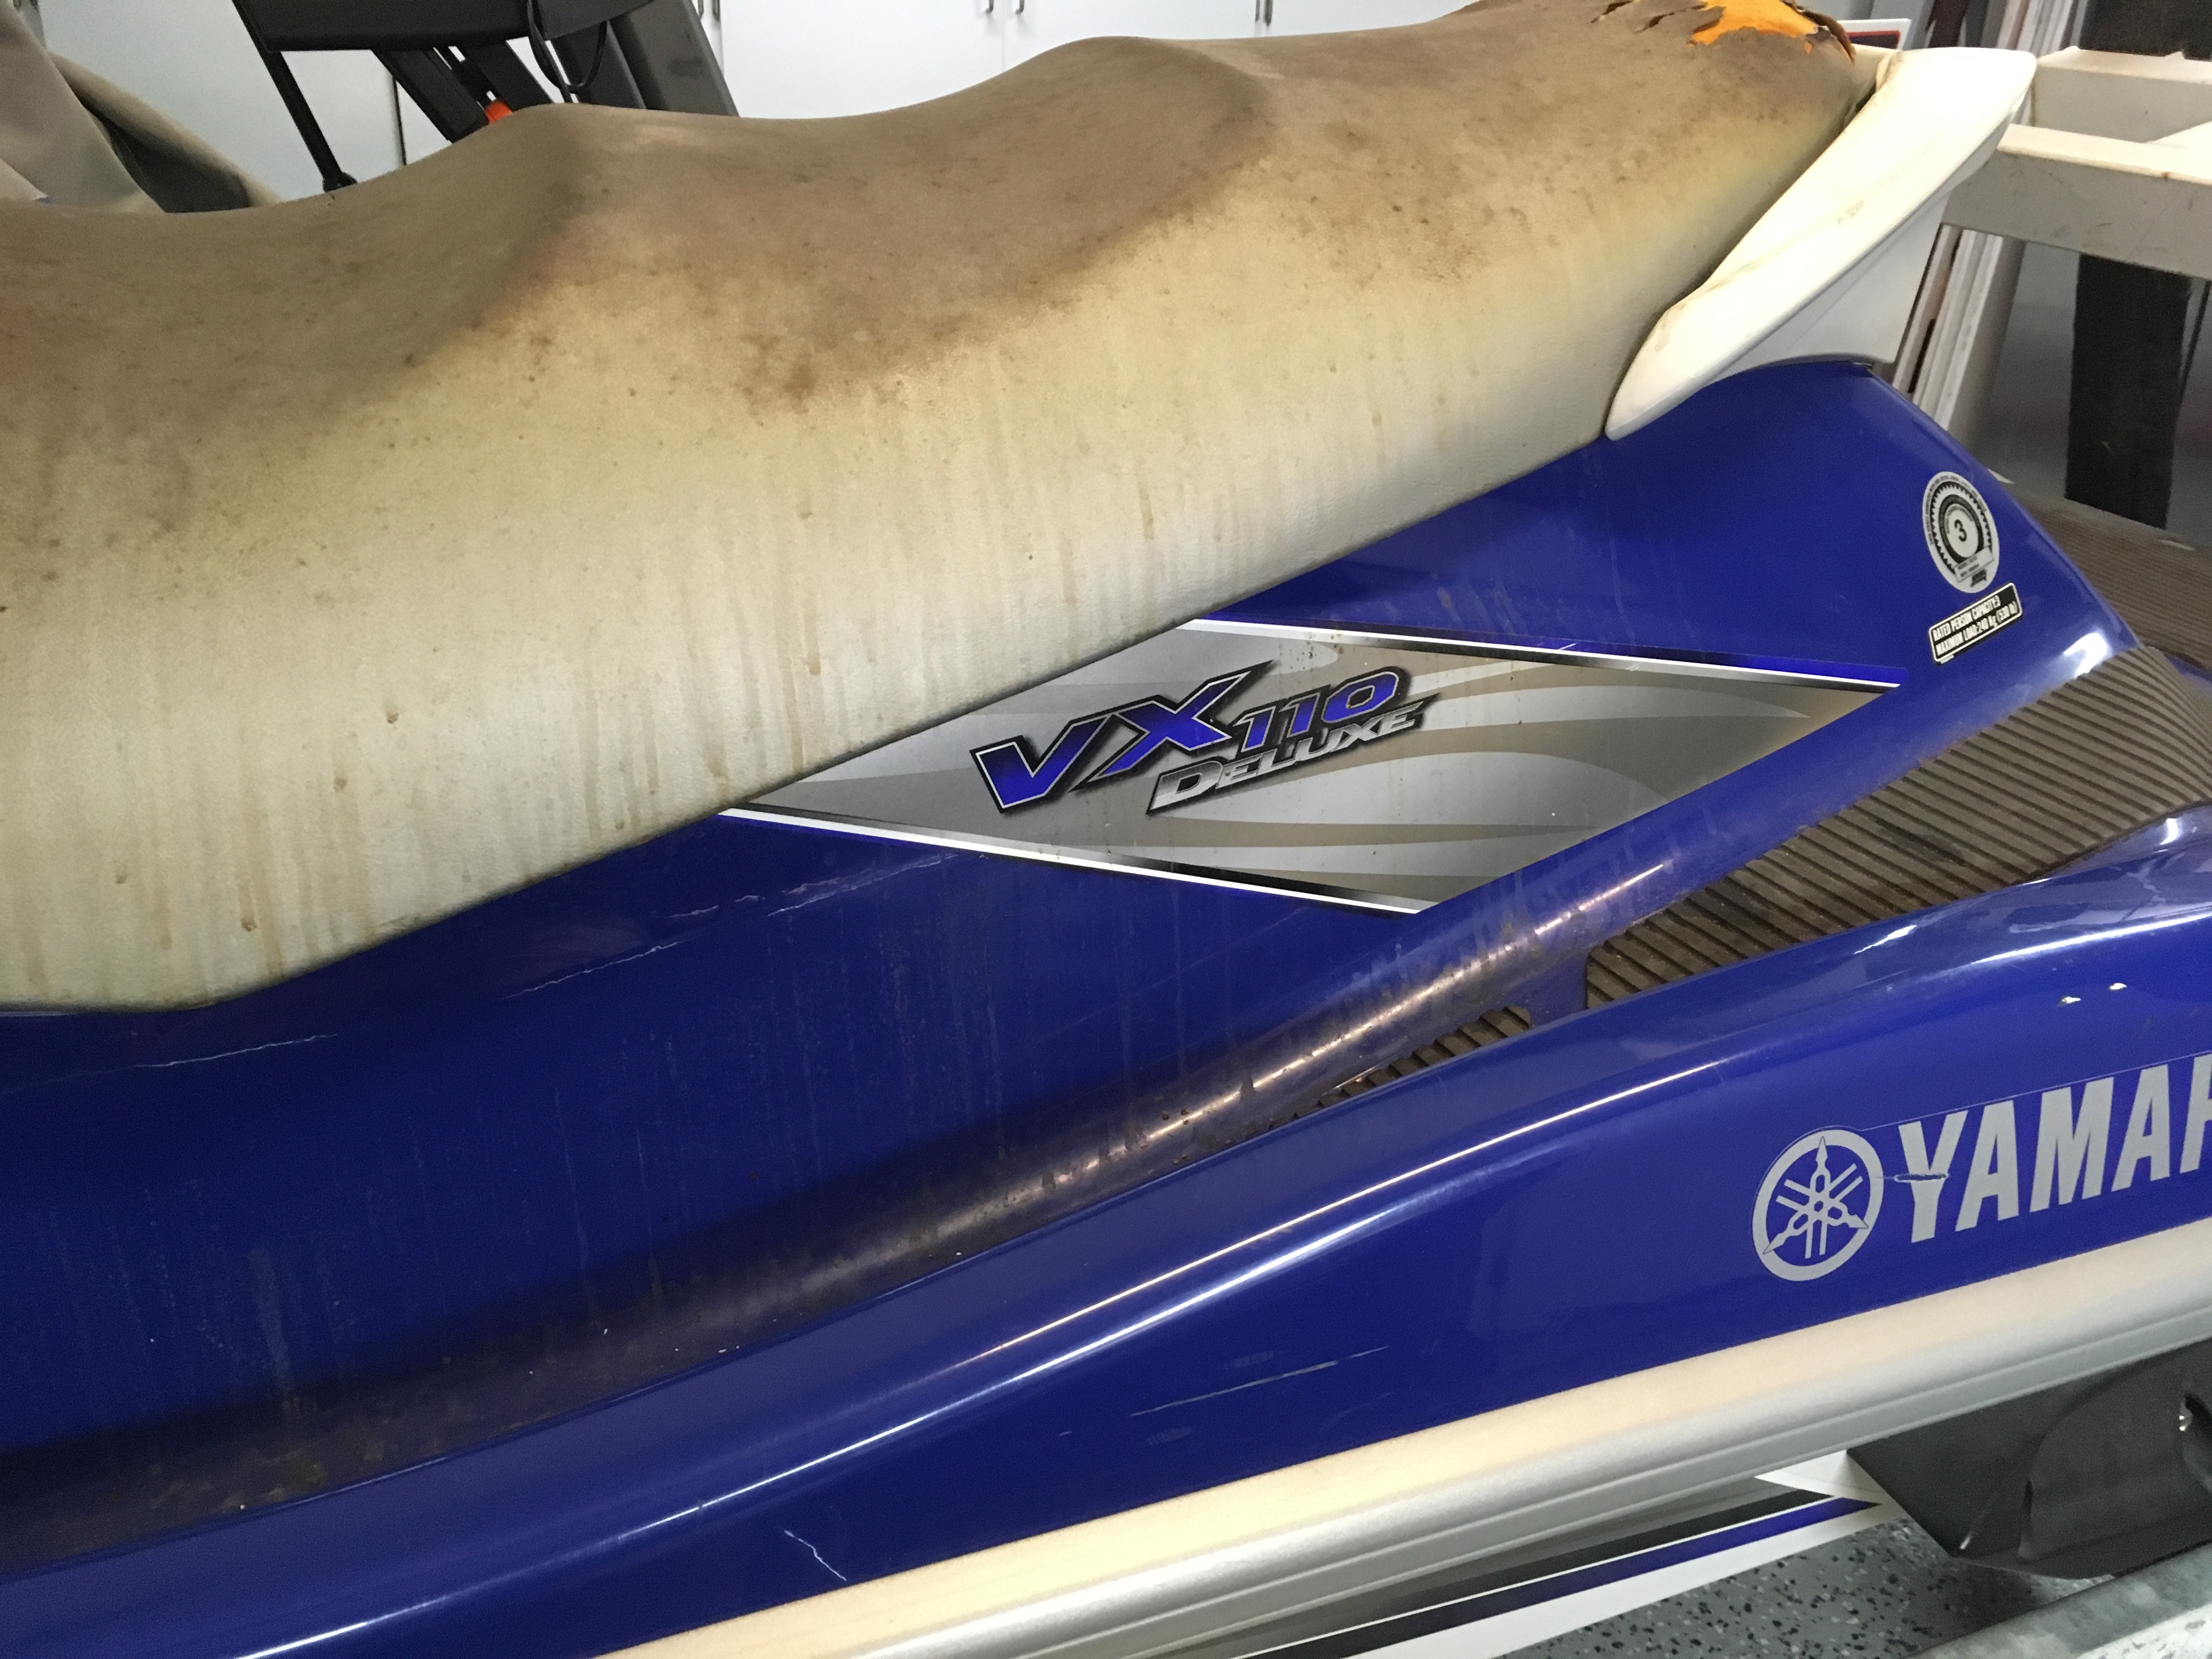
I started tackling these issues in my limited available time by ordering a seat cover online. When it arrived, i was disappointed to find out that the colors weren’t even close to what was advertised and that it wouldn’t match the ski at all. So i returned it and ordered a stock one from www.Yamahasportsplaza.com. Still waiting for it to arrive.

Second, i disconnected the reverse bucket from the cable to diagnose a bad cable. However, after lubing the reverse control handle close to the handlebars, most of the friction was reduced. It seems as though there’s still a bit of sand or debris wedged in the control. But the reverse gate now opens and closes much easier.


Finally, i did the same with the steering cable. I disconnected the cable at both ends. I fully expected to have to replace the cable, but i found that the cable and steering nozzle move with relative ease. However the steering column has a lot of resistance. I sprayed a lot of lubricant from above and below, but there is still a lot of binding/resistance in the steering. So i need to figure out whether or not there’s a tension adjustment in there or if i need to pull it all apart and clean it up and lube it. Any advice? Has anybody ever experienced this?


ON A SIDE NOTE: I did get a chance to scope out things at the launch ramp that i plan on using. So i have that all figured out. All i really need now is the time to get out and test it. That seems to be the hardest thing left. Finding time. ;)

Anyway, back to my day job
 
Great update Dennis. I hear you on time or specifically the lack of it. If the weather is good I will take the wave runners out for the first time this year with my son. Now he has the time Sunday but I also need him to take an online boating course before we go out as a result of the new CA law requiring people under age 20 to carry a card confirming that they have taken such a course.

Back to the wave runner. I haven’t had stiff steering or a reverse bucket just a corroded trim cable so I don’t have any insight into your issues but hope you get out on that thing soon. Your waverunnet looks new.
Thanks @Ronnie. I’m hoping to get it all figured out so i can have some fun off the coast and let the kids use it in Laughlin over summer. Then I’ll probably sell it and move on to the next project. Unless i fall in love with it ;)
 
Ok. I got back at it again over the weekend.

First order of business. Tear down the steering column and clean out whatever corrosion or debris is in there.

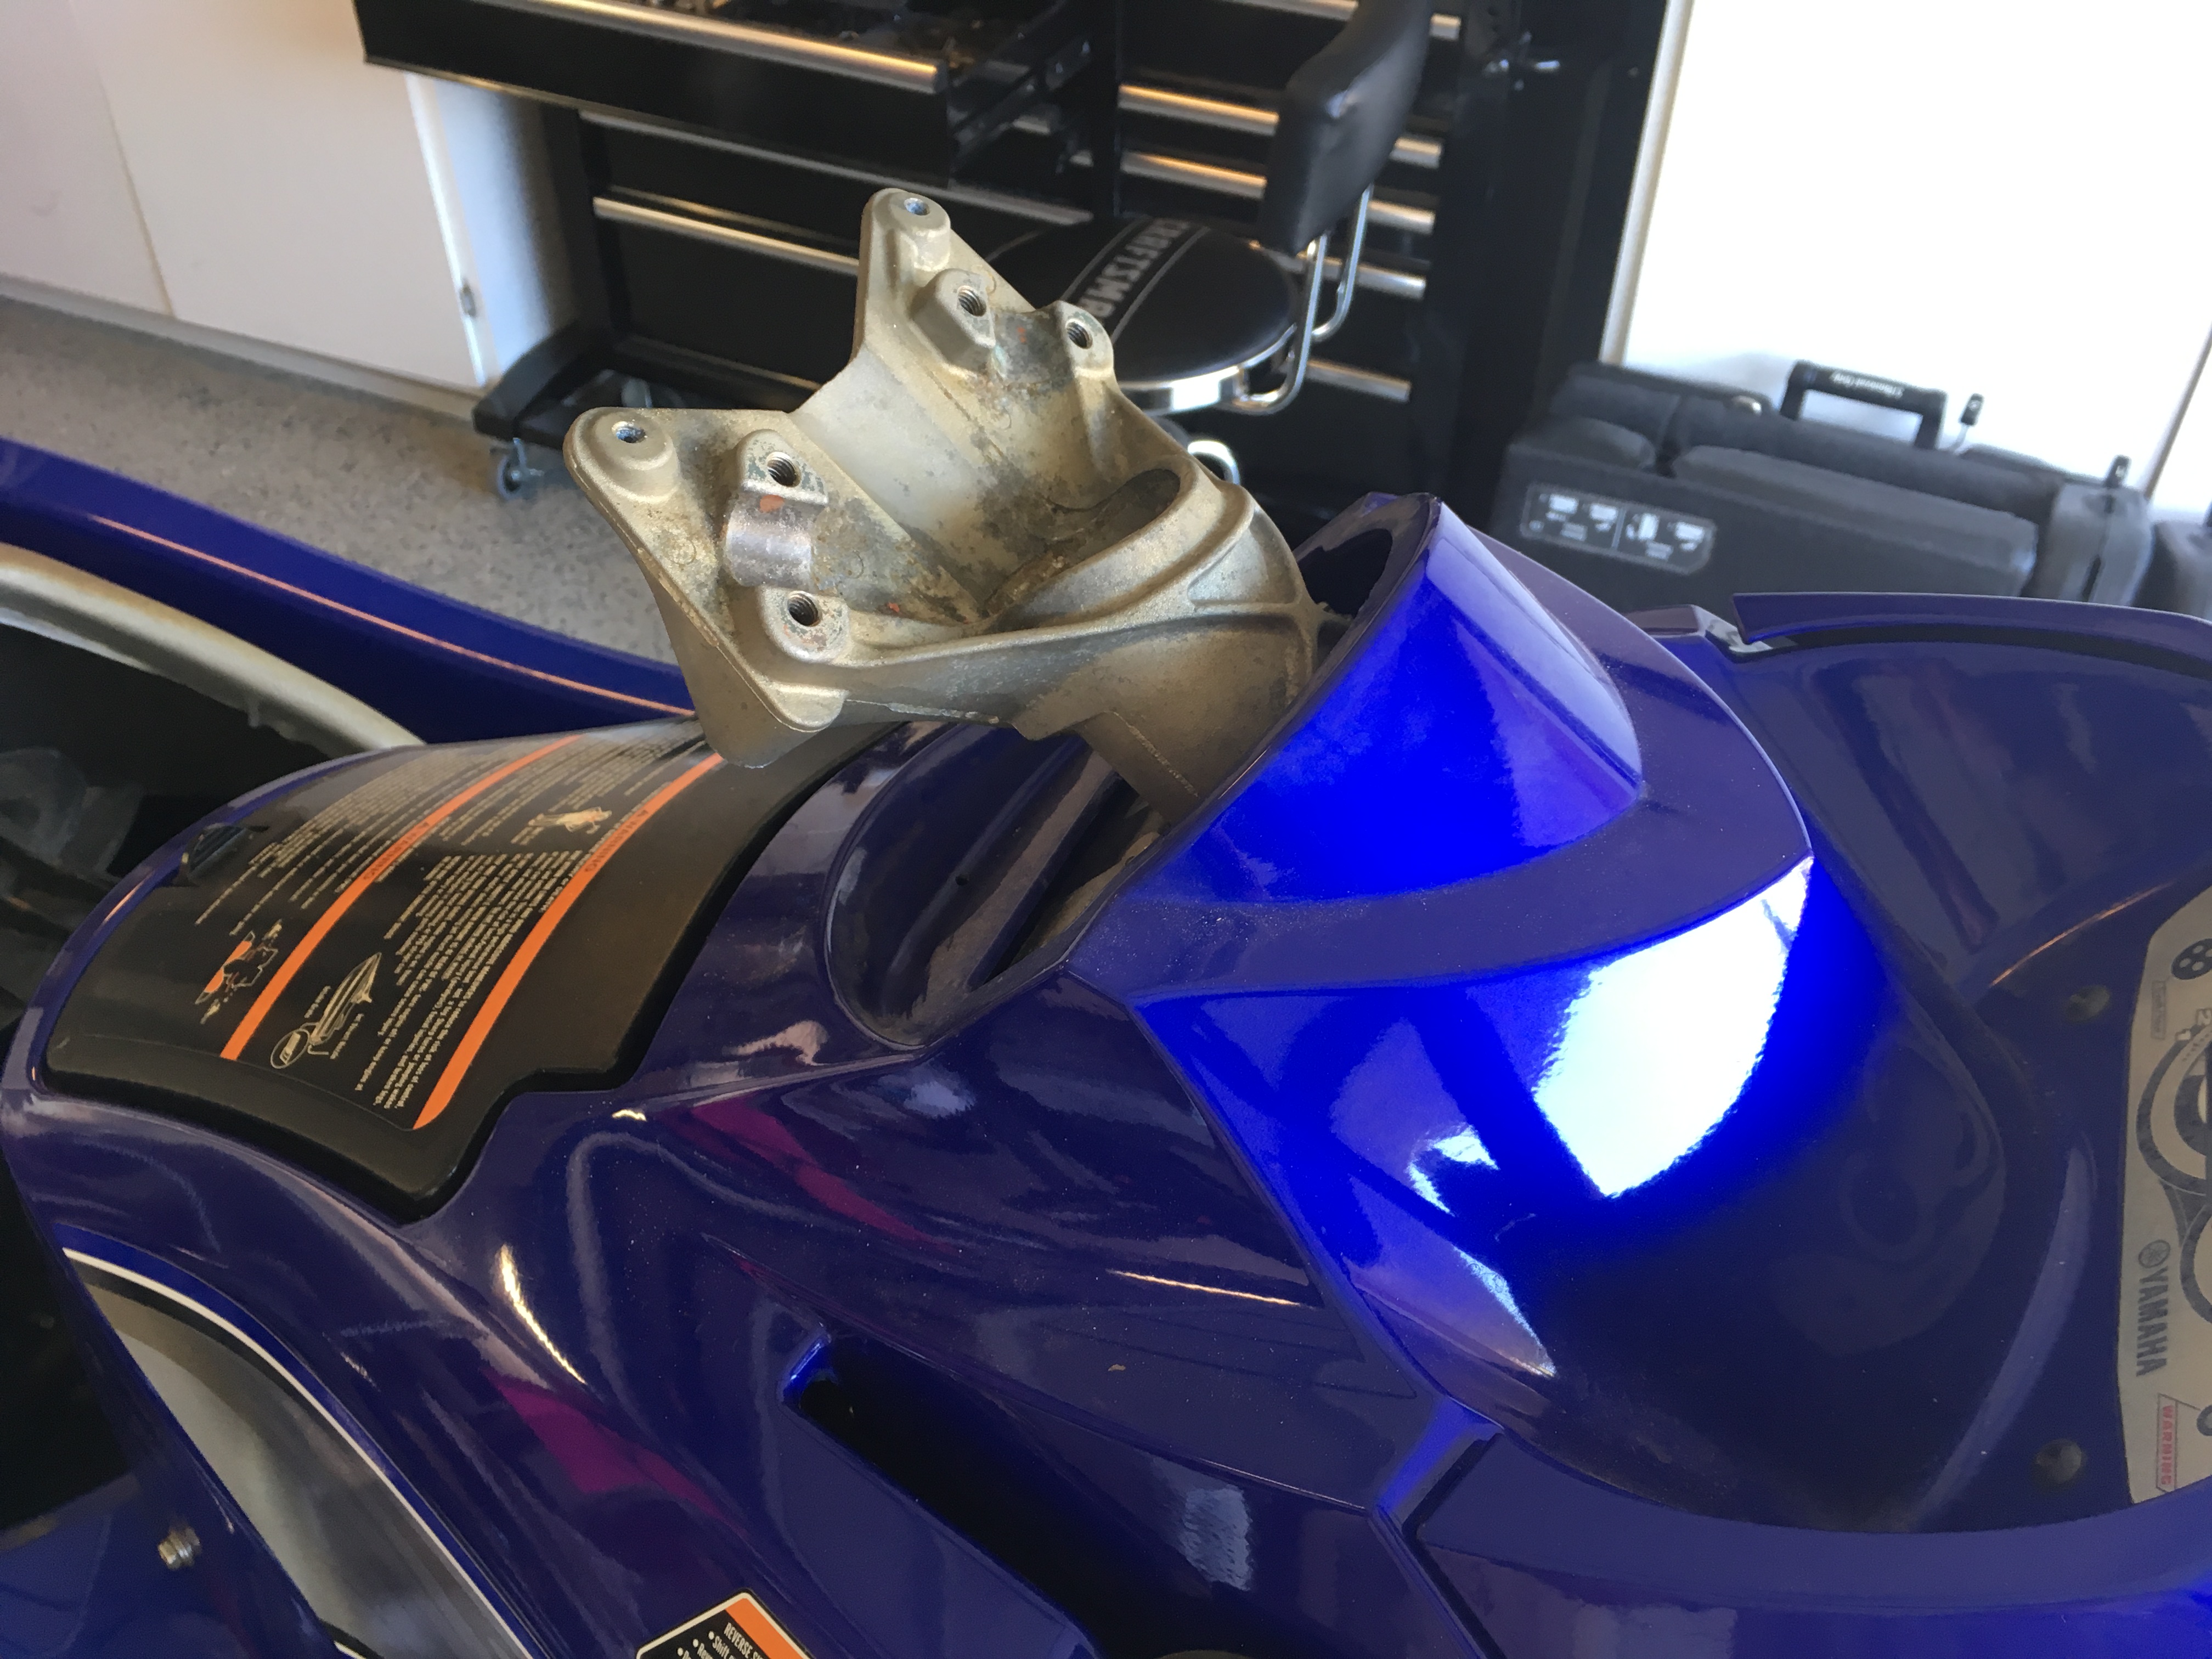
Well, there’s apparently two ways to do this. I chose the first way which involved taking off the handlebars, the steering column cowling and completely disassembling the entire upper steering assembly.

The first bolt that i attempted to remove was the bolt that hold the steering column to the steering arm. This is located through the storage compartment. It made it much easier to access this bolt by removing the handlebars which contains the throttle cable and start/stop wiring that travel down the center of the steering column. After removing the bars, As luck would have it, the head of the steering arm bolt snapped right off and of course left just enough of the bolt to make it impossible to remove the steering arm. After removing the corroded washer, and applying a lot of penetrating oil and adding a bit of heat, I was able to remove the bolt with some mini vice grips though :) After that, i was afraid to force anything loose. All of the hardware was tough to extract, but the audible alarm and the steering sensor? That are bolted to the steering post all came out without incident. After that, i removed about 8 bolts to remove the upper cowling.


Now that everything was off i still couldn’t figure out how to remove the column. I made a phone call to a shop and was told simply to give it a few hard pulls. So i put the handlebars back on and began to tug on it. Sure enough it started to move out and eventually came out.


At this point two things became obvious. First, there was a lot of corrosion on the steering column. Second, as i referred to above there’s two ways to remove the column. The first was the way i did it as described above and second, to simply remove the one bolt that holds the steering arm onto the column and yank the column out. That’s all that is securing it in place. I wish i knew that when i started, oh well.


Since i had the cowling off, i decided to disassemble the reverse mechanism and grease it to get rid of some of the sand/grit that i could feel was there.


Then on to cleaning the steering column. To do that I simply used a paint scraper and some soap and water to clean up the corrosion on the steering column. Then i put some waterproof silicone grease (that i had for my pool equipment) on both the upper and lower portions of the column and reassembled everything.

Wow, what a difference. Now the steering is as smooth as silk. ;)

So, at this point all i have left to do is recover the seat. As luck would have it, my replacement seat cover arrived a few days ago. So I’ll be getting to that ASAP.
 
@itsdgm Let me know if you need any steering column parts. I have 2 or 3 complete freshwater columns.

I think I also have 2 good pre-2010 steering cables.

-Greg
Will do. Thanks Greg i appreciate that.
 
So, i left recovering the seat as the final touch on the WaveRunner. I assumed that i could just order a replacement cover and throw it on when it arrived and hit the water the same day. Boy was i WRONG.

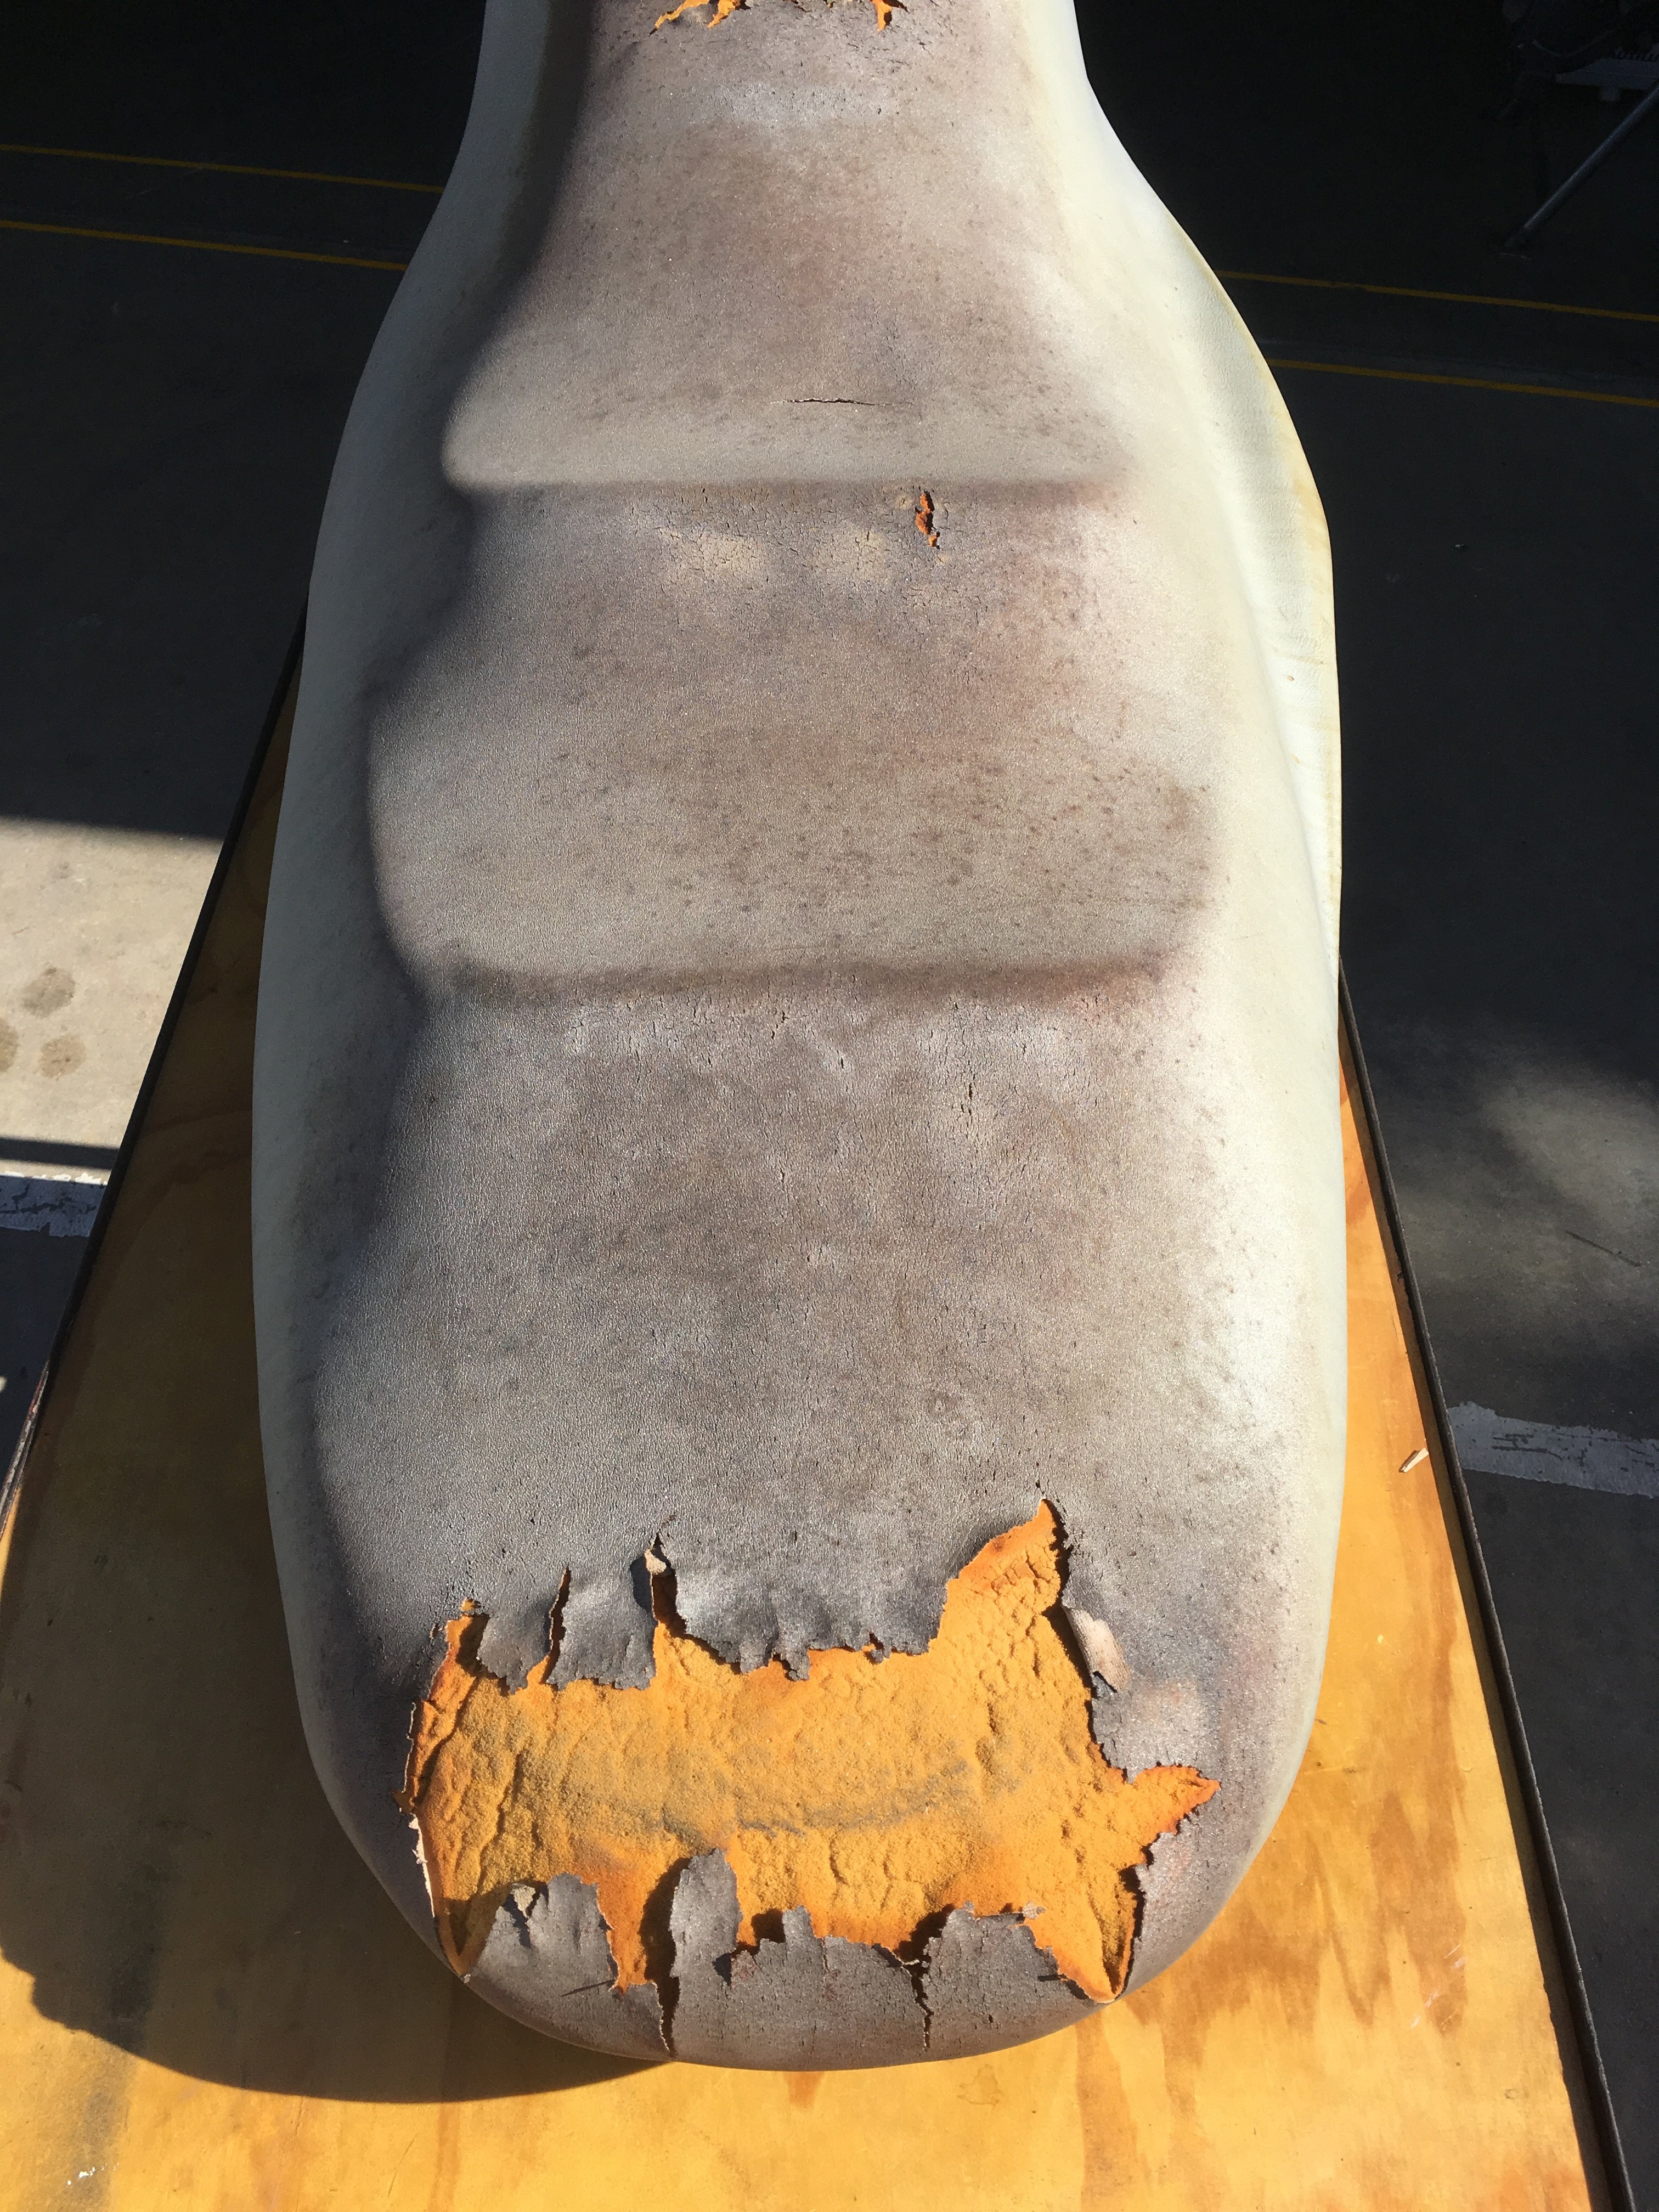
I started by removing the original cover after pulling out what seemed like a 1000 staples. I washed the foam which seemed in decent shape.


Let’s see, where do i start. First i ordered a replacement on eBay. It had nice matching colors in the picture. But when it arrived a few days later the blue accent color wasn’t even close. Now, I’m not a stickler for it to be a perfect match, but it was clear that it would stand out as a mistake. So, i returned it and to their credit, the seller offered a single color replacement option and took it back without question, paid for return shipping and gave a full refund when i declined.

Next, i ordered a factory replacement from www.yamasportsplaza.com. I figured that this would be a perfect fit and color match. WRONG. The color was a perfect match, but whoever molded the vinyl must’ve been trying to get home early that day because the pre-formed molded shapes were way off. There was no way to make this one work either. It was way too short and I’d have to stretch this thing almost a foot to make it fit. Not going to happen. I called mother Yamaha and verified that it was the correct part number and they said that another replacement more than likely could be made by the same vendor. So I’m currently in the process of returning that one too.


At this point i realized that there was very few other options that would guarantee a good match on color and fit. One was SBT (BlackTip). I asked for fabric samples to verify texture and color choices before ordering. Well, almost two weeks later, no samples.

Another thing that occurred to me was to call the manufacturer (Ritco Products) of the first cover that arrived that had the wrong blue color and ask about their products. The guy who talked to me was extremely helpful. According to him, Yamaha used two different colors of blue and that they were getting in some of the correct blue material shortly and he could put a rush on it for me. So, i reordered one that i hope will match. We will see when it arrives.

Stayed tuned.
 
Any updates on your adventure?
 
Any updates on your adventure?
Yep. So, i received the re-ordered seat cover from Ritco Products that had a different color blue swatch. But it still wasn’t the right blue. This WaveRunner has more of a purple in the blue than the seat cover.


So i sent that one back too and swapped it out for an all gray one. Finally, after what seemed like forever. I got one that fit right and looked decent enough to put on.


When the seat was all said and done, I have to say, Matt @ Ritco Products is an extremely understanding person and insisted on getting it right. He never questioned me on not being satisfied, he simply said to send it back until i was happy. He went way past what i expected. Apparently he’s working on a WaveRunner similar to mine and he had an oil leak issue that we discussed several times over the phone. So i think it worked out good for both of us. ;)

So at this point, i just need to fuel the ski up and get it in the water. Wish me luck.......

Oh yeah, just a note. I never did get the sample colors and fabric from SBT, Oh well.
 
Back
Top