• Welcome to Jetboaters.net!

    We are delighted you have found your way to the best Jet Boaters Forum on the internet! Please consider Signing Up so that you can enjoy all the features and offers on the forum. We have members with boats from all the major manufacturers including Yamaha, Seadoo, Scarab and Chaparral. We don't email you SPAM, and the site is totally non-commercial. So what's to lose? IT IS FREE!

    Membership allows you to ask questions (no matter how mundane), meet up with other jet boaters, see full images (not just thumbnails), browse the member map and qualifies you for members only discounts offered by vendors who run specials for our members only! (It also gets rid of this banner!)

    free hit counter

Music Activated RGB LED Cup Holders for $60 (less than $10 per cup holder)

Bruce

Jetboaters Fleet Admiral 1*
Staff member
Administrator
Messages
13,326
Reaction score
13,421
Points
857
Location
Royal, AR
Boat Make
Yamaha
Year
2007
Boat Model
SX
Boat Length
23
Today I added RGB LED strips to 7 of my cup holders. I ran out of wire before I got to the two on the swim deck so they will be next week.

Let's start with a few videos of the end result


Now the how.

I used a $31 TQ Music 2 controller wired to a switch on the distribution panel that I added last year. It is installed inside the console. I left enough extra wire to pull it out to make connections. I used a 20M supply of 4 wire cable to run wires to the cup holders. One was enough for the seating and bow but I need a second roll to get to the swim deck cup holders. The LEDs are from this $13 set. The LEDs came with their own fire starting controller that melted after less than an hour when I was using it for testing. So just throw that thing away.

First I cut the LEDs into sections that were the correct length to fit inside the cup holder. Then I soldered an 18" wire to each and shrink tubed to keep water away. In the pic below you can see a soldered connection, shrink tube stretched over the connection and finally after heat shrinking.

image.jpg

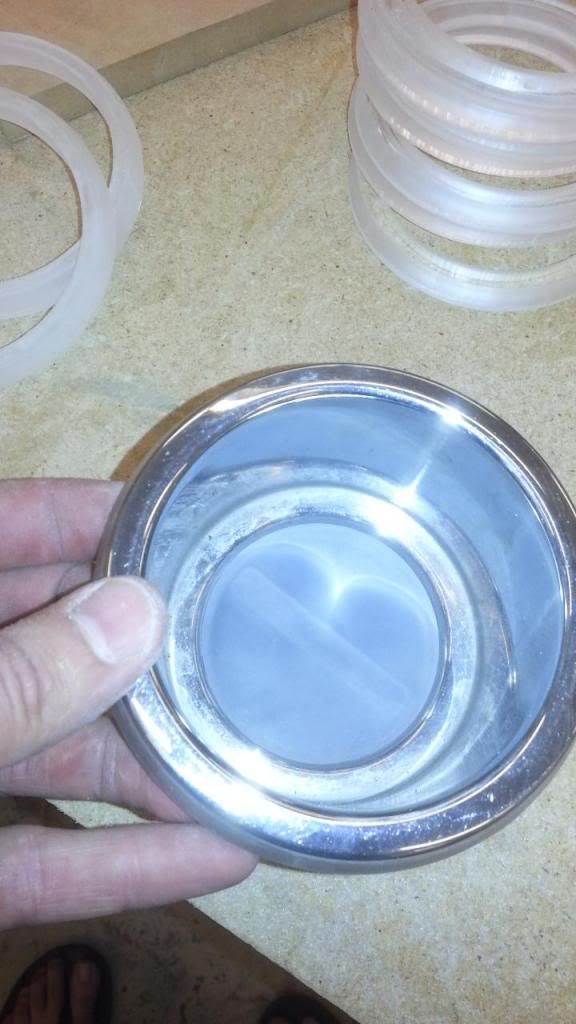
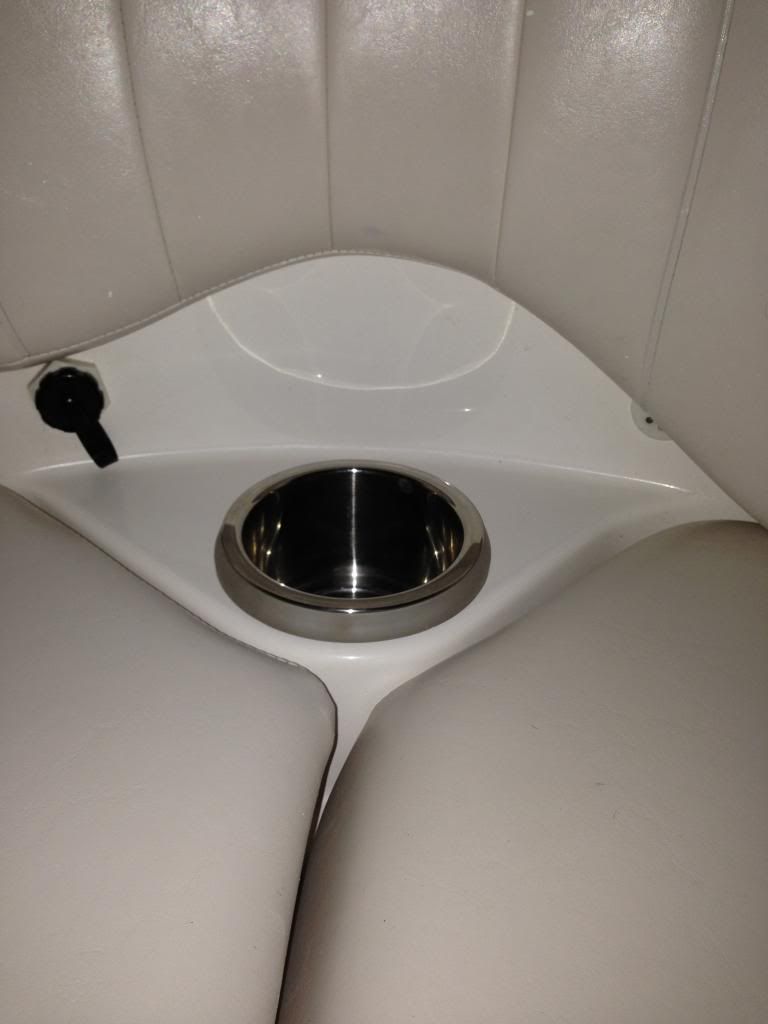
Then I used a dremel and cutting wheel to cut a vertical slot into each cup holder for the wire to run through, cleaned the cup holders with steel wool and acetone and installed the LED strips.

image.jpg

image.jpg

Then I pulled cables from cup holder to cup holder soldering together three cables at each. I tested each connection as I went.

I found that the most efficient method was to separate each cable into four wires about an inch back then hold the three cables stacked together and in the same order and tape them together. Then I would pull the three wires of each color to the side, cut them to the same length, strip them all at the same time with a pair of dykes and twist them together. I repeated this process for each color then soldered the wires together. After soldering I wrapped the black wires with electrical tape twice then started adding an additional color per wrap. If I have issues with water intrusion I will go back and add shrink tubing but where these wires are and with the minimal current I am happy with this efficient method.

image.jpg
 

GiddYupJoe

Jetboaters Admiral
Messages
1,807
Reaction score
2,177
Points
312
Location
Beavercreek, Ohio
Boat Make
Boatless
Year
NA
Boat Model
X
Boat Length
NA
I have never needed led lights on my boat until last weekend. I will prolly never use them until next years birthday weekend.

Thanks @Bruce for the inspiration and know how to make this happen now!

image.jpg

I mean, they still figured it out, but...

Please delete if I just ruined a how to thread.
 

Bruce

Jetboaters Fleet Admiral 1*
Staff member
Administrator
Messages
13,326
Reaction score
13,421
Points
857
Location
Royal, AR
Boat Make
Yamaha
Year
2007
Boat Model
SX
Boat Length
23
@GiddYupJoe, currently they are connected to the eject button but I am seriously considering ordering a dance switch.
 

betterwhenitswetter

Jet Boat Addict
Messages
77
Reaction score
25
Points
117
Location
DFW, TX
Boat Make
Yamaha
Year
2008
Boat Model
AR
Boat Length
23
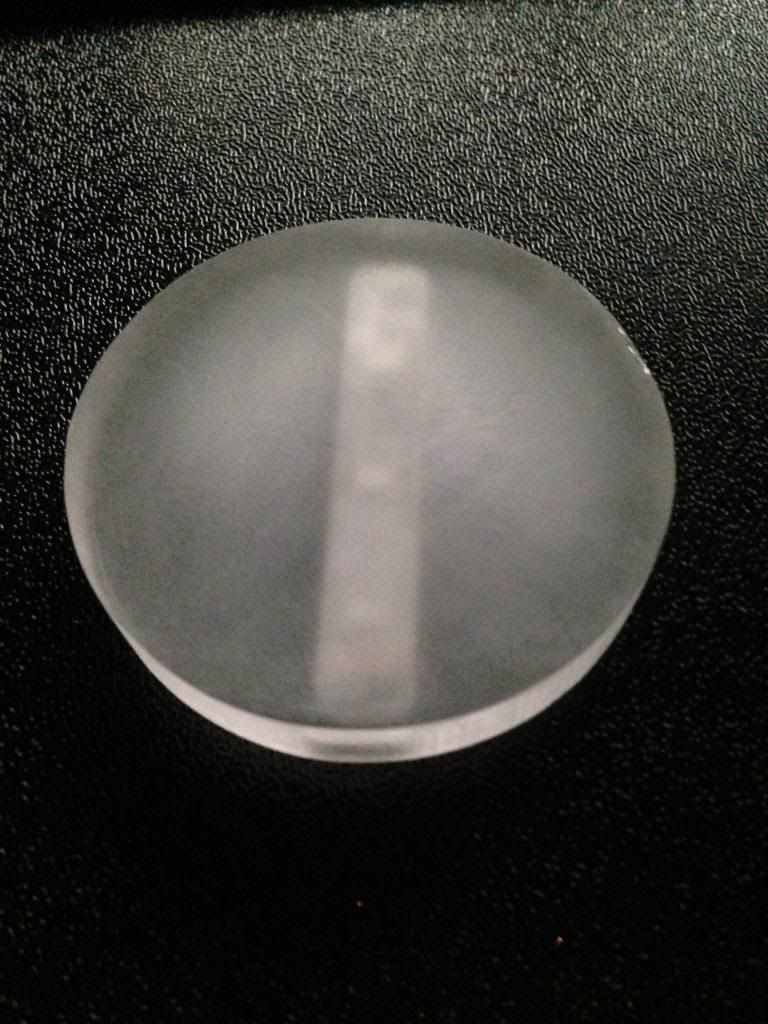
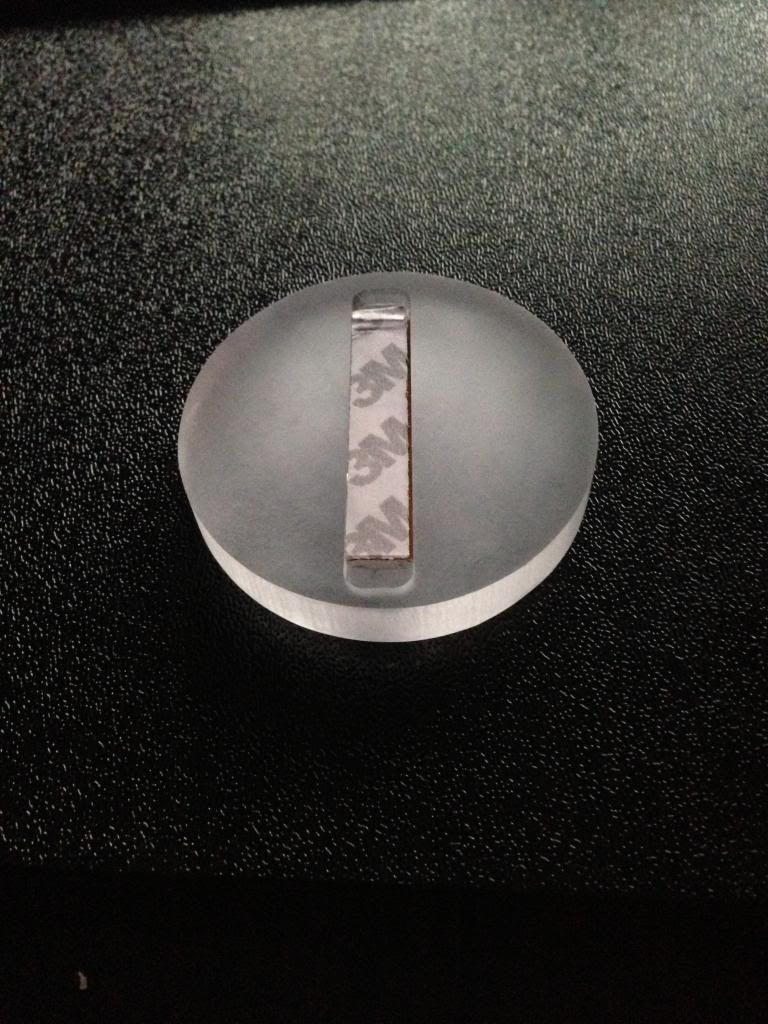
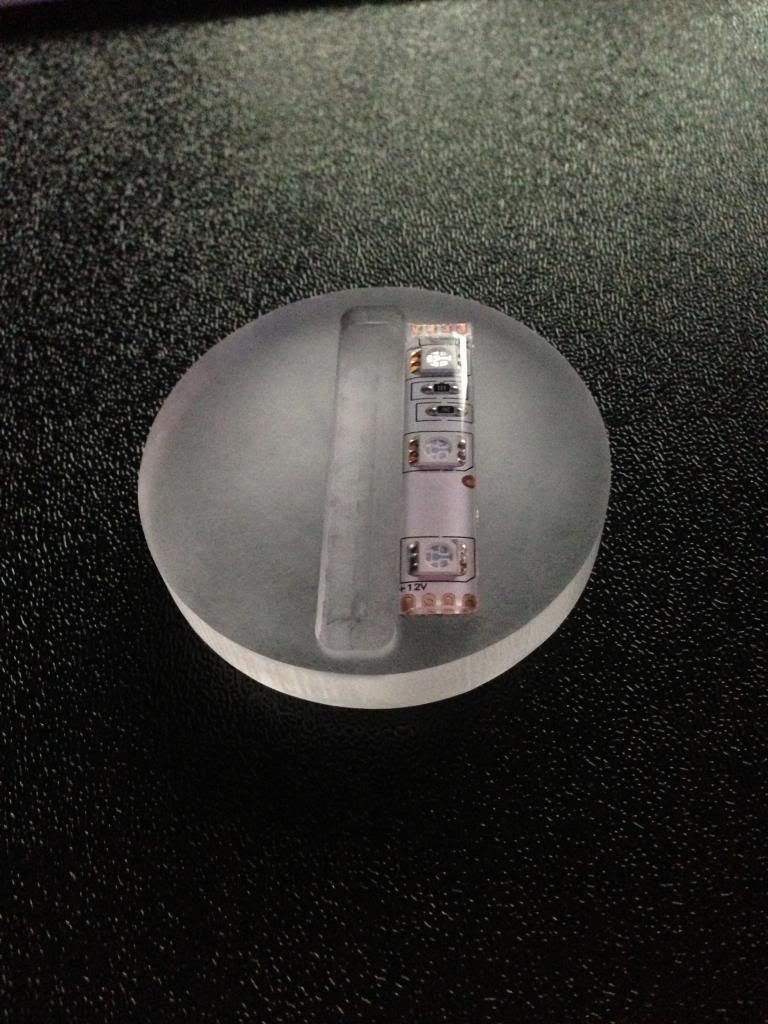
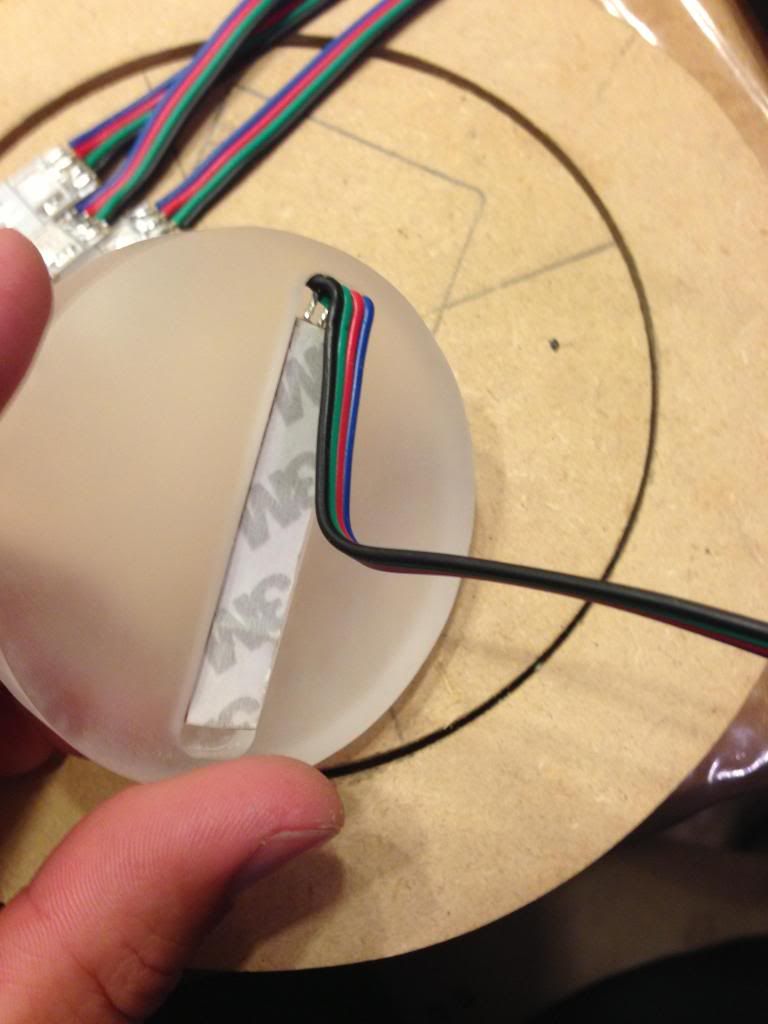
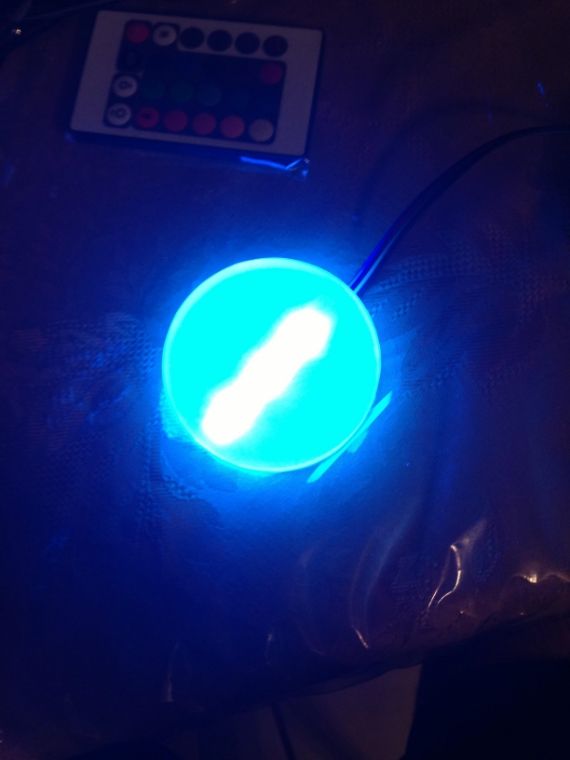
Bruce I prefer my pucks over cutting into the cupholder, they still drain and no extra holes and the wire is hidden through the drain hole, I did water proof my leds even thought I don't show a pic below, 3 years no issues with any of my LED's and the cupholders get lots of water.

FYI, I silicone over my solder connections and then heat shrink, if you don't want to wait for silicone to dry, the hot glue works just as good then heat shrink, over it while its still warm, it protects those solder joints much better.


Last edited:

Bruce

Jetboaters Fleet Admiral 1*
Staff member
Administrator
Messages
13,326
Reaction score
13,421
Points
857
Location
Royal, AR
Boat Make
Yamaha
Year
2007
Boat Model
SX
Boat Length
23
Bruce I prefer my pucks over cutting into the cupholder, they still drain and no extra holes and the wire is hidden through the drain hole, I did water proof my leds even thought I don't show a pic below, 3 years no issues with any of my LED's and the cupholders get lots of water.
I am glad that yours are working so well.

I considered bringing the wire in through the drain but I did not want to block that lower area which is all we use for cups. You resolved that issue with your pucks.

The advantage that I see to my method is that I have six times as many lights in there so mine should be six times brighter and it has a neat pattern created by all the LEDs.

Your method would be a big advantage if you used cups that are large enough to fill the upper portion of the cup holder.

I considered using silicone to seal mine. I will on the swim deck where I have drains attached to the cup holder. But the 7 I have done so far did not have drains from the factory.

Thanks for sharing!
 

betterwhenitswetter

Jet Boat Addict
Messages
77
Reaction score
25
Points
117
Location
DFW, TX
Boat Make
Yamaha
Year
2008
Boat Model
AR
Boat Length
23
True, but I have outer rings on my cup holder as well, as you have seen on my boat "dual purpose LED's" post with the video. So I have plenty of light, yeah when I mean drain I meant into the floor underneath, I don't use a hose like the new boats have, as I don't care. as far as holding the cups, its not a issue, everything is fine to date, I don't allow anything red on my boat even the solo cups, the red comes off on the seats, and saw the other guys post with red stuff splattered on the seats, I was OMG hell NO, and girls standing on the seats would never be asked on my rig again, I do give everyone list of rules before the come on board and if they don't comply its goodbye.

here is the outer ring
 
Last edited:

njmr2fan

Jetboaters Captain
Messages
1,877
Reaction score
1,259
Points
247
Location
Augusta GA
Boat Make
Yamaha
Year
2014
Boat Model
AR
Boat Length
19

betterwhenitswetter

Jet Boat Addict
Messages
77
Reaction score
25
Points
117
Location
DFW, TX
Boat Make
Yamaha
Year
2008
Boat Model
AR
Boat Length
23
I used these guys to make them, http://www.ledrgbpros.com/, email them from the site (they will get back to you quickly), they should have the correct size since I worked with them on our Yamaha boats, but now I can make my own if needed I can go buy a sheet of acrylic from a local shop and cut out the shapes I need.

behind the the rings are LED's, and all the wiring was ran through the boat then to the RGB controllers, and the end result is this = https://www.amazon.com/clouddrive/share/IebY1GuvuKkl20UdNpttGWl3p05DT9IZwP2AMZfjYL4?ref_=cd_share_link_copy
 
Last edited:

shane hric

Jet Boat Junkie
Messages
277
Reaction score
230
Points
137
Location
Hobart Indiana
Boat Make
Yamaha
Year
2015
Boat Model
Limited S
Boat Length
24
I have never needed led lights on my boat until last weekend. I will prolly never use them until next years birthday weekend.

Thanks @Bruce for the inspiration and know how to make this happen now!

View attachment 28271

I mean, they still figured it out, but...

Please delete if I just ruined a how to thread.
That's it...I'm boating with @GiddYupJoe sometime soon!
 

KC-AR240

Jet Boat Addict
Messages
175
Reaction score
129
Points
122
Location
Kansas City Mo.
Boat Make
Yamaha
Year
2018
Boat Model
AR
Boat Length
24
I have never needed led lights on my boat until last weekend. I will prolly never use them until next years birthday weekend.

Thanks @Bruce for the inspiration and know how to make this happen now!

View attachment 28271

I mean, they still figured it out, but...

Please delete if I just ruined a how to thread.
Only 1 thing wrong with this picture. You allowed Coors Lite onto your boat ? Inconceivable !!!!
 

marcham

Jet Boat Junkie
Messages
703
Reaction score
569
Points
147
Location
Comox, BC
Boat Make
Yamaha
Year
2019
Boat Model
AR195
Boat Length
19
Bruce I prefer my pucks over cutting into the cupholder, they still drain and no extra holes and the wire is hidden through the drain hole, I did water proof my leds even thought I don't show a pic below, 3 years no issues with any of my LED's and the cupholders get lots of water.

FYI, I silicone over my solder connections and then heat shrink, if you don't want to wait for silicone to dry, the hot glue works just as good then heat shrink, over it while its still warm, it protects those solder joints much better.
Your install looks great. FYI most silicones will cause wiring to rust due to acetic acid (vinegar smell) being released during the curing process. Liquid electrical tape would be a better alternative.
 
Top