• Welcome to Jetboaters.net!

    We are delighted you have found your way to the best Jet Boaters Forum on the internet! Please consider Signing Up so that you can enjoy all the features and offers on the forum. We have members with boats from all the major manufacturers including Yamaha, Seadoo, Scarab and Chaparral. We don't email you SPAM, and the site is totally non-commercial. So what's to lose? IT IS FREE!

    Membership allows you to ask questions (no matter how mundane), meet up with other jet boaters, see full images (not just thumbnails), browse the member map and qualifies you for members only discounts offered by vendors who run specials for our members only! (It also gets rid of this banner!)

    free hit counter

Anyone use an XK Glow LED Package in their Boat?

I have the XK Glow system, just finished up installing it. So far, works great! I like the iPhone compatibility and the different settings...but after looking at it more, I think so of the other "cheaper" systems would worked just as well. I had to take cushions off and still drill holes (bigger than normal because the connections have to go through them). The main benefit is not having to mess with soldering wires. Don't get me wrong, I really like the look and I hope the durability is there! Let me know if you have any questions.

Wes
 
I hadn't thought about the size of holes to drill for the connectors to fit through. What other options are out there for us non engineering types?
 
Talk to led powersports and tell them I sent you. Friend of mine owns the company and is a xk glow dealer. Customer service is his priority.
 
@Stefan Fromm dont get me wrong, XK Glow is a good setup! If you are interested in looking at other systems, do a good search on here, several different threads on LED lights. The thing that really sold me on the XK system is the phone app and the number of different settings. The hole needed to get the connector through is about 3/4" wide by about 1/2" tall (I used a 1/2" bit and angled it back and both to get the width), the holes are hidden by the cushions, so it's not visible. Upside about another system is cheaper and smaller holes needed for installation; upside for XK is ease of installation and endless color choice, dual zones, and iPhone controlled.
 
Why cant we see the pics? says they are locked.
 
@subsyti sorry about that, I think I fixed it...do they show up now?
 
Talk to led powersports and tell them I sent you. Friend of mine owns the company and is a xk glow dealer. Customer service is his priority.

Do they know you as subysti?
 
@Stefan Fromm you can use that or just tell him your buddy Mike who just got the new Yamaha, he'll know. He was over tonight sitting in it having a drink with me. We also both ride Yamaha snowmobiles which we have lit up with LED's also.
 
What kit did you put in your boat? I went to the LED Powersports' website and there are a number of different options.
 
@LyonsAR210 I would love some install pics. @subysti mentioned that he ran his behind the seat backs which sounds like a great idea to hide the install holes. I am trying to figure out how to get my seat backs off - job is getting in the way!!
 
There is a little trick to getting them off...took me some trial and error (and some loud cussing at one point). Each seat has a couple bolts you'll have to locate, once the nut and washer is removed from it, then you have to lift "up" on the cushion because there are brackets holding the it. I'll take some pictures tonight, it is easier to explain with a visual.
 
Sorry about the late response. As far as the holes to drill...about an inch. And to get the seats off, you fold the edges and will find some screws that are hidden to take out, then the seat pops off.. Very easy install for the mechanically inclined like myself. Any other questions just ask. There should be a write up somewhere on here with pics
 
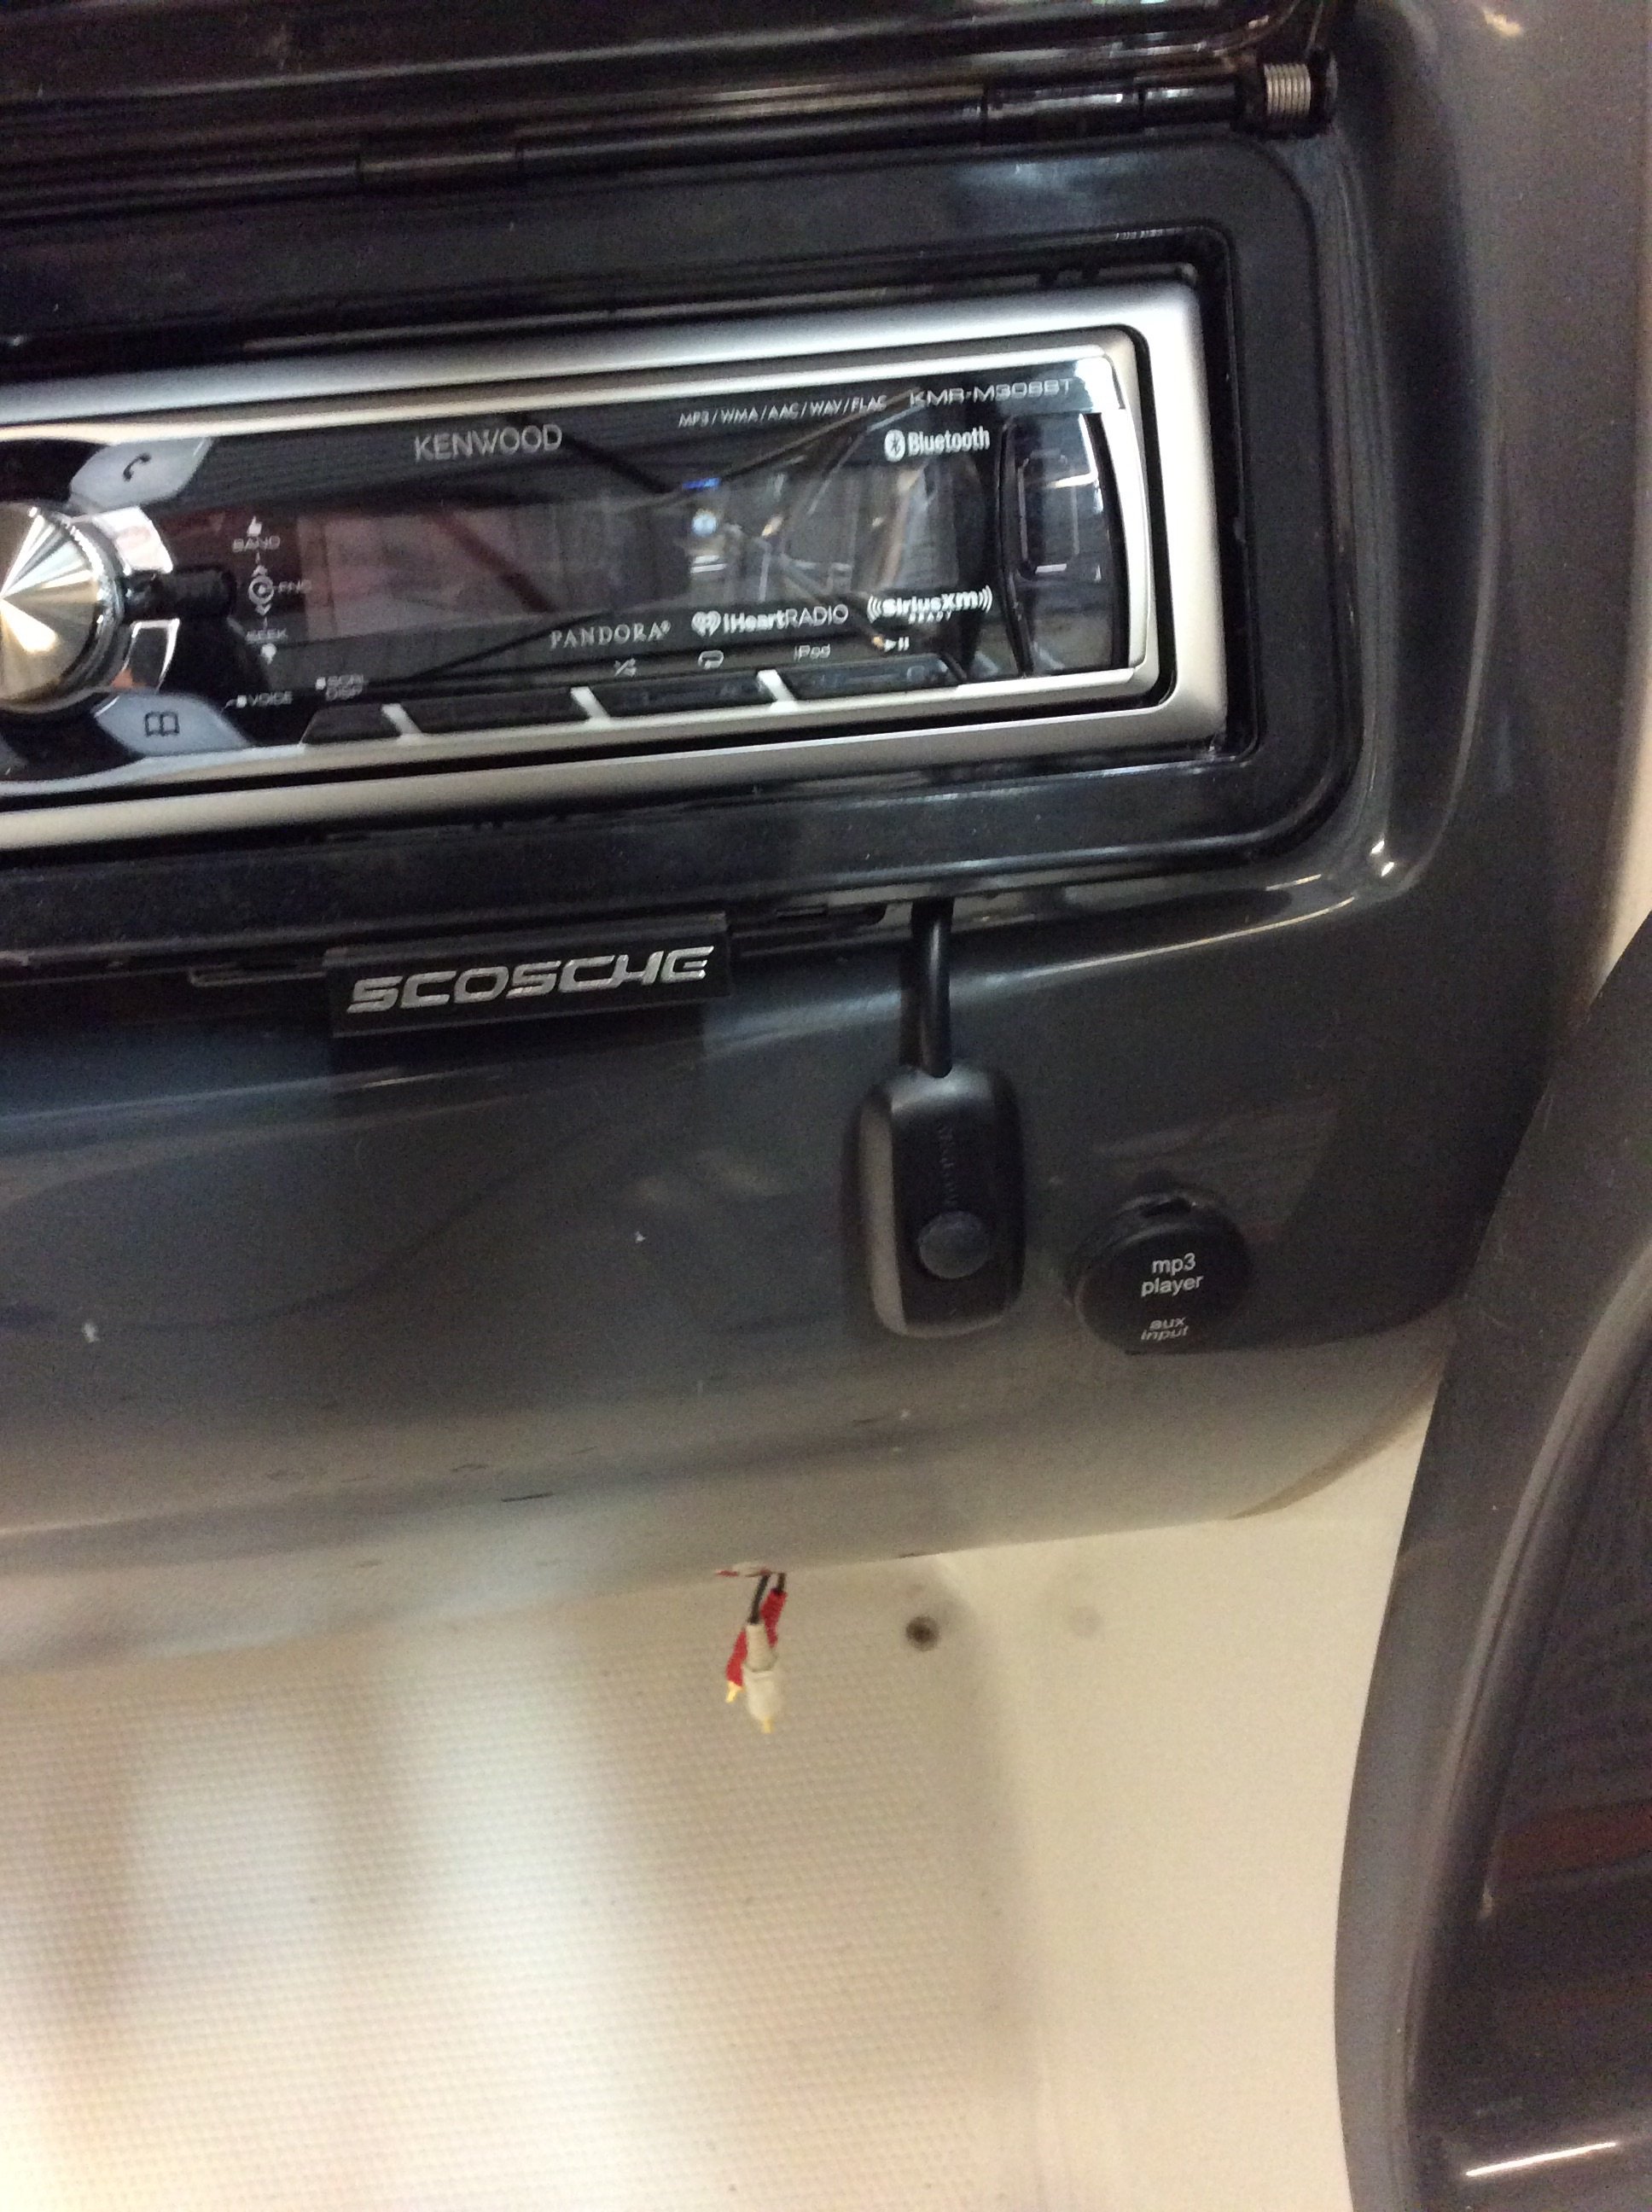
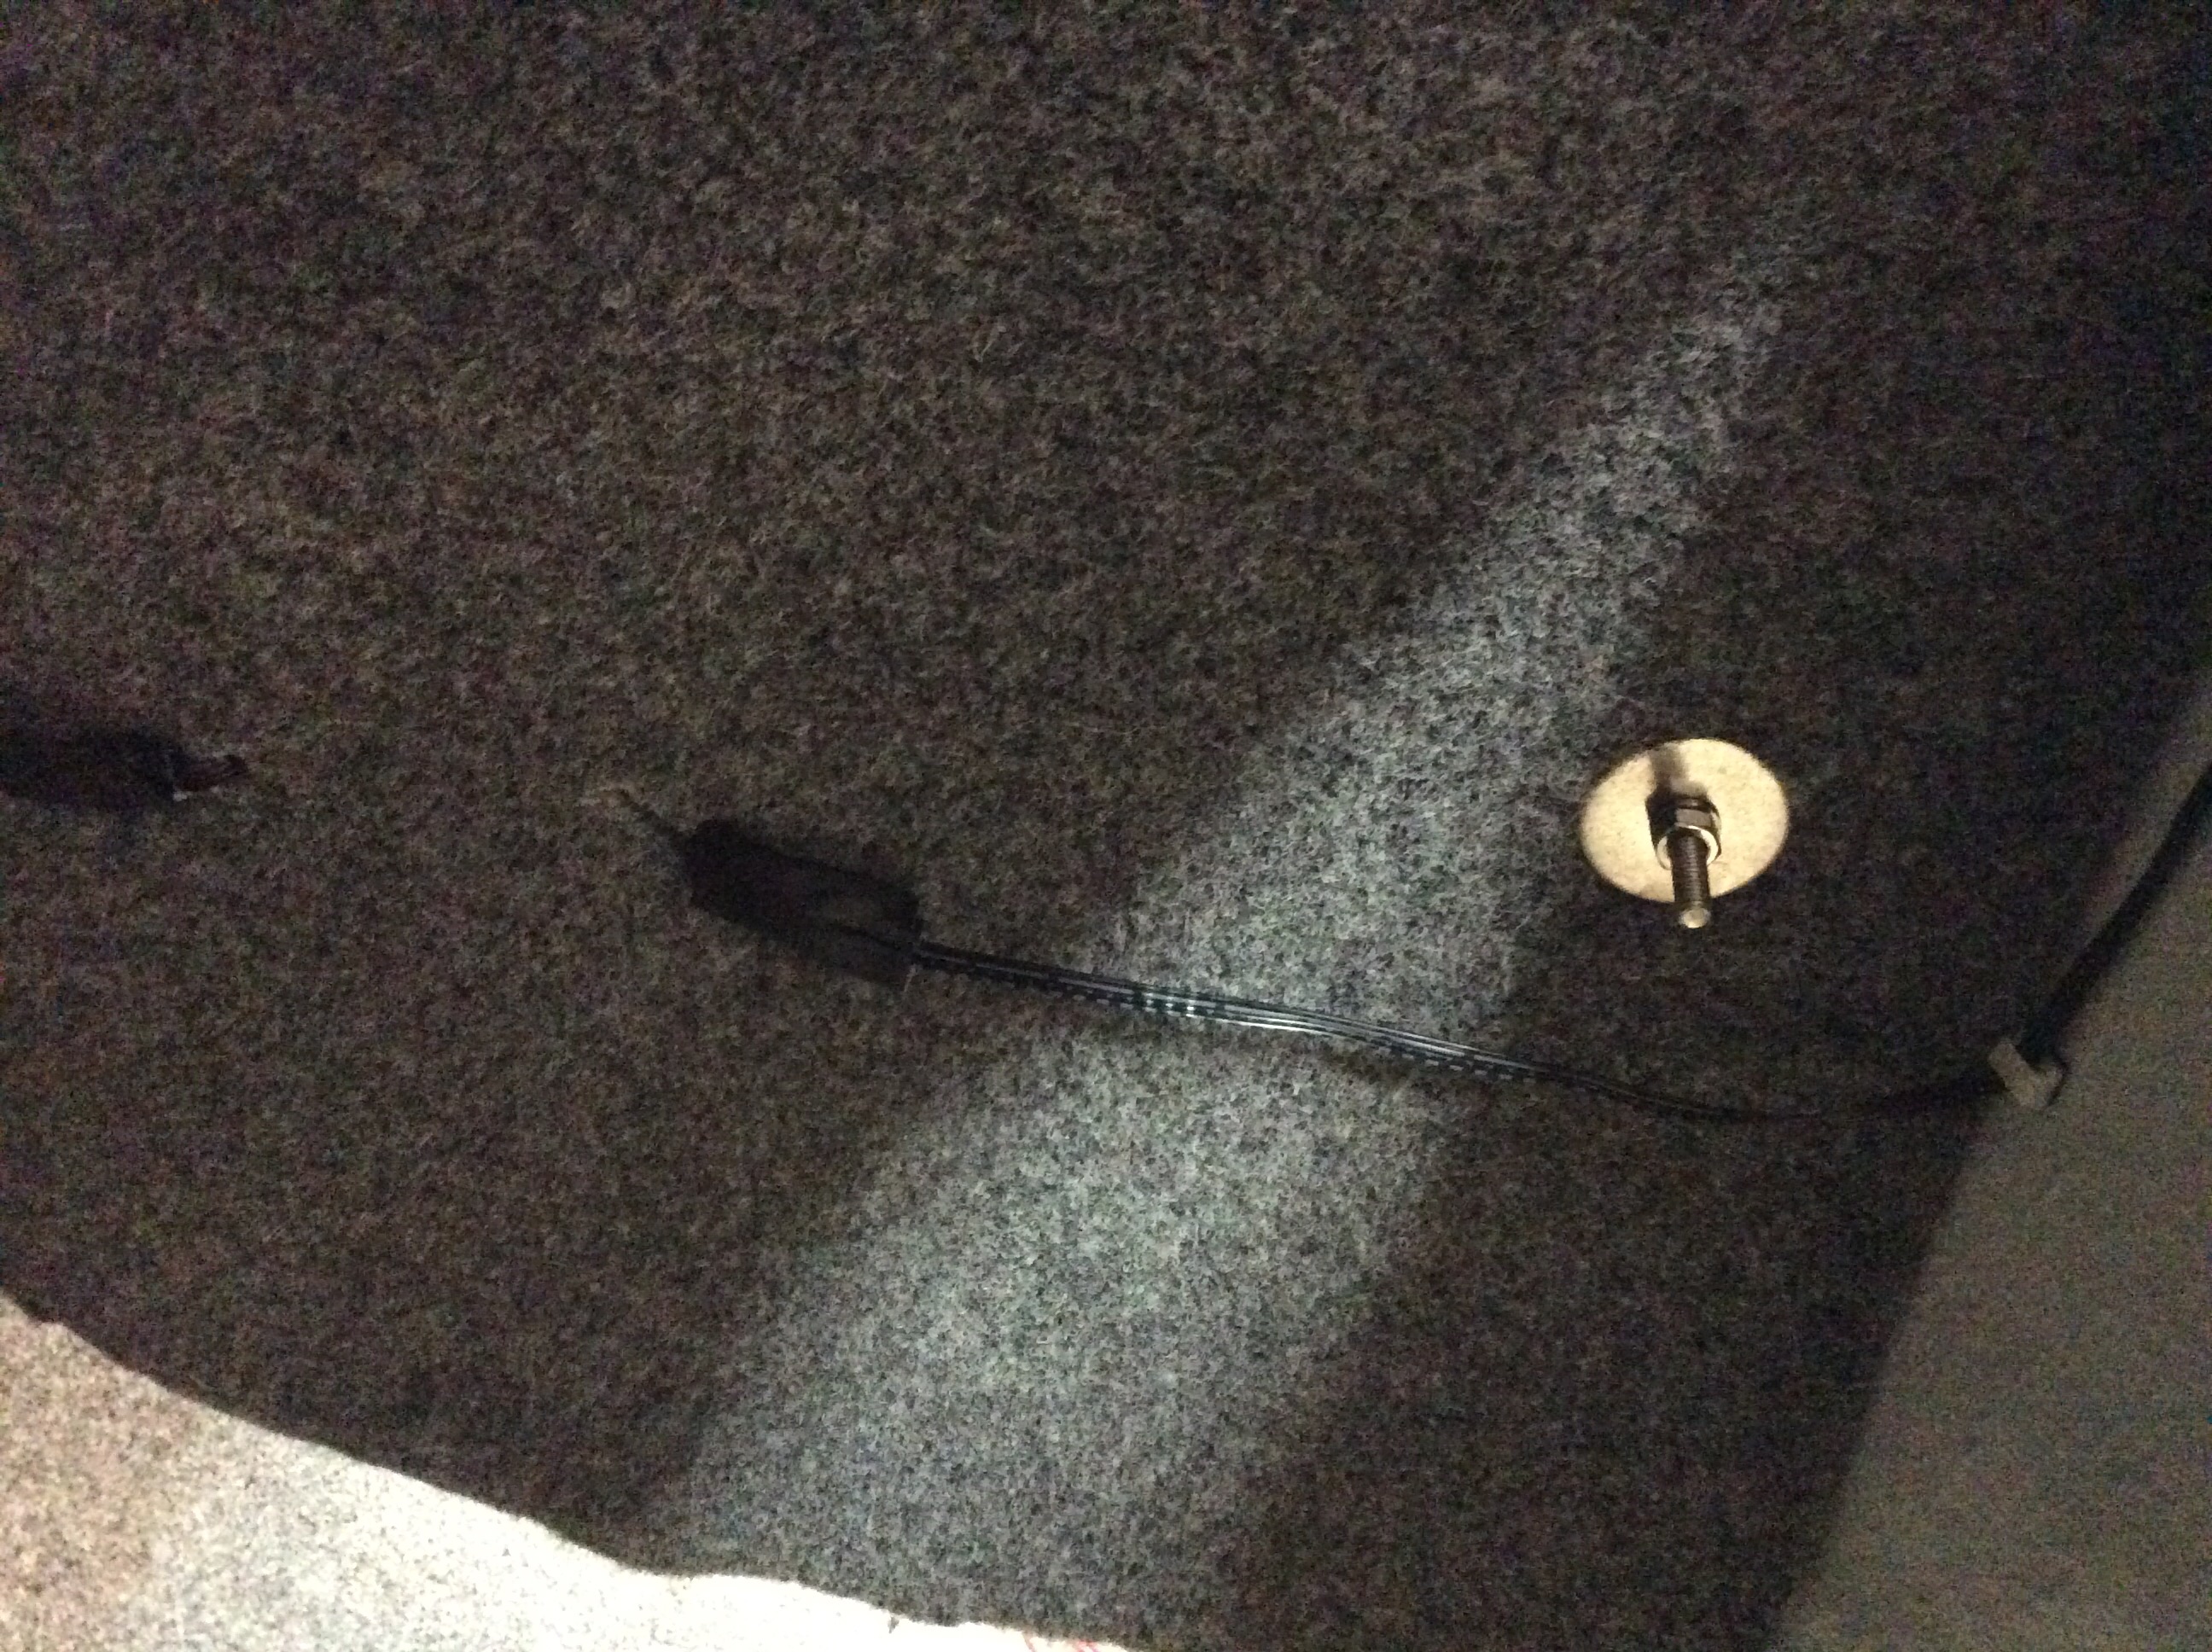
Okay, I was able to snap some pictures that might help...I'll try to make this work (and make sense). I placed the controller under the steering dash and tied into the 12v accessorie socket for power, this way it has power when I press the switch.


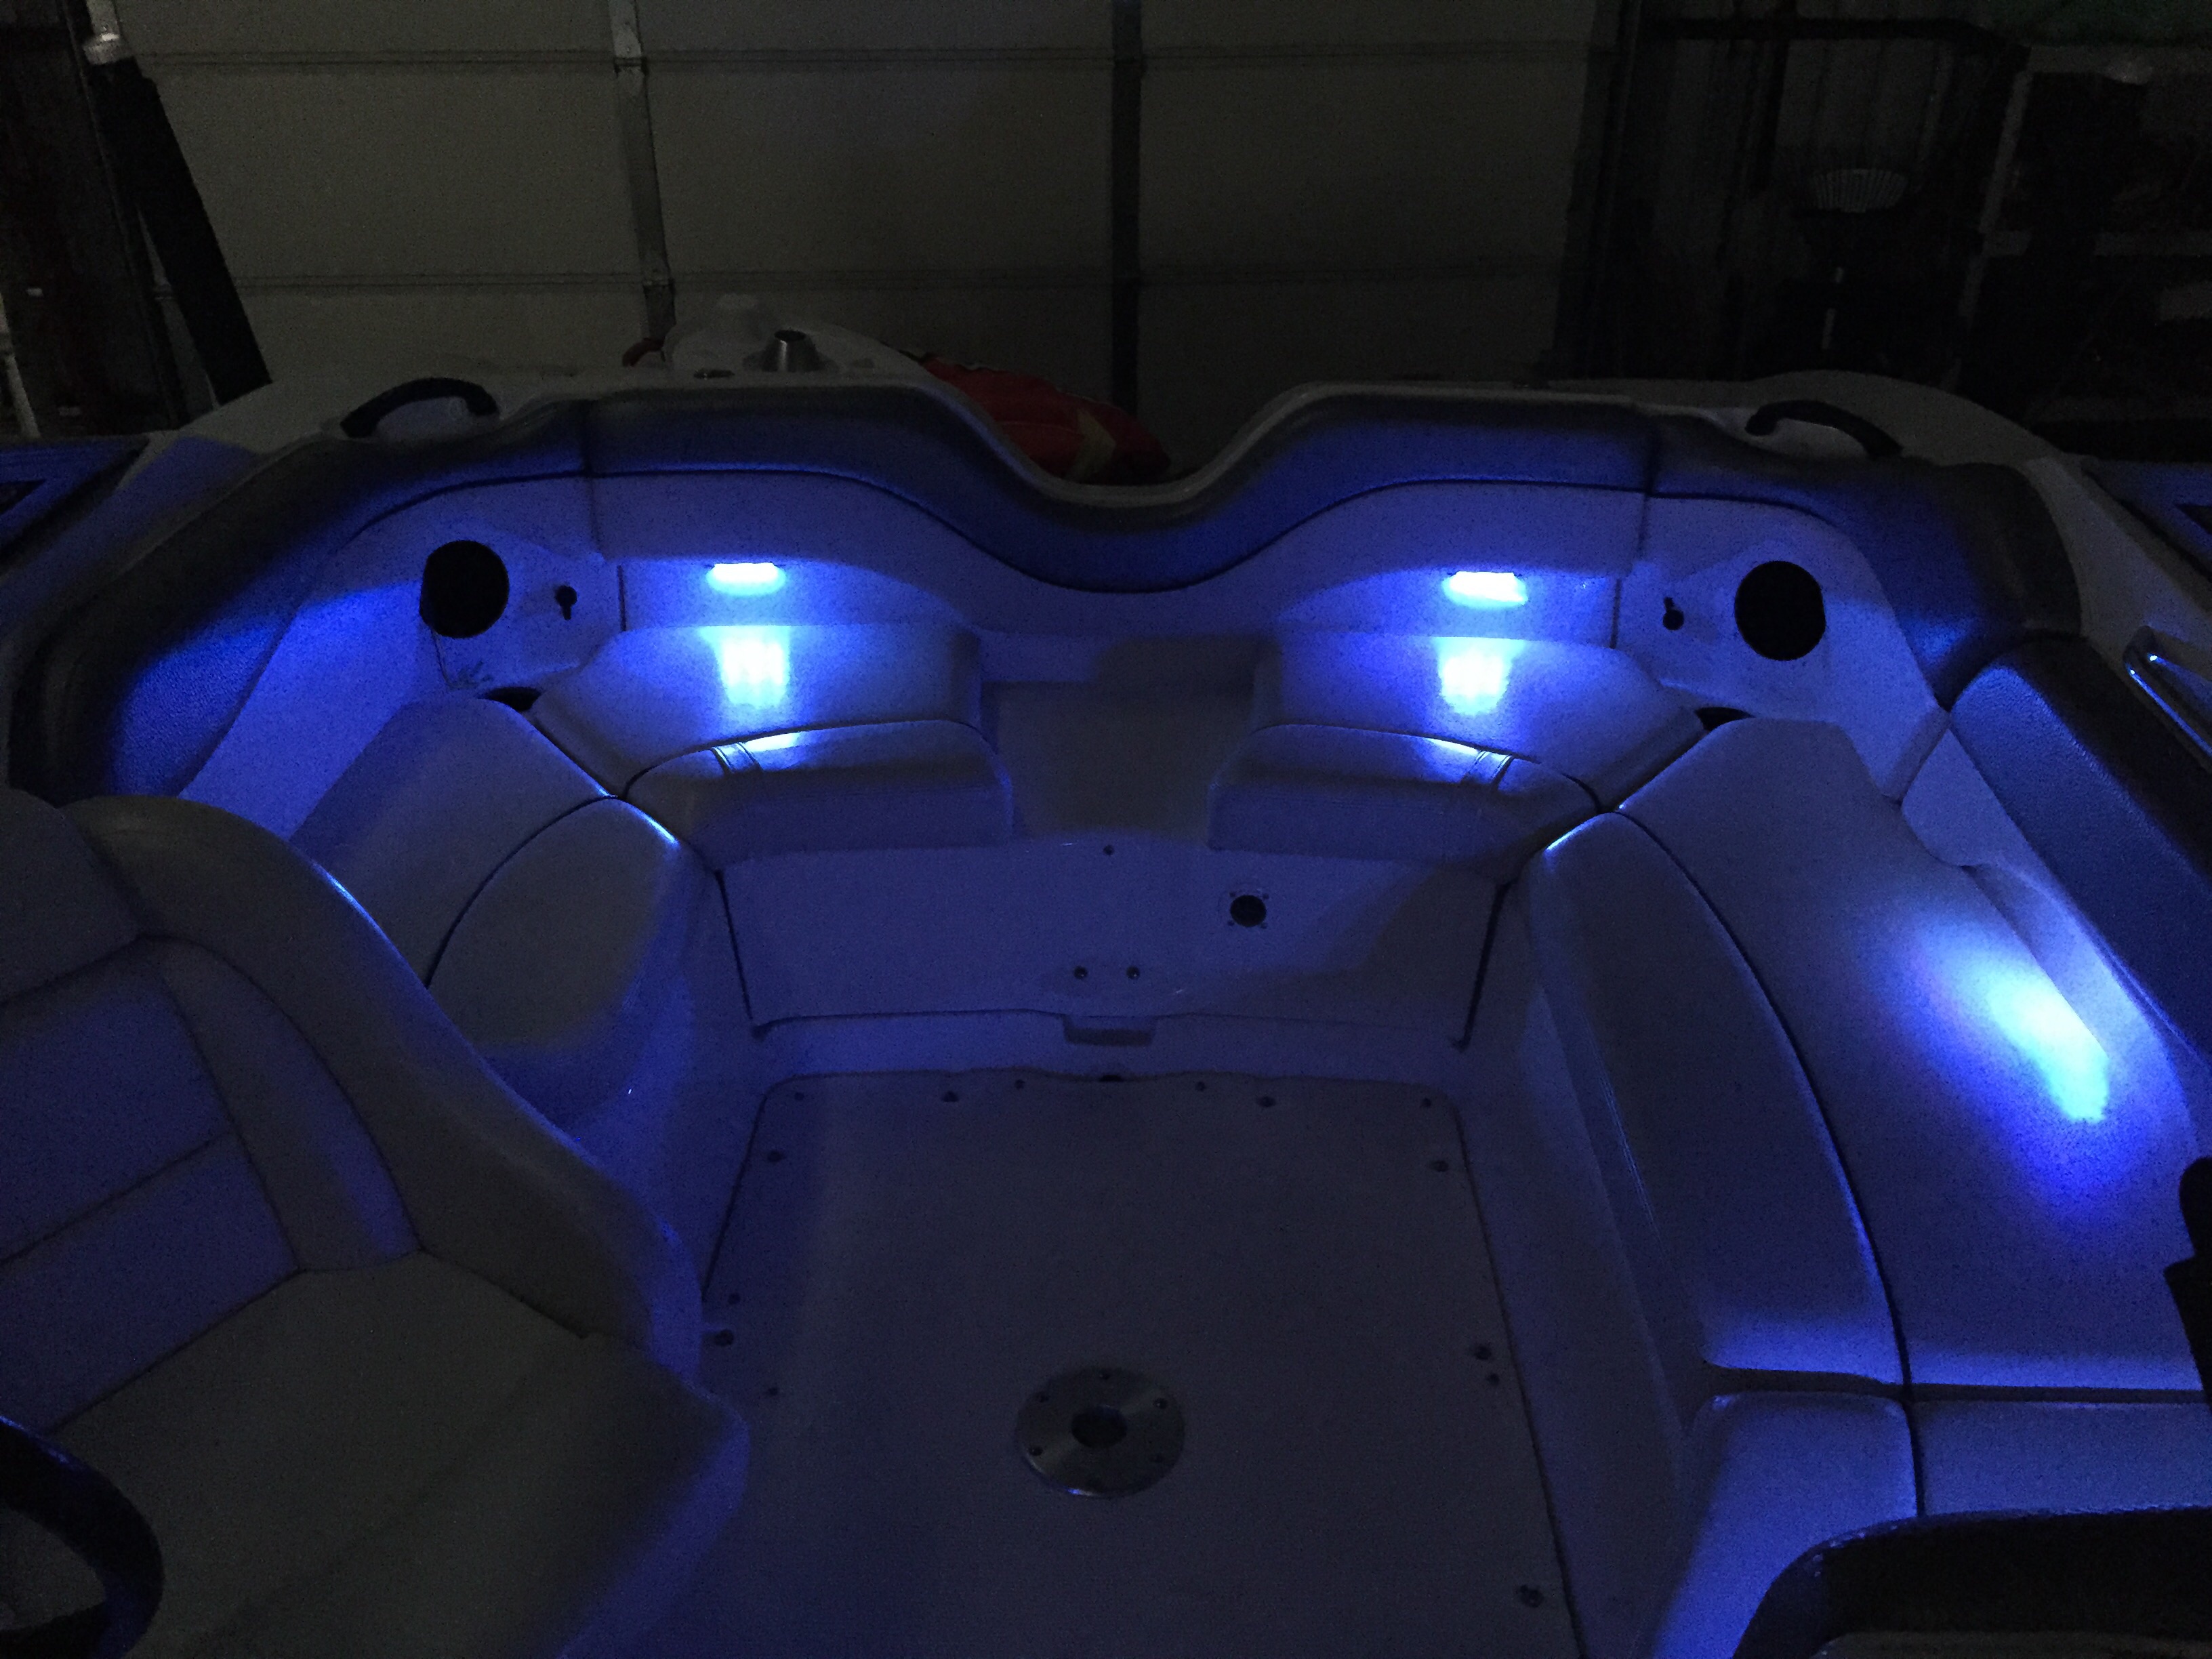
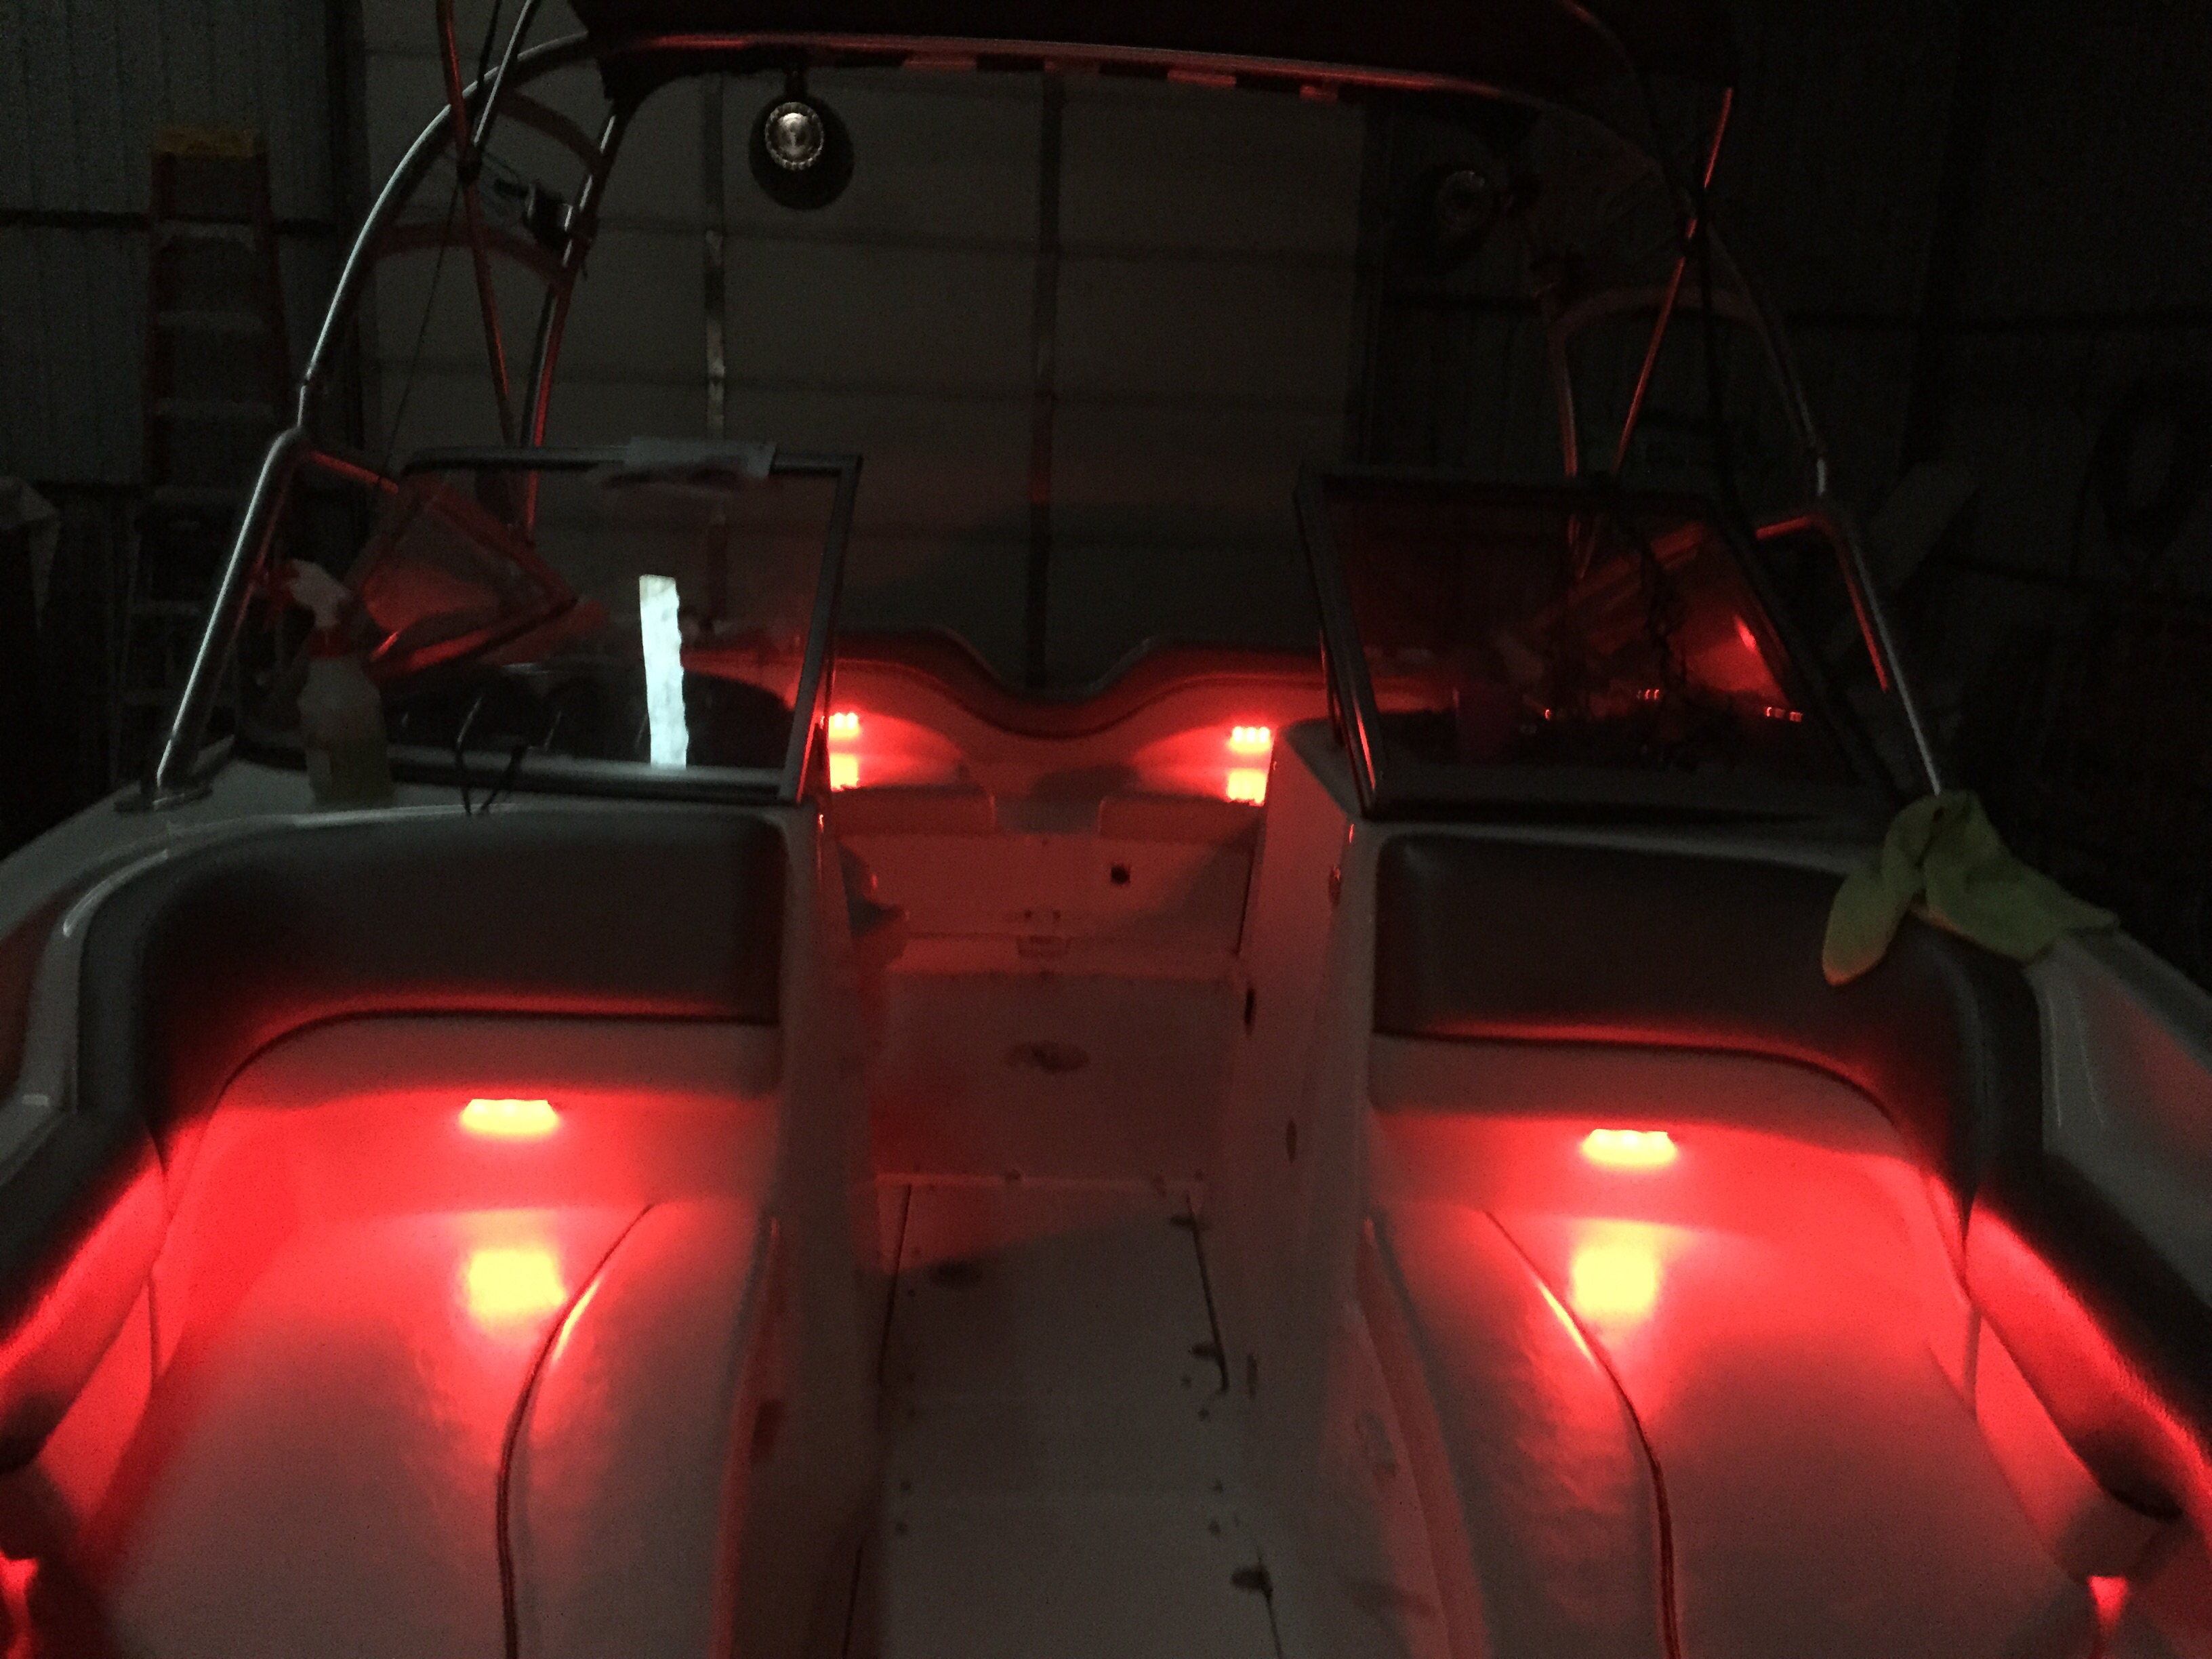
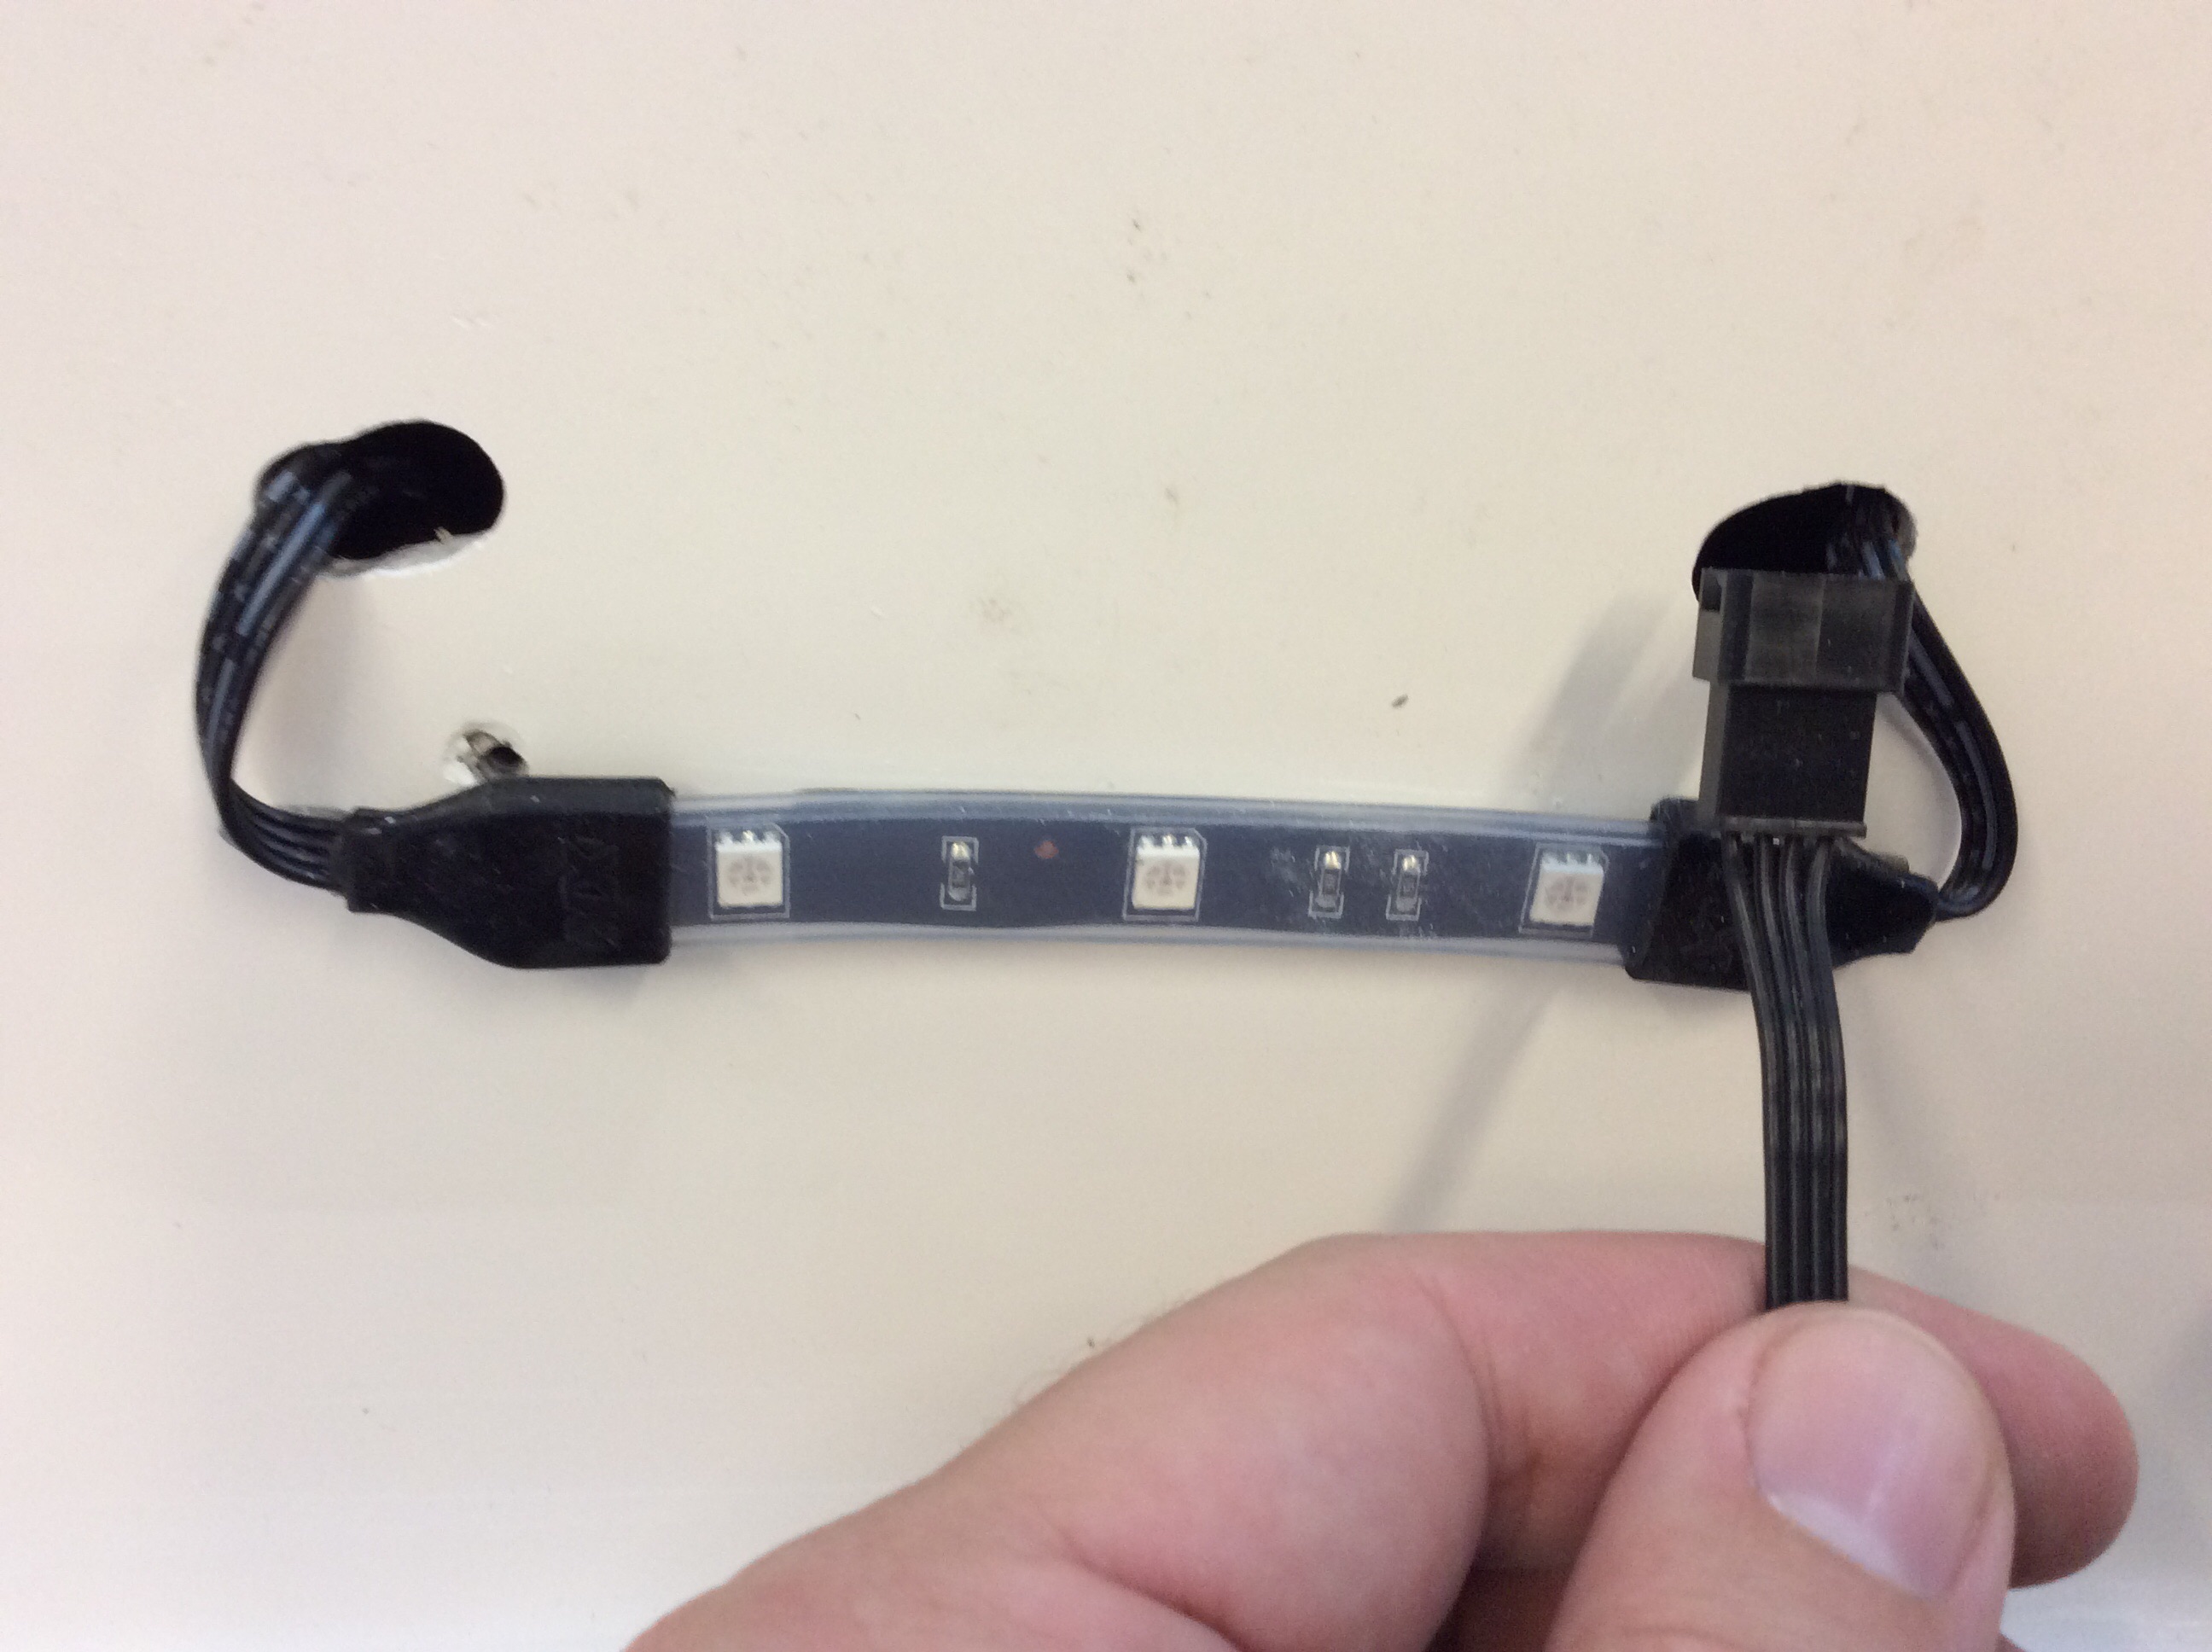
I ran the switch under my radio face. Then it is just running your light wires in the way you want; I put one zone in the cabin of the boat, and ran zone two to the swim deck.


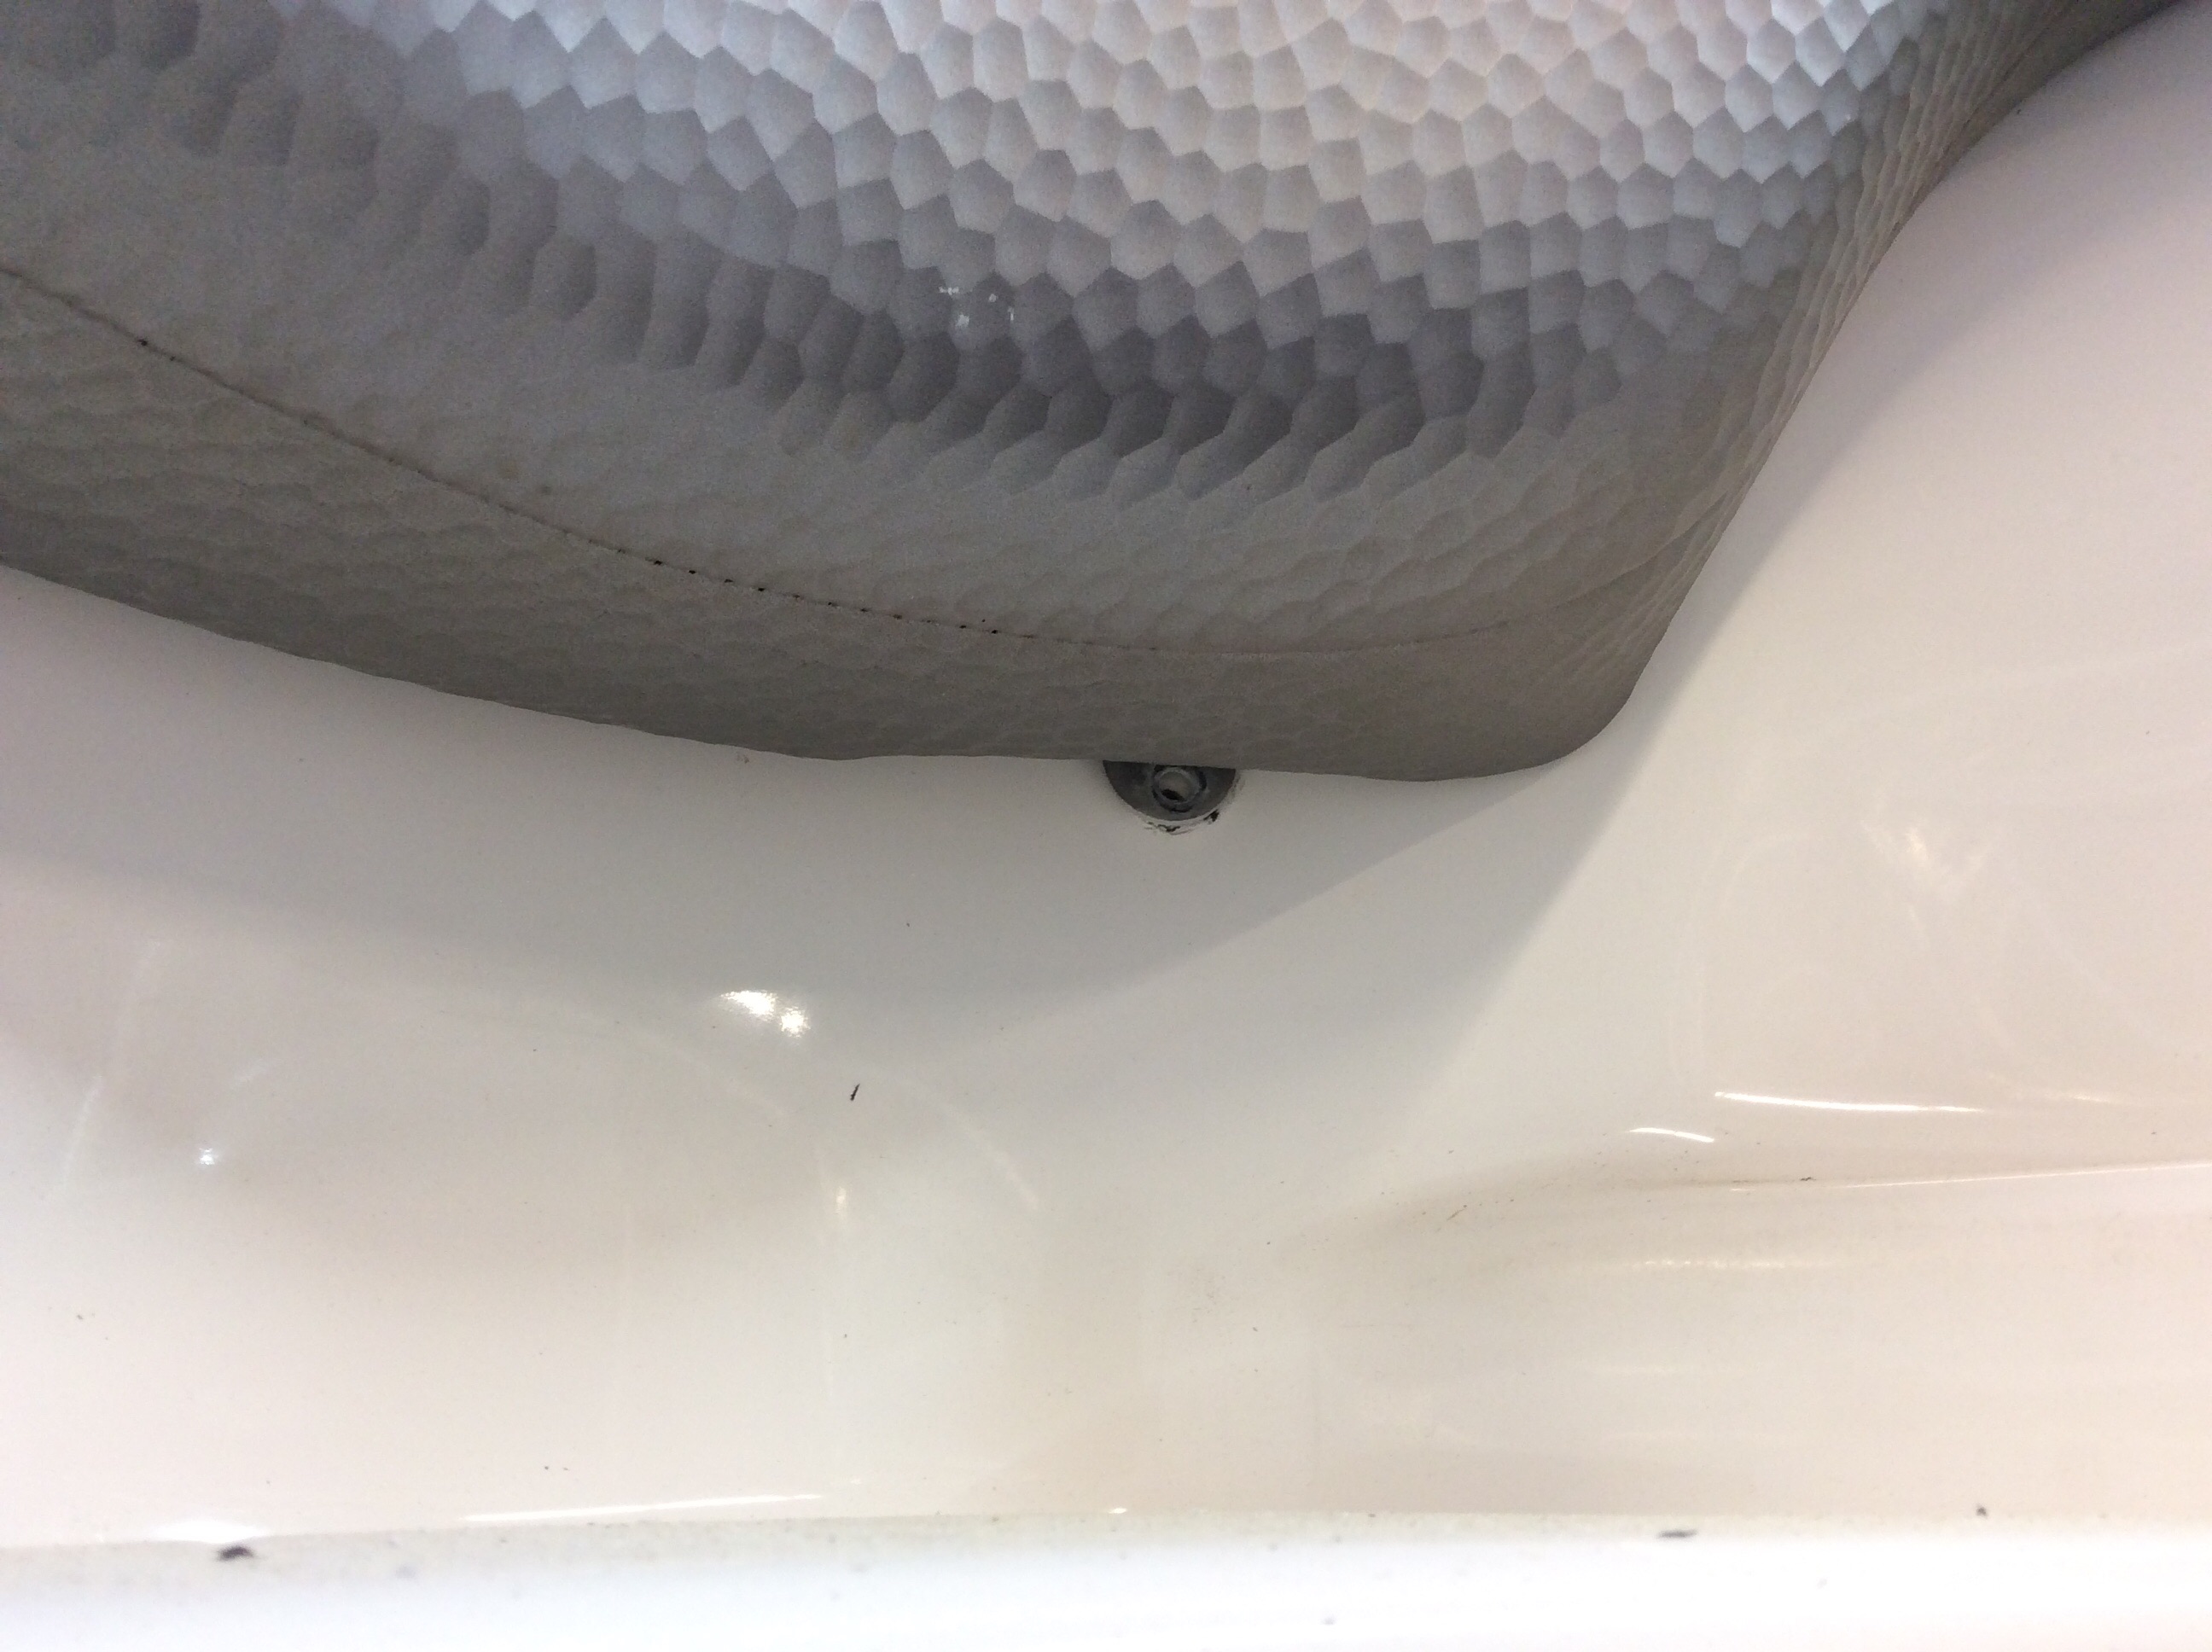
To get the seats off, first you have to locate the bolt plate on the seat, about 2 per seat but it varies. Here is a picture of the one via the storage locker (easiest one to get to by far!).


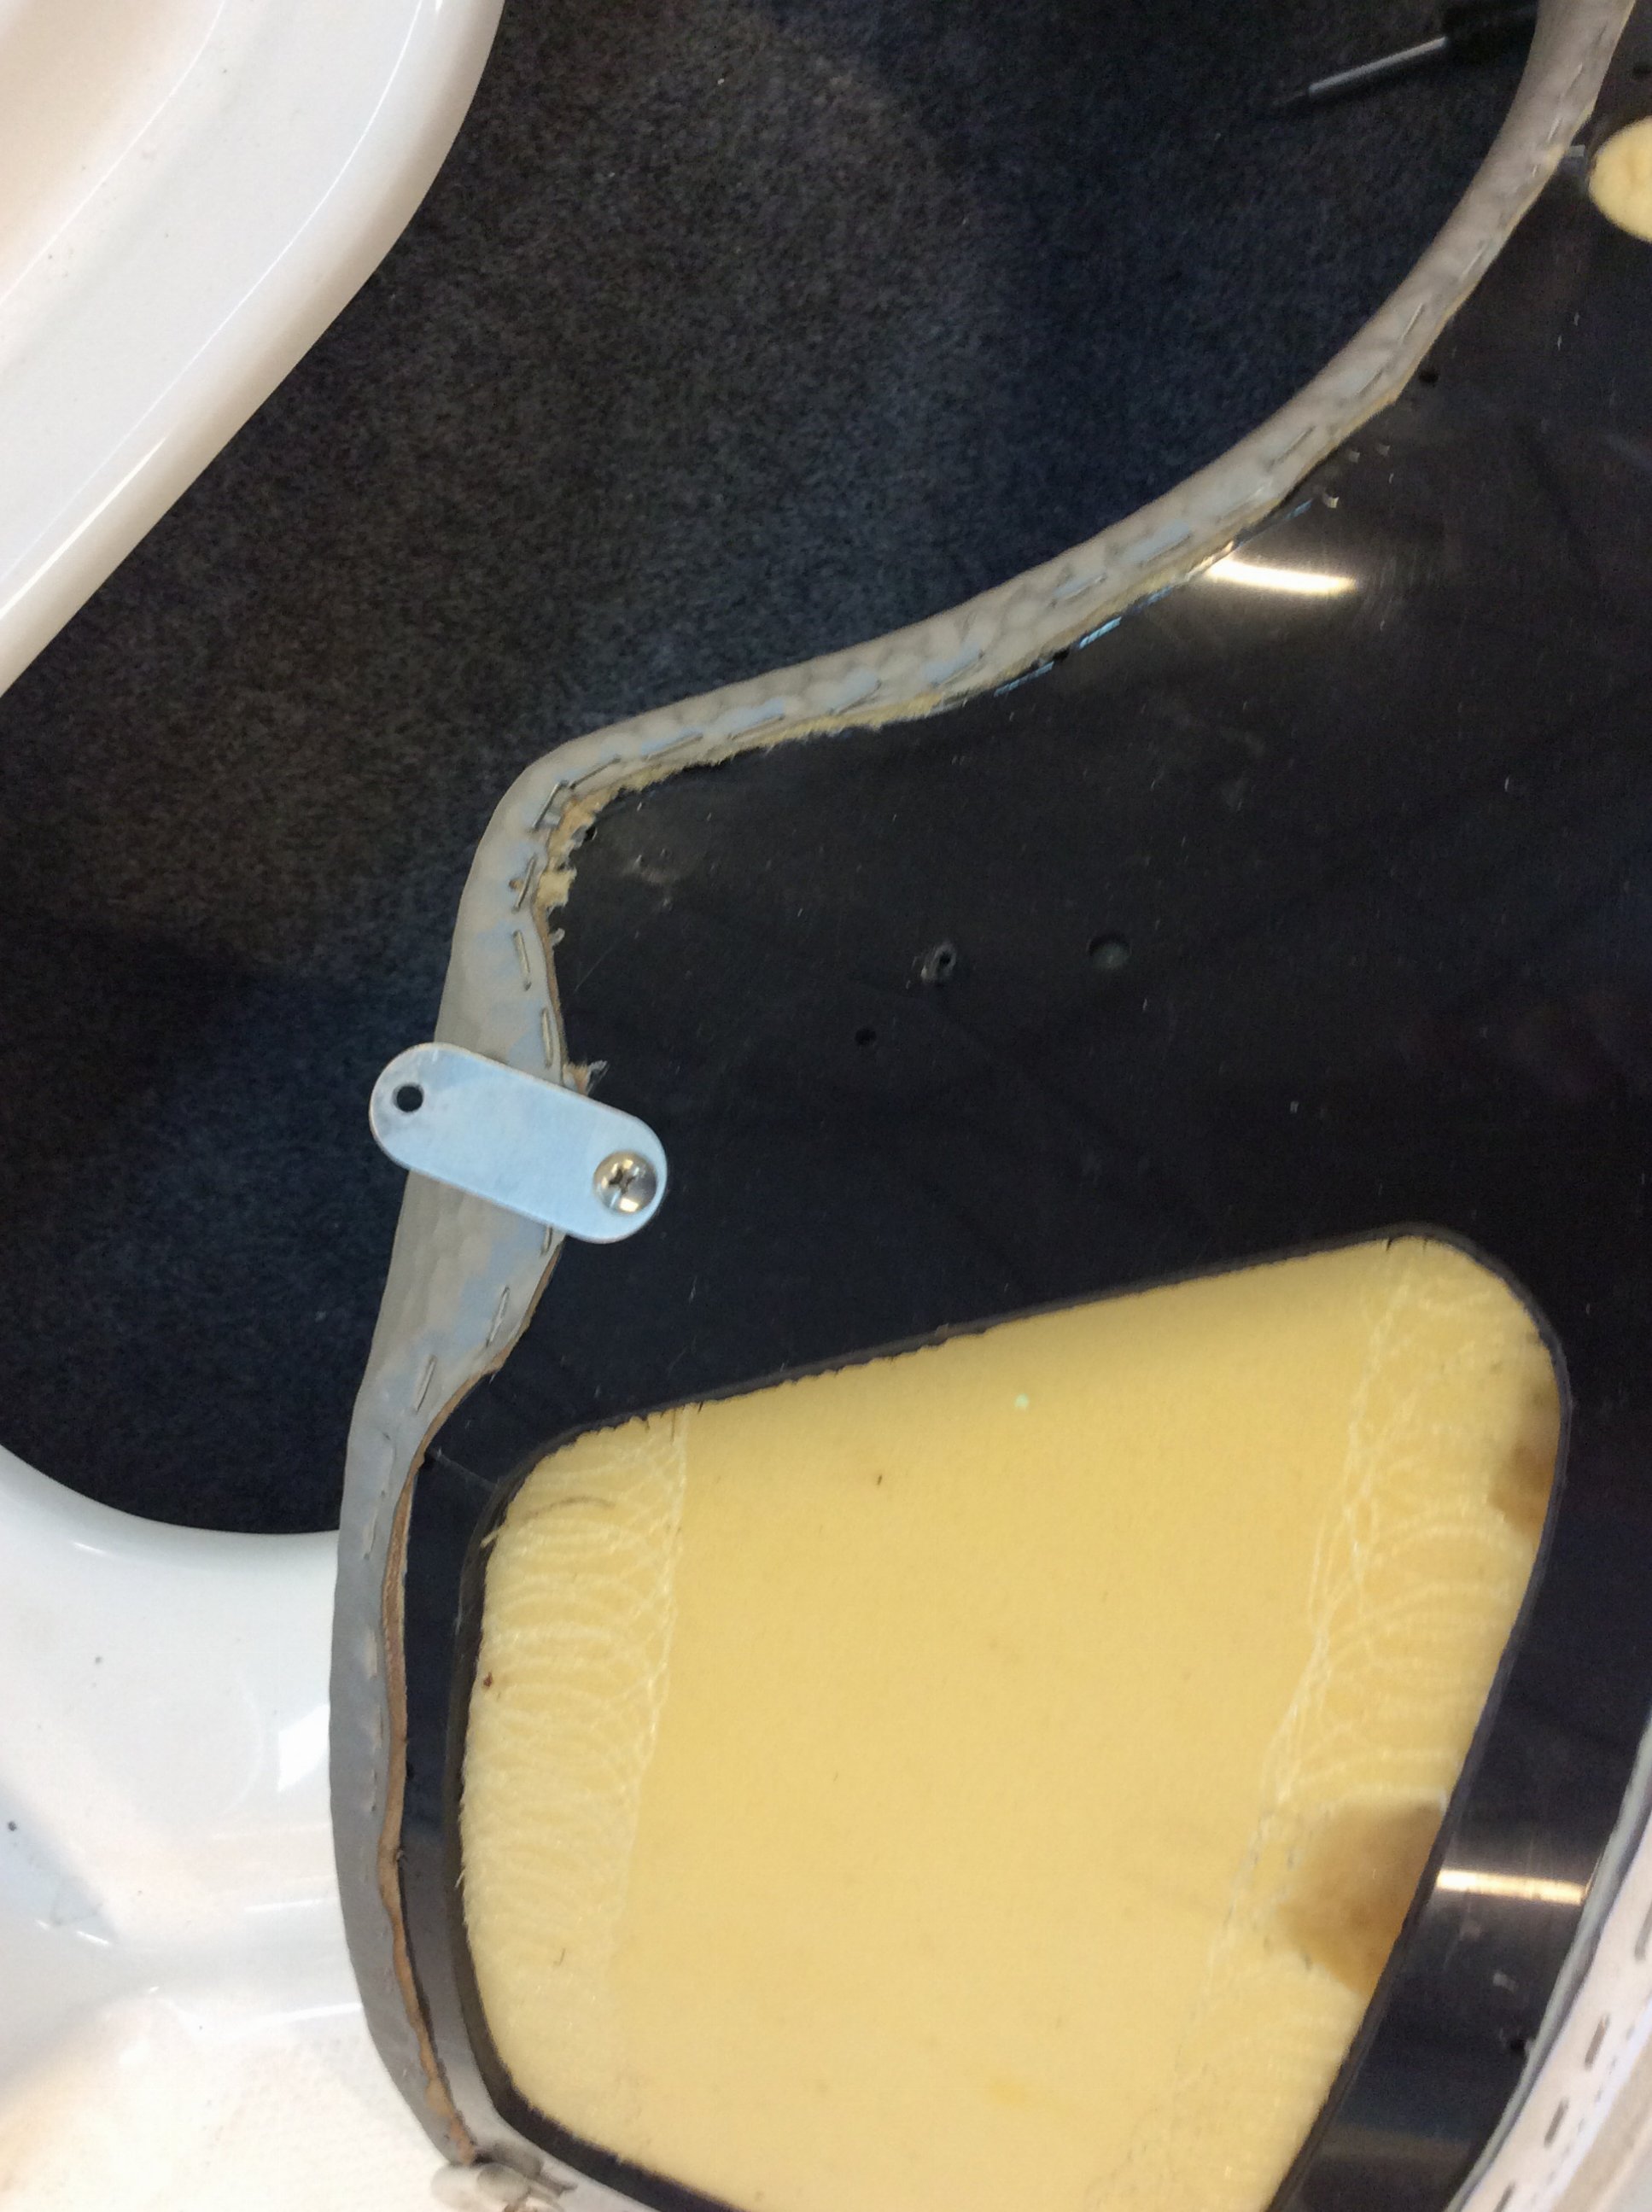
Next, you have to find all the screws on the bottom of the seat. Here is a close up pic (not easy to get a good picture).


Here is the back of the seat, focused on the screw plate. Be careful here, I had a screw get bound up in the fiberglass really bad and had to cut it off with a dremel (this was where the lots of cussing came in). After looking at it closer, looks like the screw was "glued" in, from the factory I'm assuming? Once you have all the screws and bolts off, it's a matter of gently pulling on the bottom of the cushion and lifting up.


The seat slides down on the metal brackets. If the seat doesn't slide up very easy, check again and make sure you have all the bolts off! Once you get the hang of it, it's fairly easy. The tricky ones are the swim deck, you'll need a "small person" (in my case, my 11 year old boy) to crawl back under the rear seats. These are by far the most trouble.


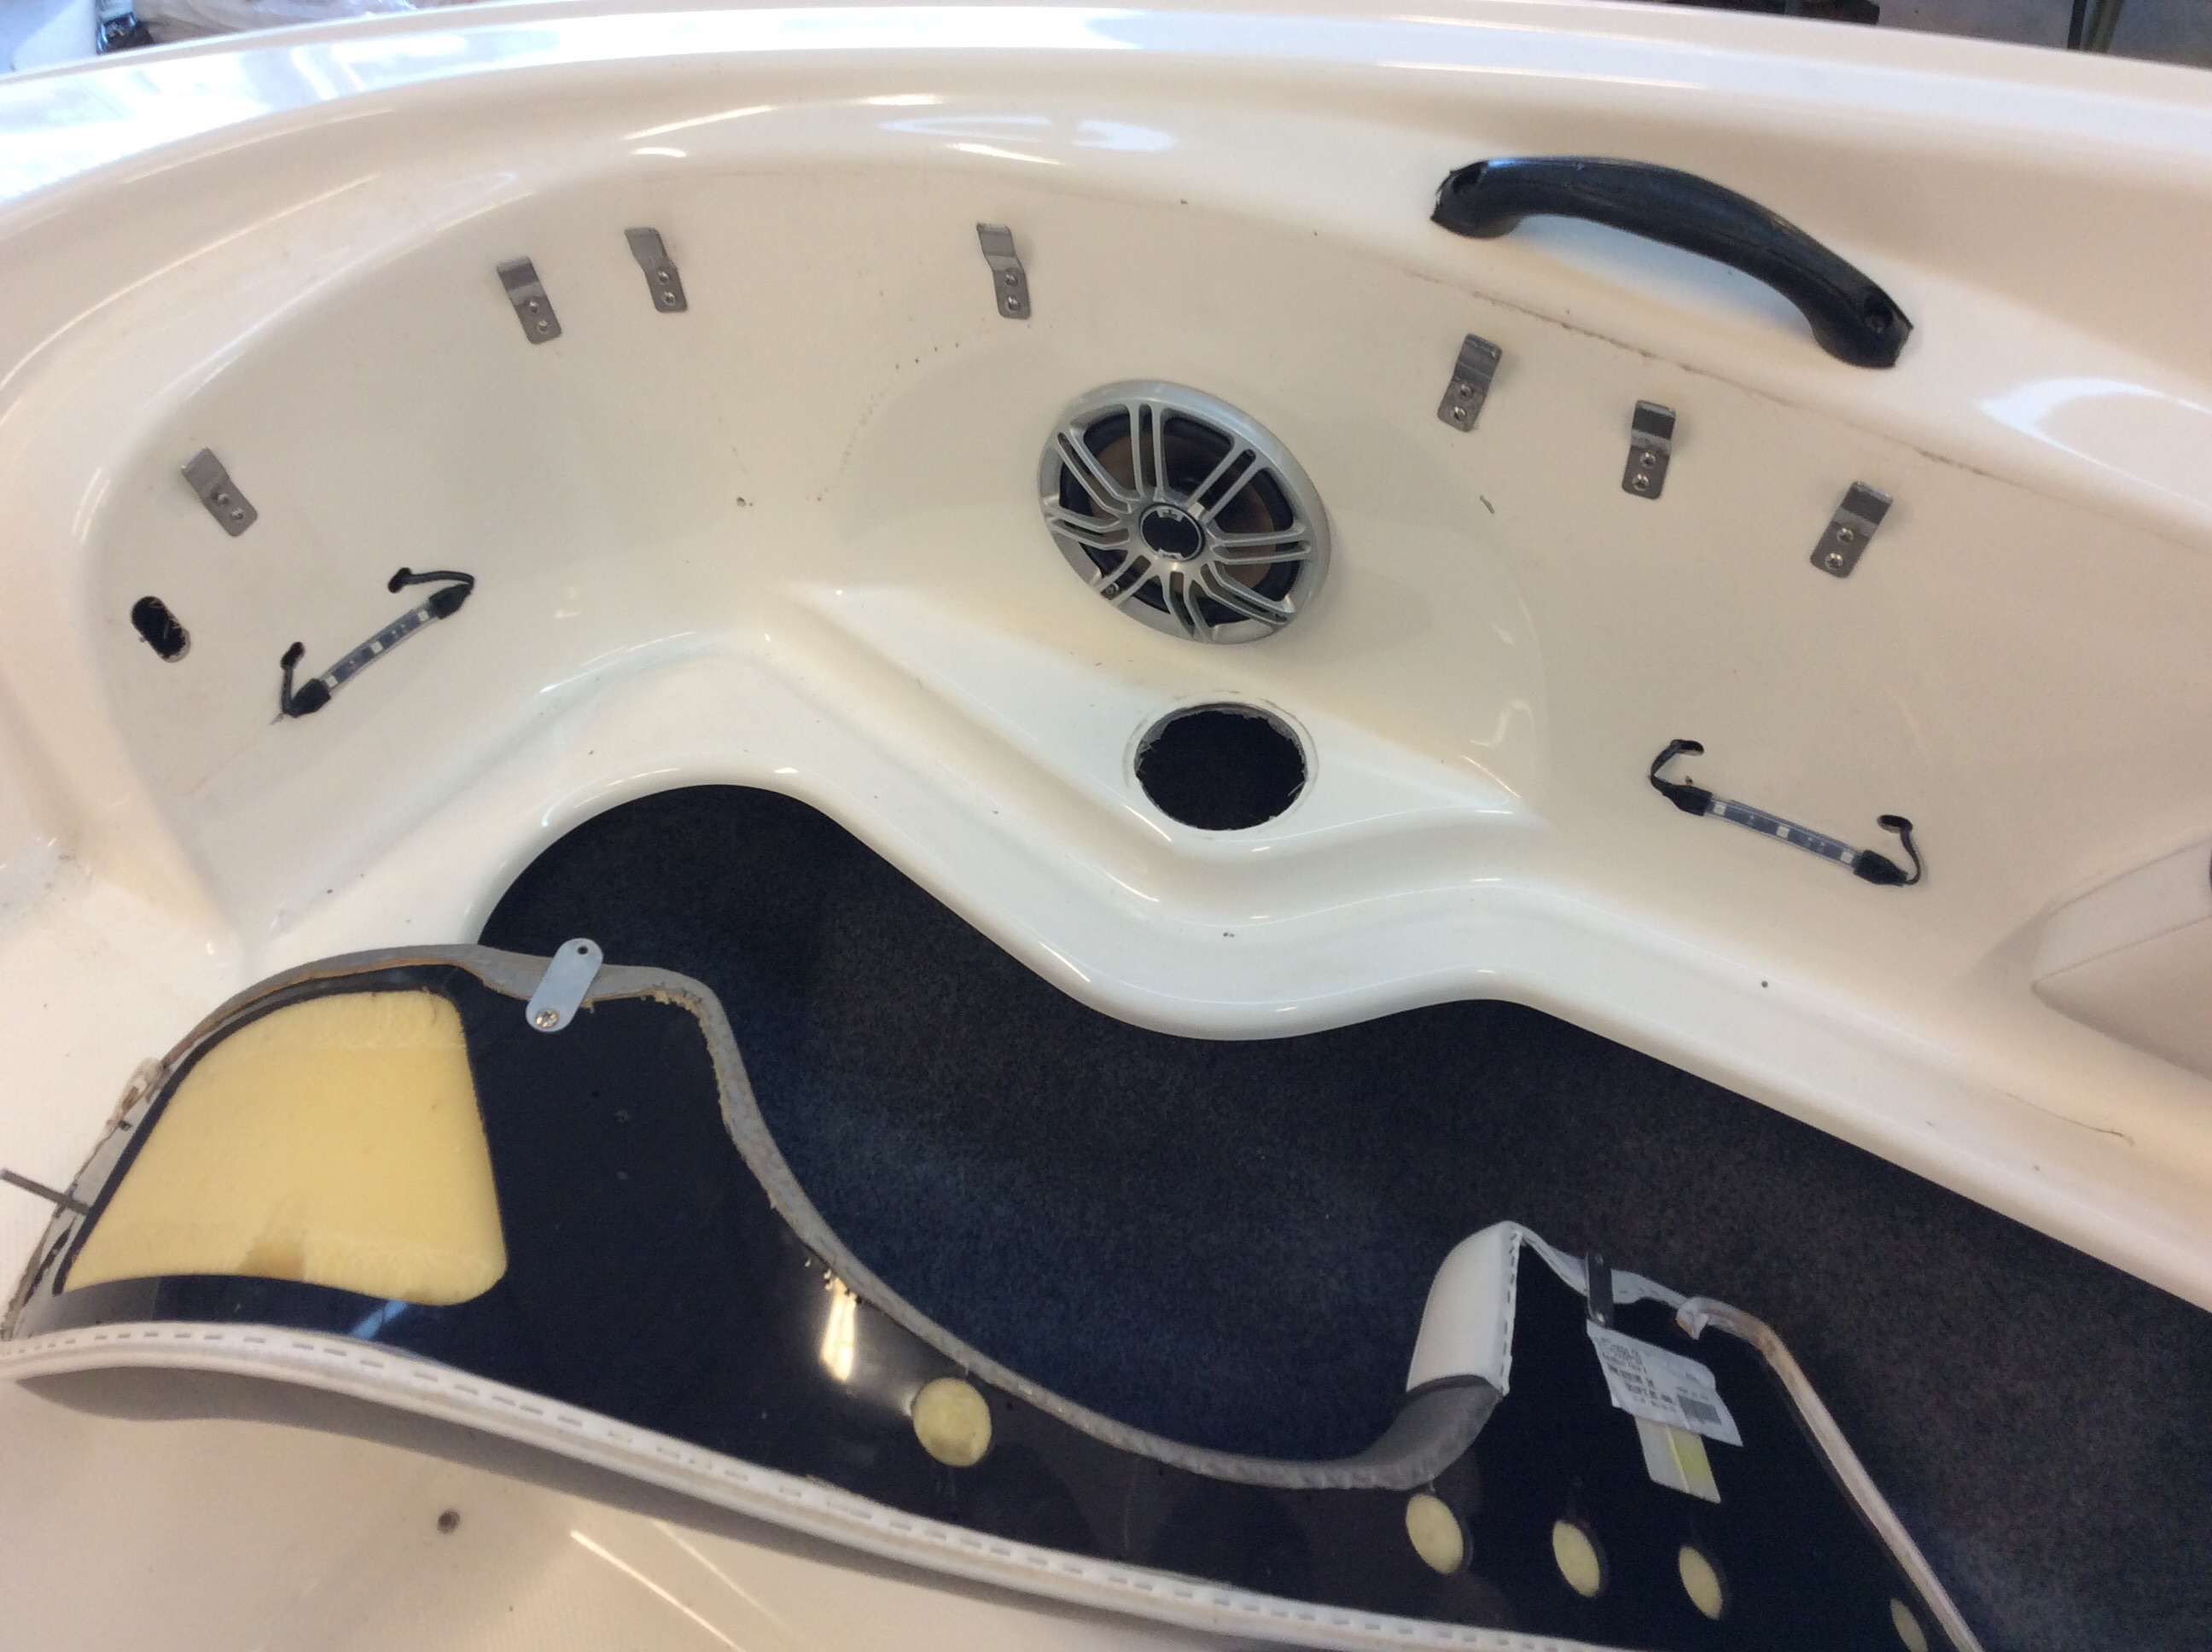
Here is a close up of the hole. Drill them about 1-1.5 inches above the light so the cushion completely covers them. Make them just wide enough for the connection to pass through.


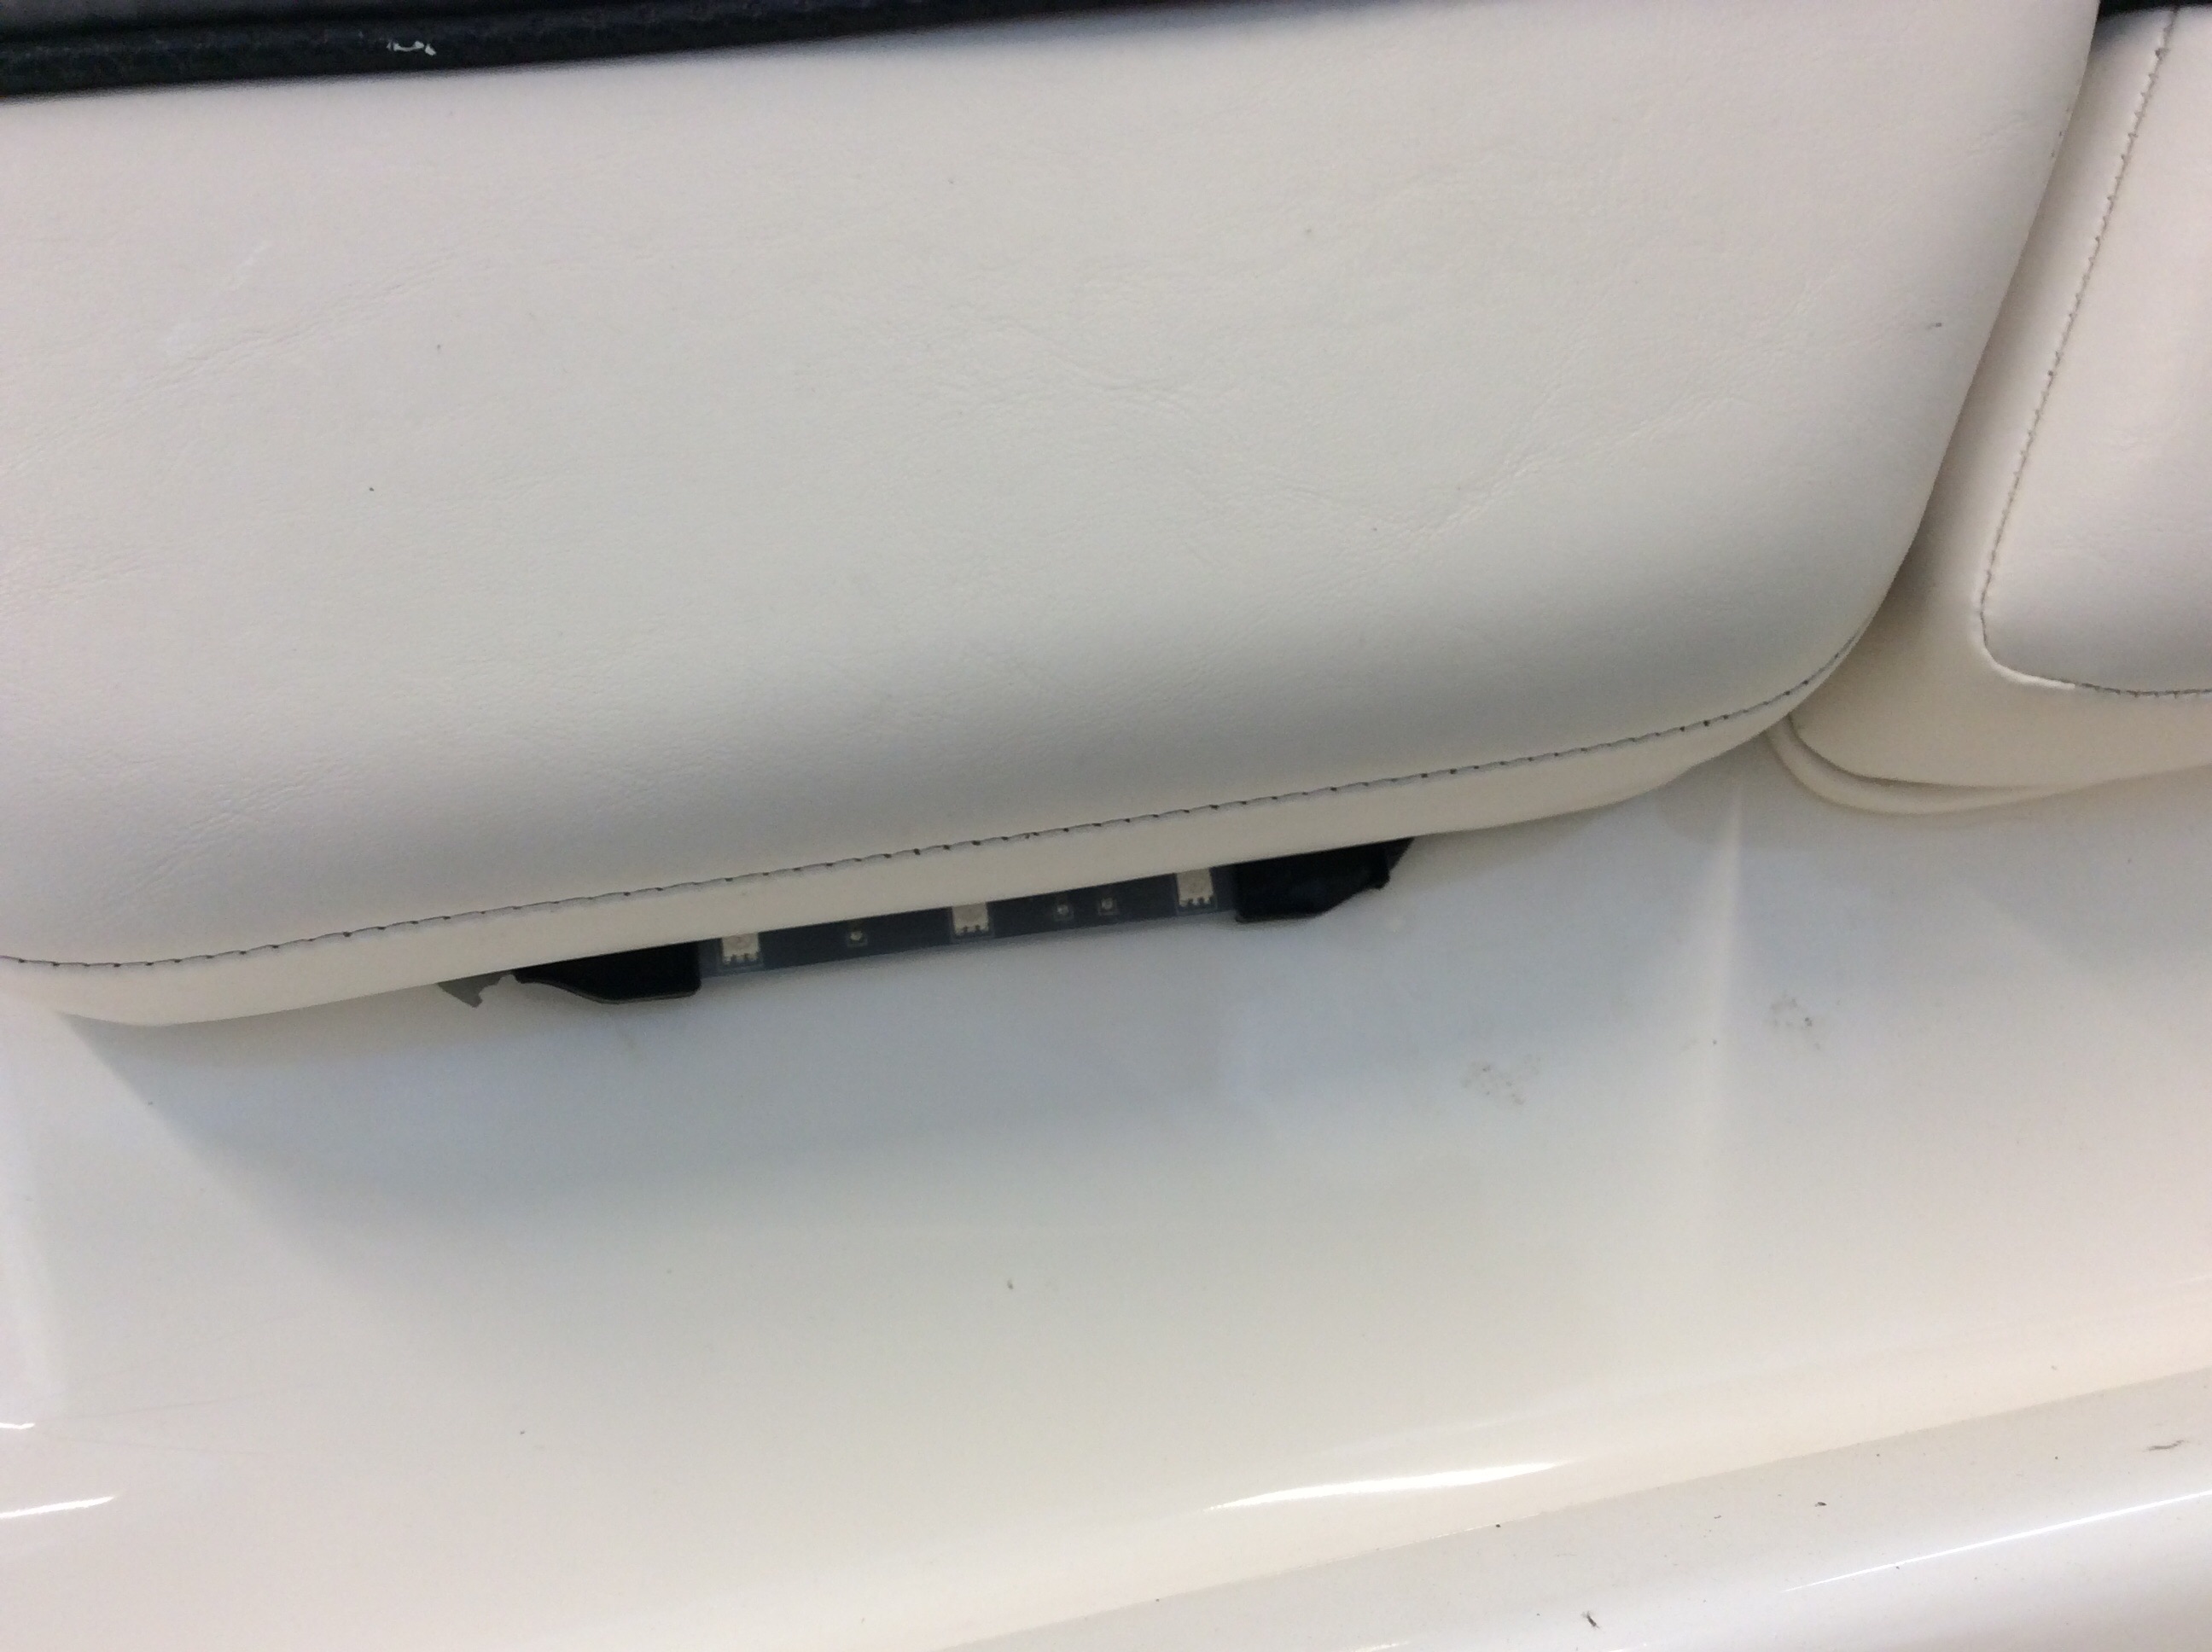
Here is the light with the seat on, tucked up nice and tight. Before I took any seats off, I marked the bottom edge of the seat where I wanted the lights with a silver sharpie. This will help with the placement...learned this AFTER taking all the seats off. Needless to say, I got pretty good at taking the seats on and off!

After you get all your lights ran, make sure it works! Then after confirming they all work, go back with waterproof tape (you'll need more, not enough in the kit) and wrap your connections. Then go back and hide your wires.

Hope this helps, let me know if you have any other questions.
 
@LyonsAR210 This is fantastic, I really appreciate you going through the trouble of getting and posting these pics!
 
Sorry for the late response, lol just got my kit in the mail...

Only question is have you had fuse problems after tying into the accessory 12v supply on the dash?
 
Back
Top