• Welcome to Jetboaters.net!

    We are delighted you have found your way to the best Jet Boaters Forum on the internet! Please consider Signing Up so that you can enjoy all the features and offers on the forum. We have members with boats from all the major manufacturers including Yamaha, Seadoo, Scarab and Chaparral. We don't email you SPAM, and the site is totally non-commercial. So what's to lose? IT IS FREE!

    Membership allows you to ask questions (no matter how mundane), meet up with other jet boaters, see full images (not just thumbnails), browse the member map and qualifies you for members only discounts offered by vendors who run specials for our members only! (It also gets rid of this banner!)

    free hit counter

Ridesteady Install- 2019 AR195

Wake_Dude

Jet Boat Addict
Messages
139
Reaction score
157
Points
102
Boat Make
Yamaha
Year
2019
Boat Model
AR195
Boat Length
19
Hello everyone. Finally took the plunge and ponied up for a Ridesteady. Here is a quick write up on my installation. I couldn't be happier with the quality of the kit, the manual, and the service from Ridesteady. Going to test it out next week on the lake!

I decided to do some steps out of order (sue me, LOL) and started with installing the main display. See that shitty phone holder? That is going to be the sacrificial lamb for the display. Wasn't really a fan of it to begin with. It is very simple to remove, two bolts and nuts (which are easily accessed behind the helm).

IMG_1695.JPG


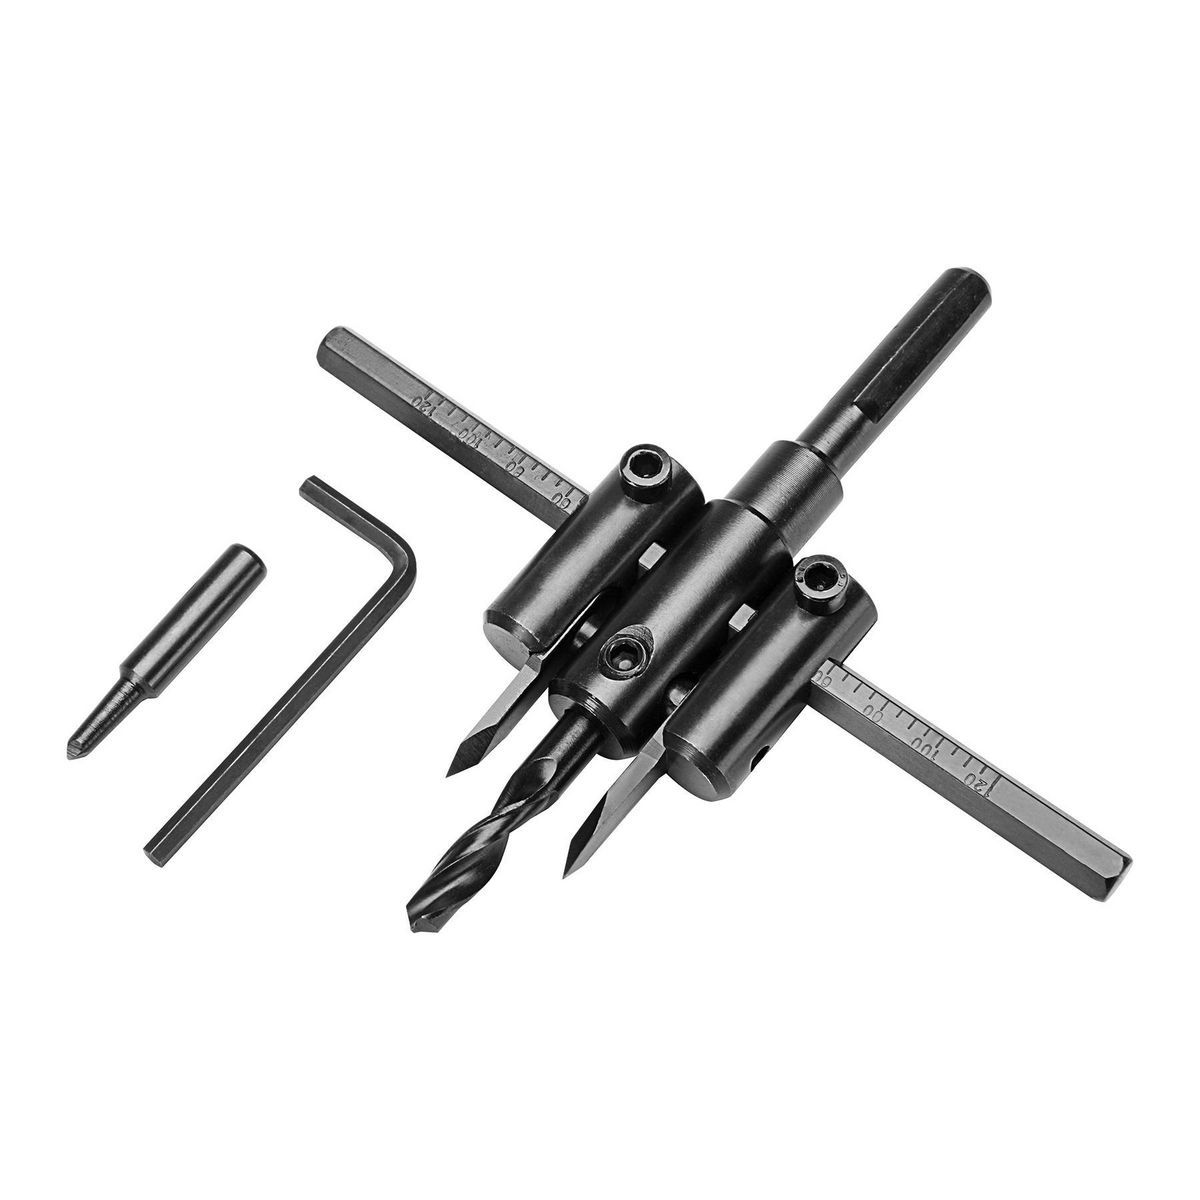
Once the phone holder was removed, I made a horizontal line between the two holes and then marked center on the line and drilled a pilot hole. The phone holder's location is perfectly centered on the dash and is a great place to mount this display. Sorry for the angled pic, it makes the line look off, but it's straight. LOL

IMG_1715.JPG
 

Wake_Dude

Jet Boat Addict
Messages
139
Reaction score
157
Points
102
Boat Make
Yamaha
Year
2019
Boat Model
AR195
Boat Length
19
Next was to drill the hole. I used a circle cutter from HF (see link) that worked perfectly for this application. It works best in a drill press, but can be used with a hand drill, especially in soft materials, i.e. plastic/fiberglass.


IMG_1711.JPG

If you want a perfectly concentric and accurate hole, buy a set of calipers to measure out your cutters correctly. I measured the diameter of the ridesteady display and adjusted my cutter to OD + .005 for a perfect fit.

IMG_1713.JPG

Hole is drilled very clean.

IMG_1716.JPG

IMG_1717.JPG
 

Wake_Dude

Jet Boat Addict
Messages
139
Reaction score
157
Points
102
Boat Make
Yamaha
Year
2019
Boat Model
AR195
Boat Length
19
Next was to slide in the display and mount behind the helm.

IMG_1721.JPG

The bottom of the backing plate had to be trimmed a bit to clear the fiberglass behind the plastic panel, then secured with the provided hardware.

IMG_1718.JPG
 

Wake_Dude

Jet Boat Addict
Messages
139
Reaction score
157
Points
102
Boat Make
Yamaha
Year
2019
Boat Model
AR195
Boat Length
19
When deciding where to mount the GPS sensor, I didn't like the idea of having exposed wire anywhere, and I didn't want to mount it inside the helm, so I modeled up a quick pod for the sensor to sit in and then 3D printed it.

IMG_1731.JPG


IMG_1736.JPG
 

Wake_Dude

Jet Boat Addict
Messages
139
Reaction score
157
Points
102
Boat Make
Yamaha
Year
2019
Boat Model
AR195
Boat Length
19
I decided to mount the GPS assembly behind the steering wheel, which is oriented for a direct view of the sky through the center of the windshield. The assembly was secured using velcro.

IMG_1734.JPG

IMG_1735.JPG

IMG_1739.JPG

IMG_1738.JPG
 

Wake_Dude

Jet Boat Addict
Messages
139
Reaction score
157
Points
102
Boat Make
Yamaha
Year
2019
Boat Model
AR195
Boat Length
19
Now for the boring wiring madness, lol.

Tapping into the ignition. Taps covered with electrical tape.

IMG_1742.JPG

Green wire to Nav light gray/blue

IMG_1746.JPG

The manual does an excellent job of stating how to hook up all the connections within the engine bay so I'm not going into detail with that, but here are some pics for reference.

I will say that I was not able to get the APS connector off without temporarily removing the APS. The latch was against the wall that the APS was mounted to and I couldn't get a finger in there to detach the connector.

Oh, and wrap all of your wiring in the protective plastic sheathing.

IMG_1722.JPG

IMG_1725.JPG

IMG_1726.JPG
 

Wake_Dude

Jet Boat Addict
Messages
139
Reaction score
157
Points
102
Boat Make
Yamaha
Year
2019
Boat Model
AR195
Boat Length
19
I decided to mount the CPU using heavy duty velcro. It is very strong; I've used it to mount much heavier things (i.e. amps) and have had no issues with it. The CPU feels like it weighs 0.5-1 lb. Clean the fiberglass prior to mounting.

IMG_1740.JPG

CPU mounted and tidying up the wiring.

IMG_1748.JPG
 

Wake_Dude

Jet Boat Addict
Messages
139
Reaction score
157
Points
102
Boat Make
Yamaha
Year
2019
Boat Model
AR195
Boat Length
19
That's a wrap! If y'all have any questions, let me know. I'll be testing the ridesteady 6/19-6/28 and will be sure to report back. I'm sure it's going to work great.

See ya on the water!

IMG_1382.JPG
 

QuakeTen

Jet Boat Addict
Messages
31
Reaction score
26
Points
87
Boat Make
Yamaha
Year
2019
Boat Model
AR195
Boat Length
19
Looks great. Thanks for sharing. I am thinking about putting one on my ’19 AR195 but may have to wait until winter as my boat is already in the water and docked. How long would you estimate an install would take for an average guy?
 

Wake_Dude

Jet Boat Addict
Messages
139
Reaction score
157
Points
102
Boat Make
Yamaha
Year
2019
Boat Model
AR195
Boat Length
19
Looks great. Thanks for sharing. I am thinking about putting one on my ’19 AR195 but may have to wait until winter as my boat is already in the water and docked. How long would you estimate an install would take for an average guy?
Thanks! For me, it took a full day, but I'm slow, LOL. I try to be very meticulous and keep everything tidy and do a clean install. I've heard of others installing in 3-4 hrs. YMMV. Not a great amount of skill level is needed. The manual is very clear and straight forward. The most critical part of the install is drilling that hole in the dash for display. Take your time, measure correctly, and use the appropriate tools; it should be no problem. If you have any questions, please don't hesitate to ask. I'm glad to help out.
 

2kwik4u

Jetboaters Fleet Admiral
Messages
7,389
Reaction score
9,459
Points
542
Location
Georgetown, IN
Boat Make
Yamaha
Year
2017
Boat Model
AR
Boat Length
19
Great install and write up. Love the detailed pictures. Very well done.

Ridesteady has been on my wanted mod list for awhile, just keeps getting moved back on the list for other things.

I'll be on the lookout for your on the water review. Everyone seems to love it, but for various reasons.
 

Wake_Dude

Jet Boat Addict
Messages
139
Reaction score
157
Points
102
Boat Make
Yamaha
Year
2019
Boat Model
AR195
Boat Length
19
Great install and write up. Love the detailed pictures. Very well done.

Ridesteady has been on my wanted mod list for awhile, just keeps getting moved back on the list for other things.

I'll be on the lookout for your on the water review. Everyone seems to love it, but for various reasons.
Thanks, I appreciate it!

Definitely can't wait to try it out. These boats bleed a ridiculous amount of speed for a given throttle setting when turning, which is a nightmare for the rider. I got tired of the speed variations when wakeboarding. My lady and other drivers had/have a hard time compensating with the throttle; there's just too many variables to get it right. Very optimistic this Ridesteady will cure that problem. I'll definitely report back!
 

Wake_Dude

Jet Boat Addict
Messages
139
Reaction score
157
Points
102
Boat Make
Yamaha
Year
2019
Boat Model
AR195
Boat Length
19
I also installed Ridesteady this weekend. 2017 AR195. Can't wait to get it in the water to test it out.
Lookin' good! Be sure to report back any pros/cons/tips after you test! We can compare notes, lol.
 

gallobg

Jet Boat Junkie
Messages
247
Reaction score
193
Points
137
Boat Make
MasterCraft
Year
2018
Boat Model
Other
Boat Length
20
Wake_Dude - you beat me to posting this! I just installed a RideSteady in my 2019 AR195 about 2 weeks ago in the exact same spot. Until now I hadn't found any pictures of anyone else who installed the same way. Although I used a Dremel to cut the circular hole for the control unit - your cutting tool looks much nicer to use.

For me the install took about 4-5 hours since I went very slow and steady. Cutting the circular hole in the dash was the hardest part since I really, really didn't want to screw that up. The rest of the install was very straight forward and the instructions are top notch.

I mounted my GPS under the windshield and above the instrument cluster. I found there was a gap between the parts that the wire would fit through. Although - I very much like your 3D printed holder! Would you mind sending me the STL file in a private message? I'd love to print that out for myself.

For the past few weeks we've been using it and loving it. Not having to mess with the throttles all the time has been so great, especially when making turns. These boats bleed off a lot of speed in the turns when towing a tube, but that's not a problem anymore! It makes driving the boat a lot nicer since its one less thing on my mind.
 

Attachments

gsbrown

Jetboaters Lieutenant
Messages
205
Reaction score
212
Points
162
Location
Hilltown, PA
Boat Make
Yamaha
Year
2017
Boat Model
AR195
Boat Length
19
For mounting the GPS receiver I went with this location because on my boat there is a gap for the wire to fit into. Want to make sure catching a signal isn't a problem before permanent install. IMG_5988.JPG
 

Wake_Dude

Jet Boat Addict
Messages
139
Reaction score
157
Points
102
Boat Make
Yamaha
Year
2019
Boat Model
AR195
Boat Length
19
Wake_Dude - you beat me to posting this! I just installed a RideSteady in my 2019 AR195 about 2 weeks ago in the exact same spot. Until now I hadn't found any pictures of anyone else who installed the same way. Although I used a Dremel to cut the circular hole for the control unit - your cutting tool looks much nicer to use.

For me the install took about 4-5 hours since I went very slow and steady. Cutting the circular hole in the dash was the hardest part since I really, really didn't want to screw that up. The rest of the install was very straight forward and the instructions are top notch.

I mounted my GPS under the windshield and above the instrument cluster. I found there was a gap between the parts that the wire would fit through. Although - I very much like your 3D printed holder! Would you mind sending me the STL file in a private message? I'd love to print that out for myself.

For the past few weeks we've been using it and loving it. Not having to mess with the throttles all the time has been so great, especially when making turns. These boats bleed off a lot of speed in the turns when towing a tube, but that's not a problem anymore! It makes driving the boat a lot nicer since its one less thing on my mind.
Thanks for the feedback! Your dash/display looks great!

Regarding the STL file; no problem! I'll send it over in a PM. It was printed on a Creality Ender 3 pro which reads metric rendered meshes. If your printer reads in inches, let me know and I can convert it for you in CAD and send it over STL with inch format.

Glad to hear you've been enjoying the Ridesteady. Man I can't wait to try this thing out. Only a few more days!
 
Top