the welded joints have a plug that goes to the inside dia of the tower rack a little over an inch deep
edit: a cut-n-paste from a post I made elsewhere...
I finally got around to installing the tow point navigation light this weekend. The assembly and instructions from Aaron are excellent. I wanted to add a few more details that may help anyone else doing it in the future.
I drilled the 3/4" diameter hole directly under the Navigation light. The end result looked nicely centered, but the angle of the drill to make a hole in the tower tube itself (inside) was a difficult angle. I drilled a 1/4" diameter which was too tight to snake the 4 wires thru, I followed it with a 5/16 diameter which was at risk of breaking thru the top weld. I would consider making the 3/4" hole more aft, making the secondary hole easier, possibly larger.
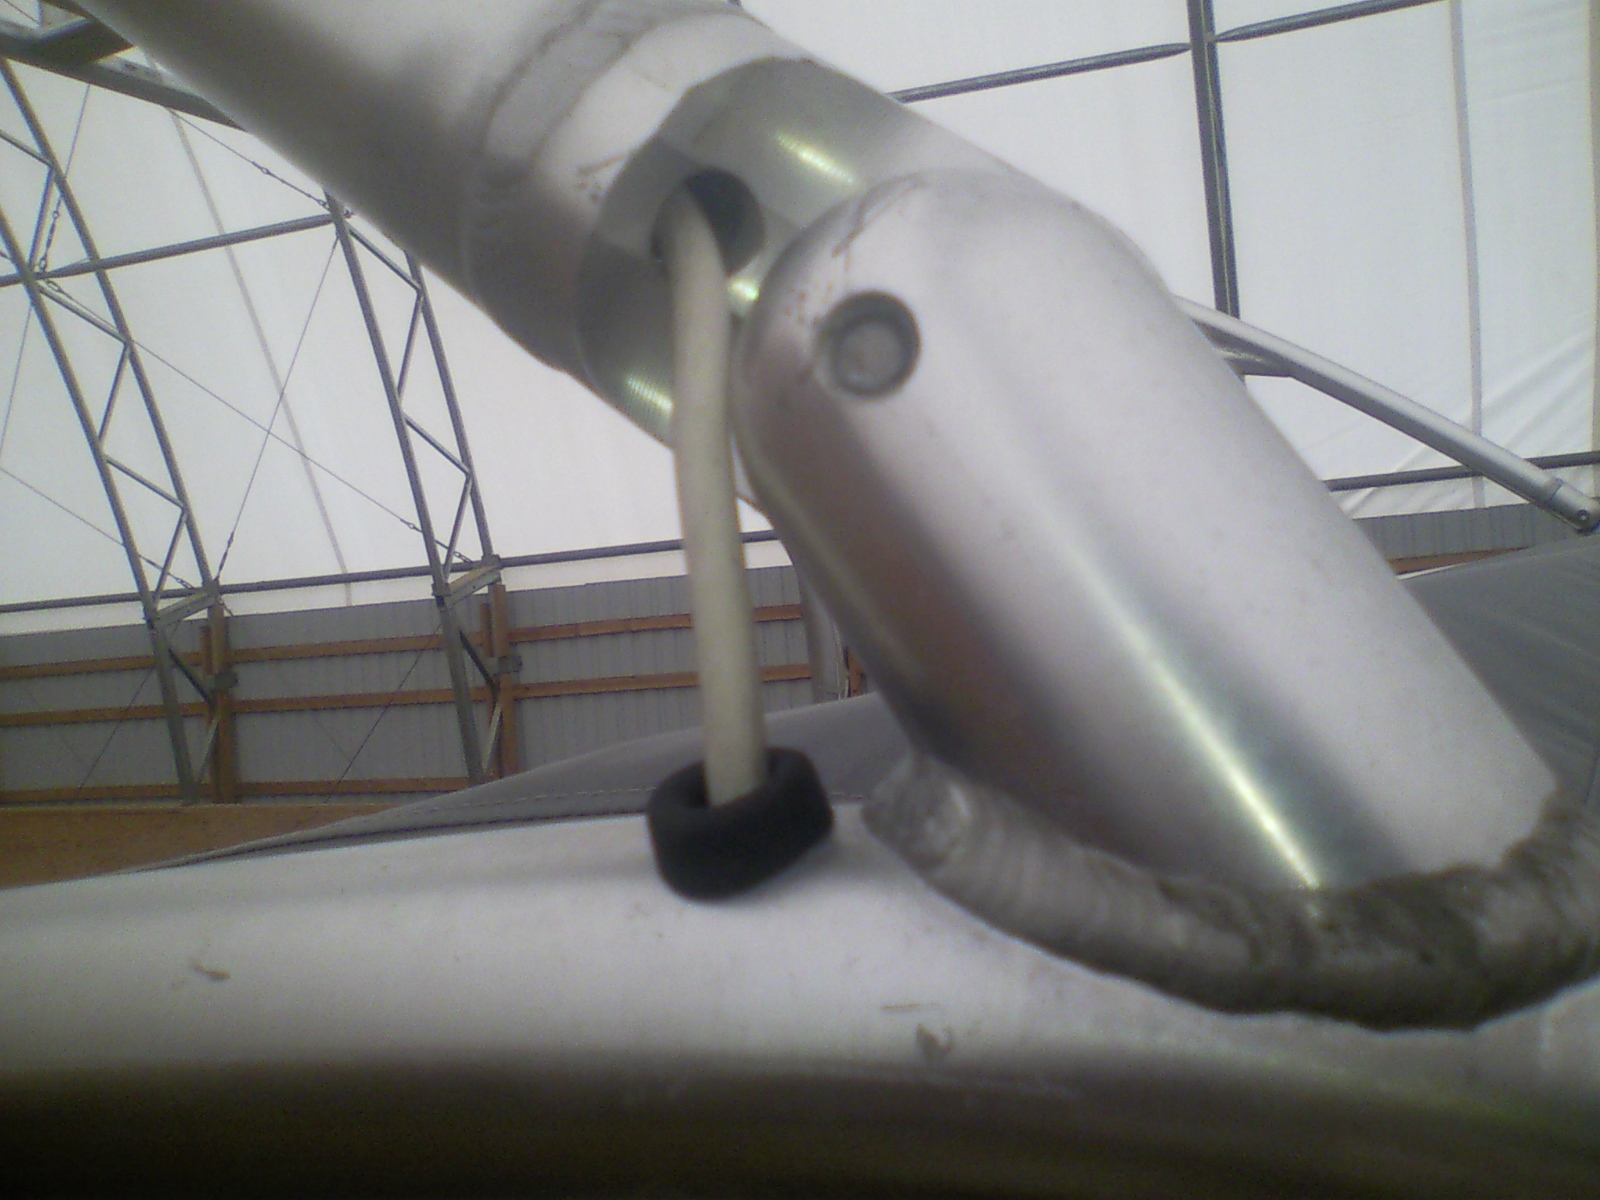
The next set of holes are drilled at the pivot point.
I wasn't sure how far in from the weld to drill that would allow me to clear the "plug"
The top hole was drilled 1 3/8 from the weld and cleared nicely., The lower hole I chanced it at 1" even and nicked the end of the plug...
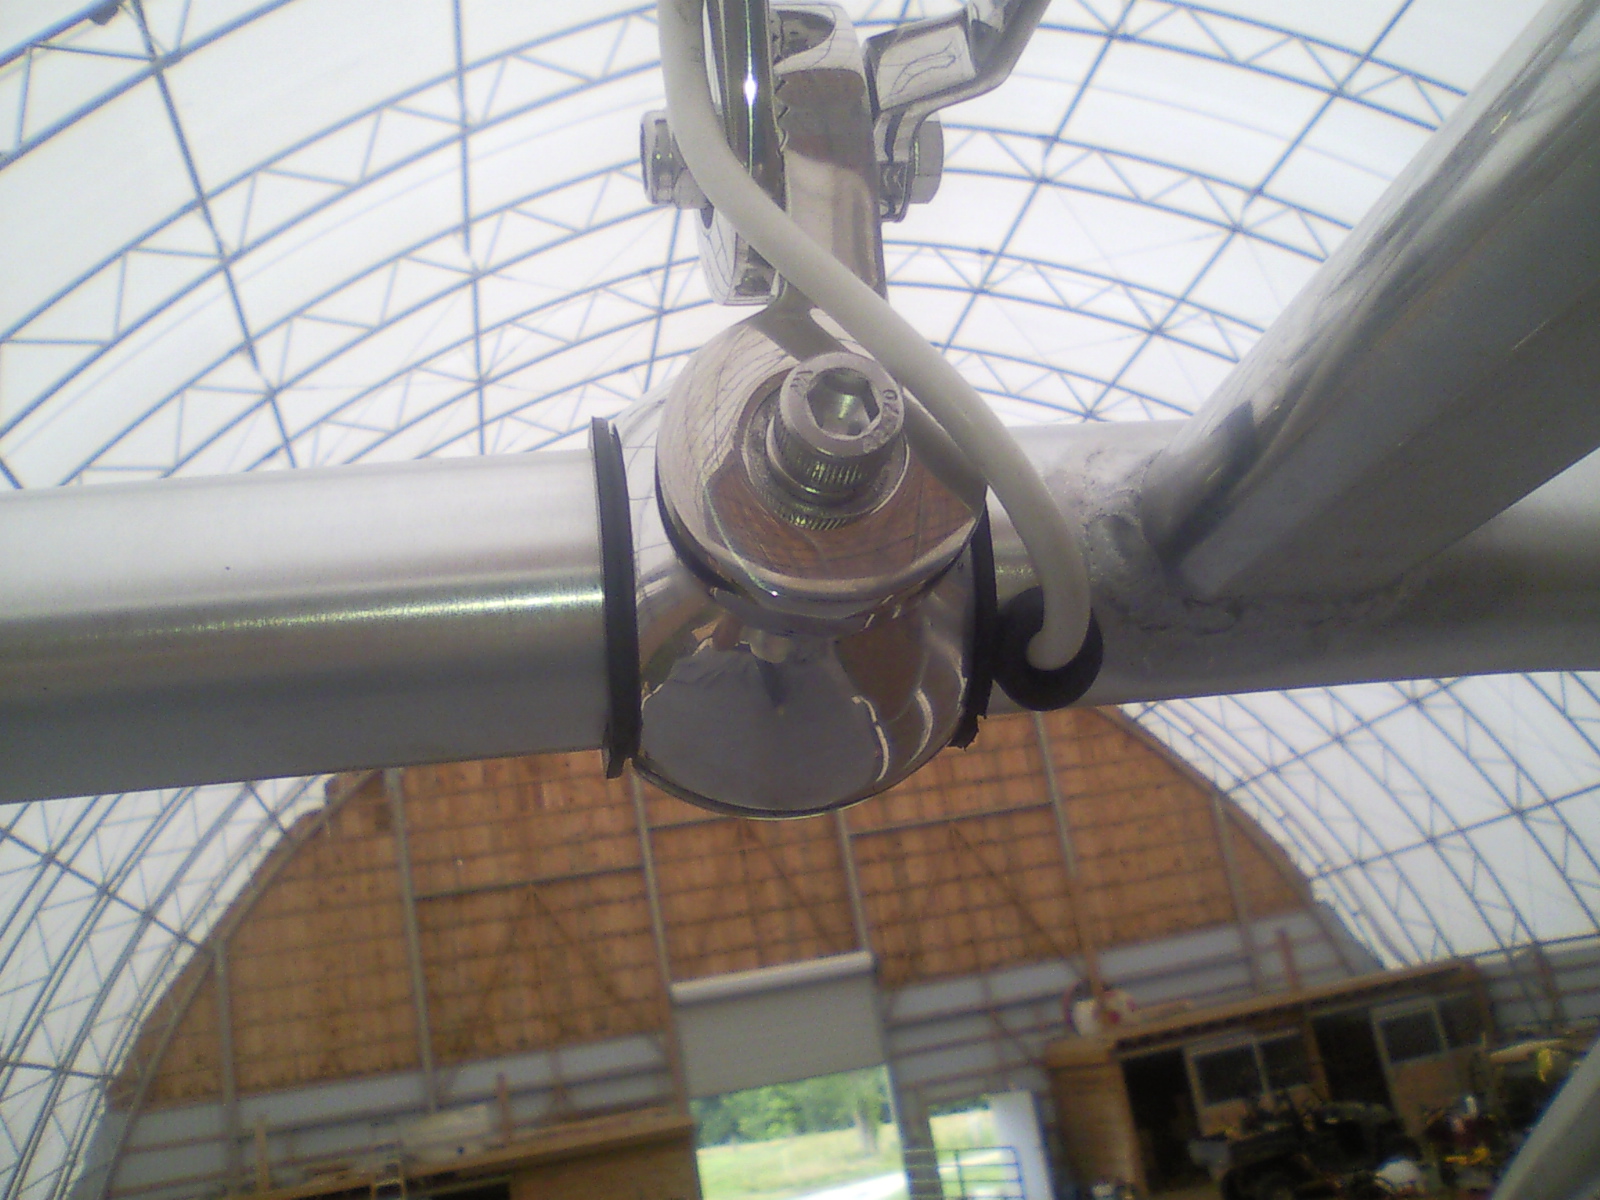
This image is the final drill from the tower tube to thru the deck. I found a watertight feed thru that dressed it out nicely.
One thing to note: The run I made from the tower thru the boat should have been tighter to the mtg point, The mooring cover pulls on the wire more than I'd like.
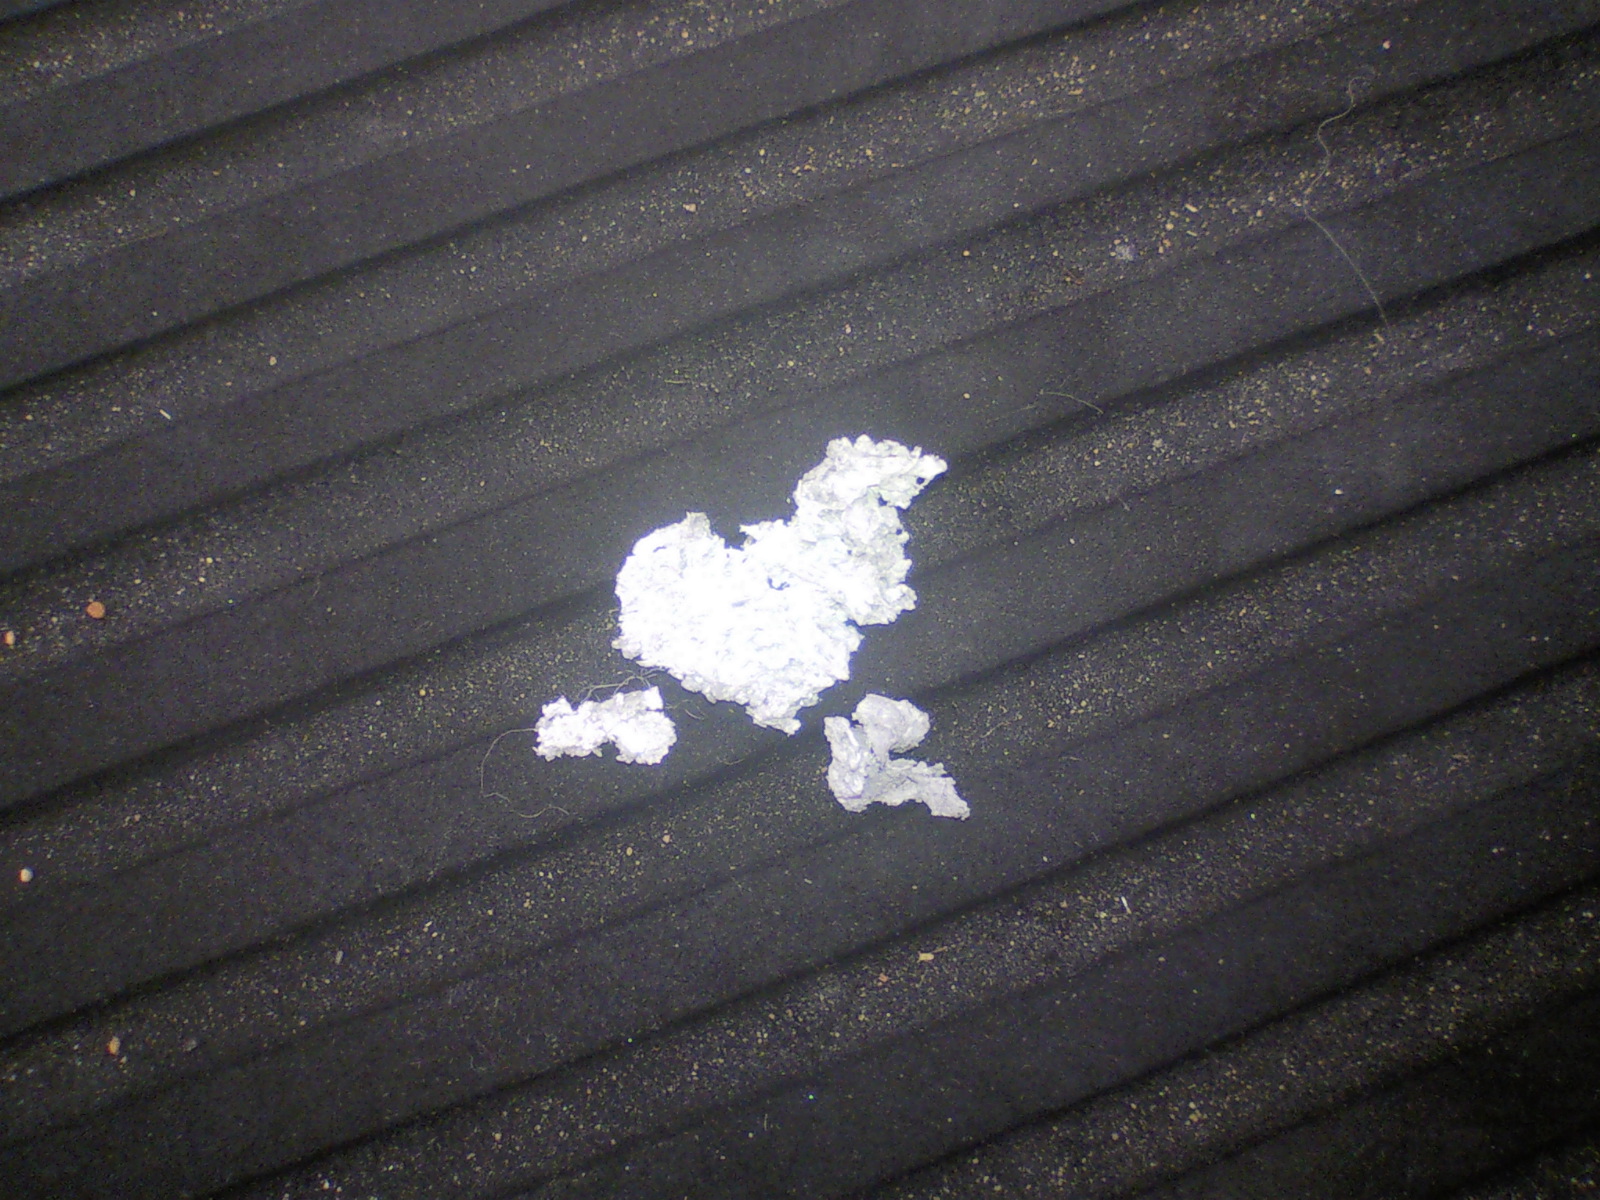
To snake the wires thru the tower: a piece of tissue, fishing line and a vacuum worked nicely (tip from a member here). I did break one wire on the sharp edge of the inside hole, upon completion of the wiring I squeezed in some silicone to try and prevent movement or wear against those edges later.
Some of this may be redundant but I felt it important to identify the distance from the weld point, a misplaced drill bit could be dire.
All this was done on the Yamaha factory wake tower.
the feed thru :
http://www.amazon.com/dp/B0009TSAW2...UTF8&colid=Q1RSMFFN0RMG&coliid=I35D5JEBMVC4FB
light to plug the hole
http://www.amazon.com/Maxxima-M09300WCL-White-Courtesy-Marker/dp/B00L51ZYE0/ref=sr_1_1?ie=UTF8&qid=1418407006&sr=8-1&keywords=3/4" led light maxxima white