Continued
8) There is another nut(no washer ,so I did not put one back) inside the hull on the cable that is hidden inside some adhesive sealant. Then I had my helper use a small hammer and tap from the outside on the cable end while I tugged on the cable inside the clean out area. This dislodged the nut from the adhesive sealant that holds the nut and cable inside the hull. ( No pic at this time.)
9) I then removed all plastic ties that hold the cable(s) in place from back to front.
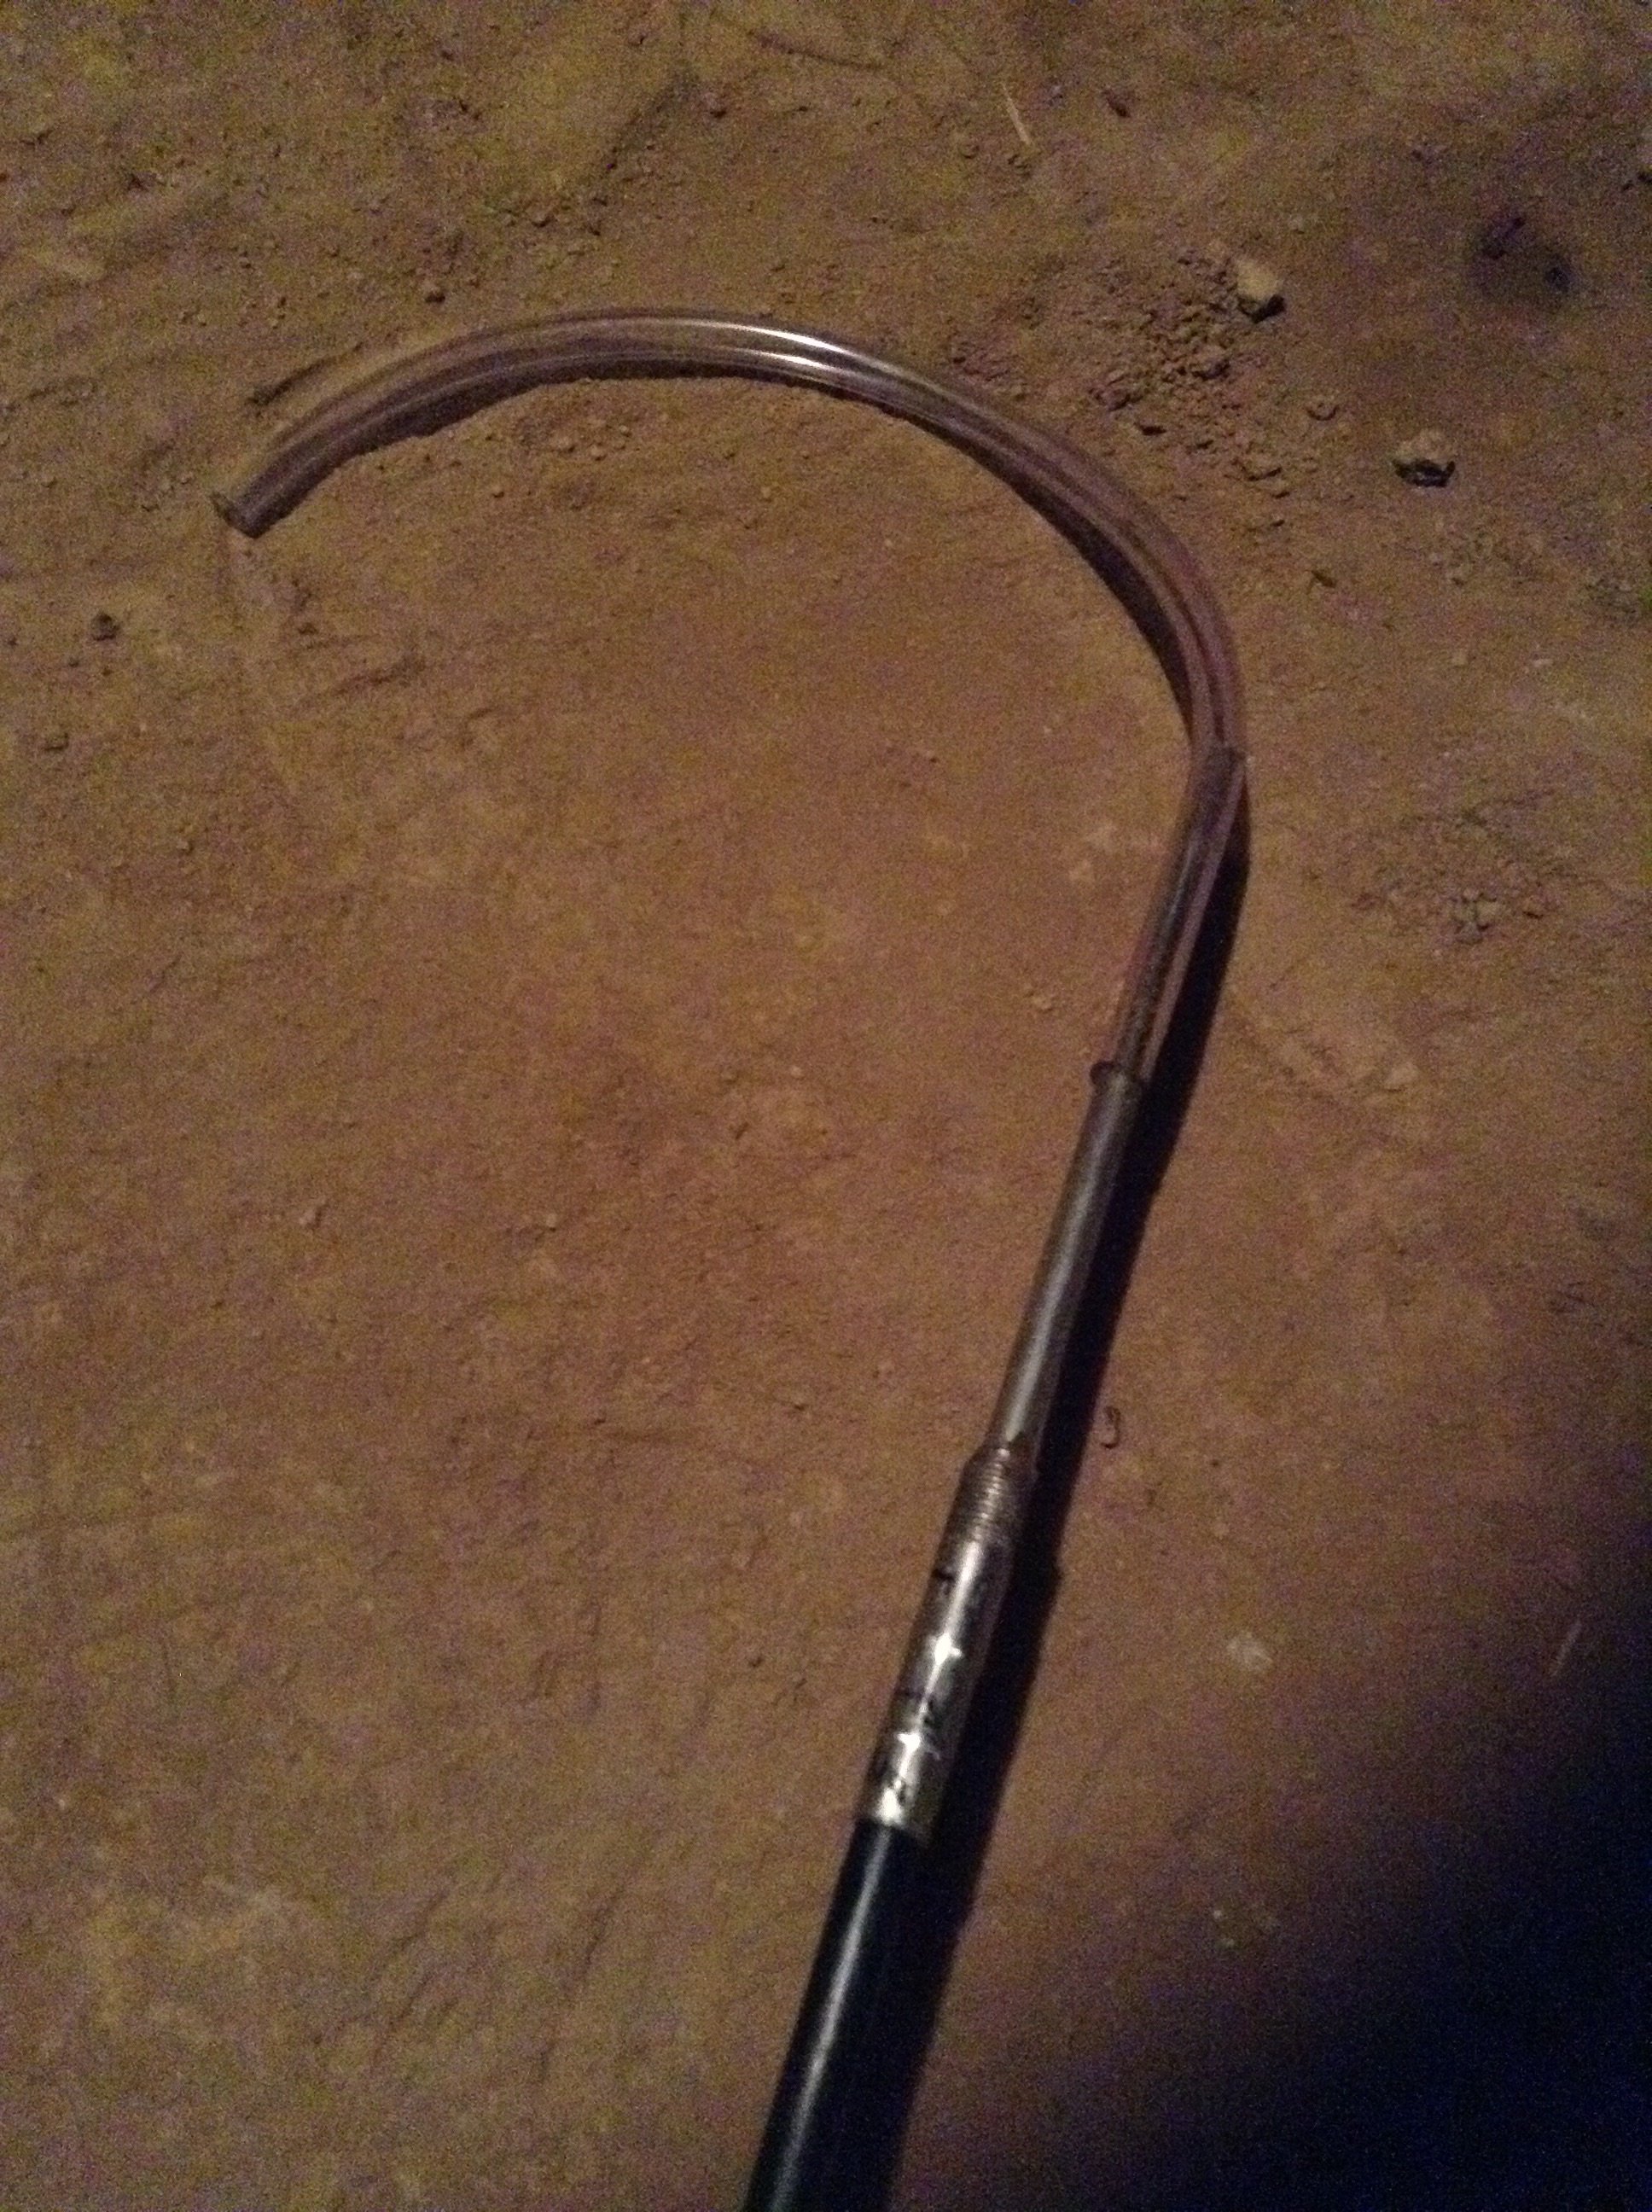
10) At this point the cable is free and can be removed. At the helm, I used a vinyl hose that fits over the cable end and using electric tape I attached the new cable to the old cable with the plastic hose.
(A pic of the old cable with the vinyl hose still attached.)
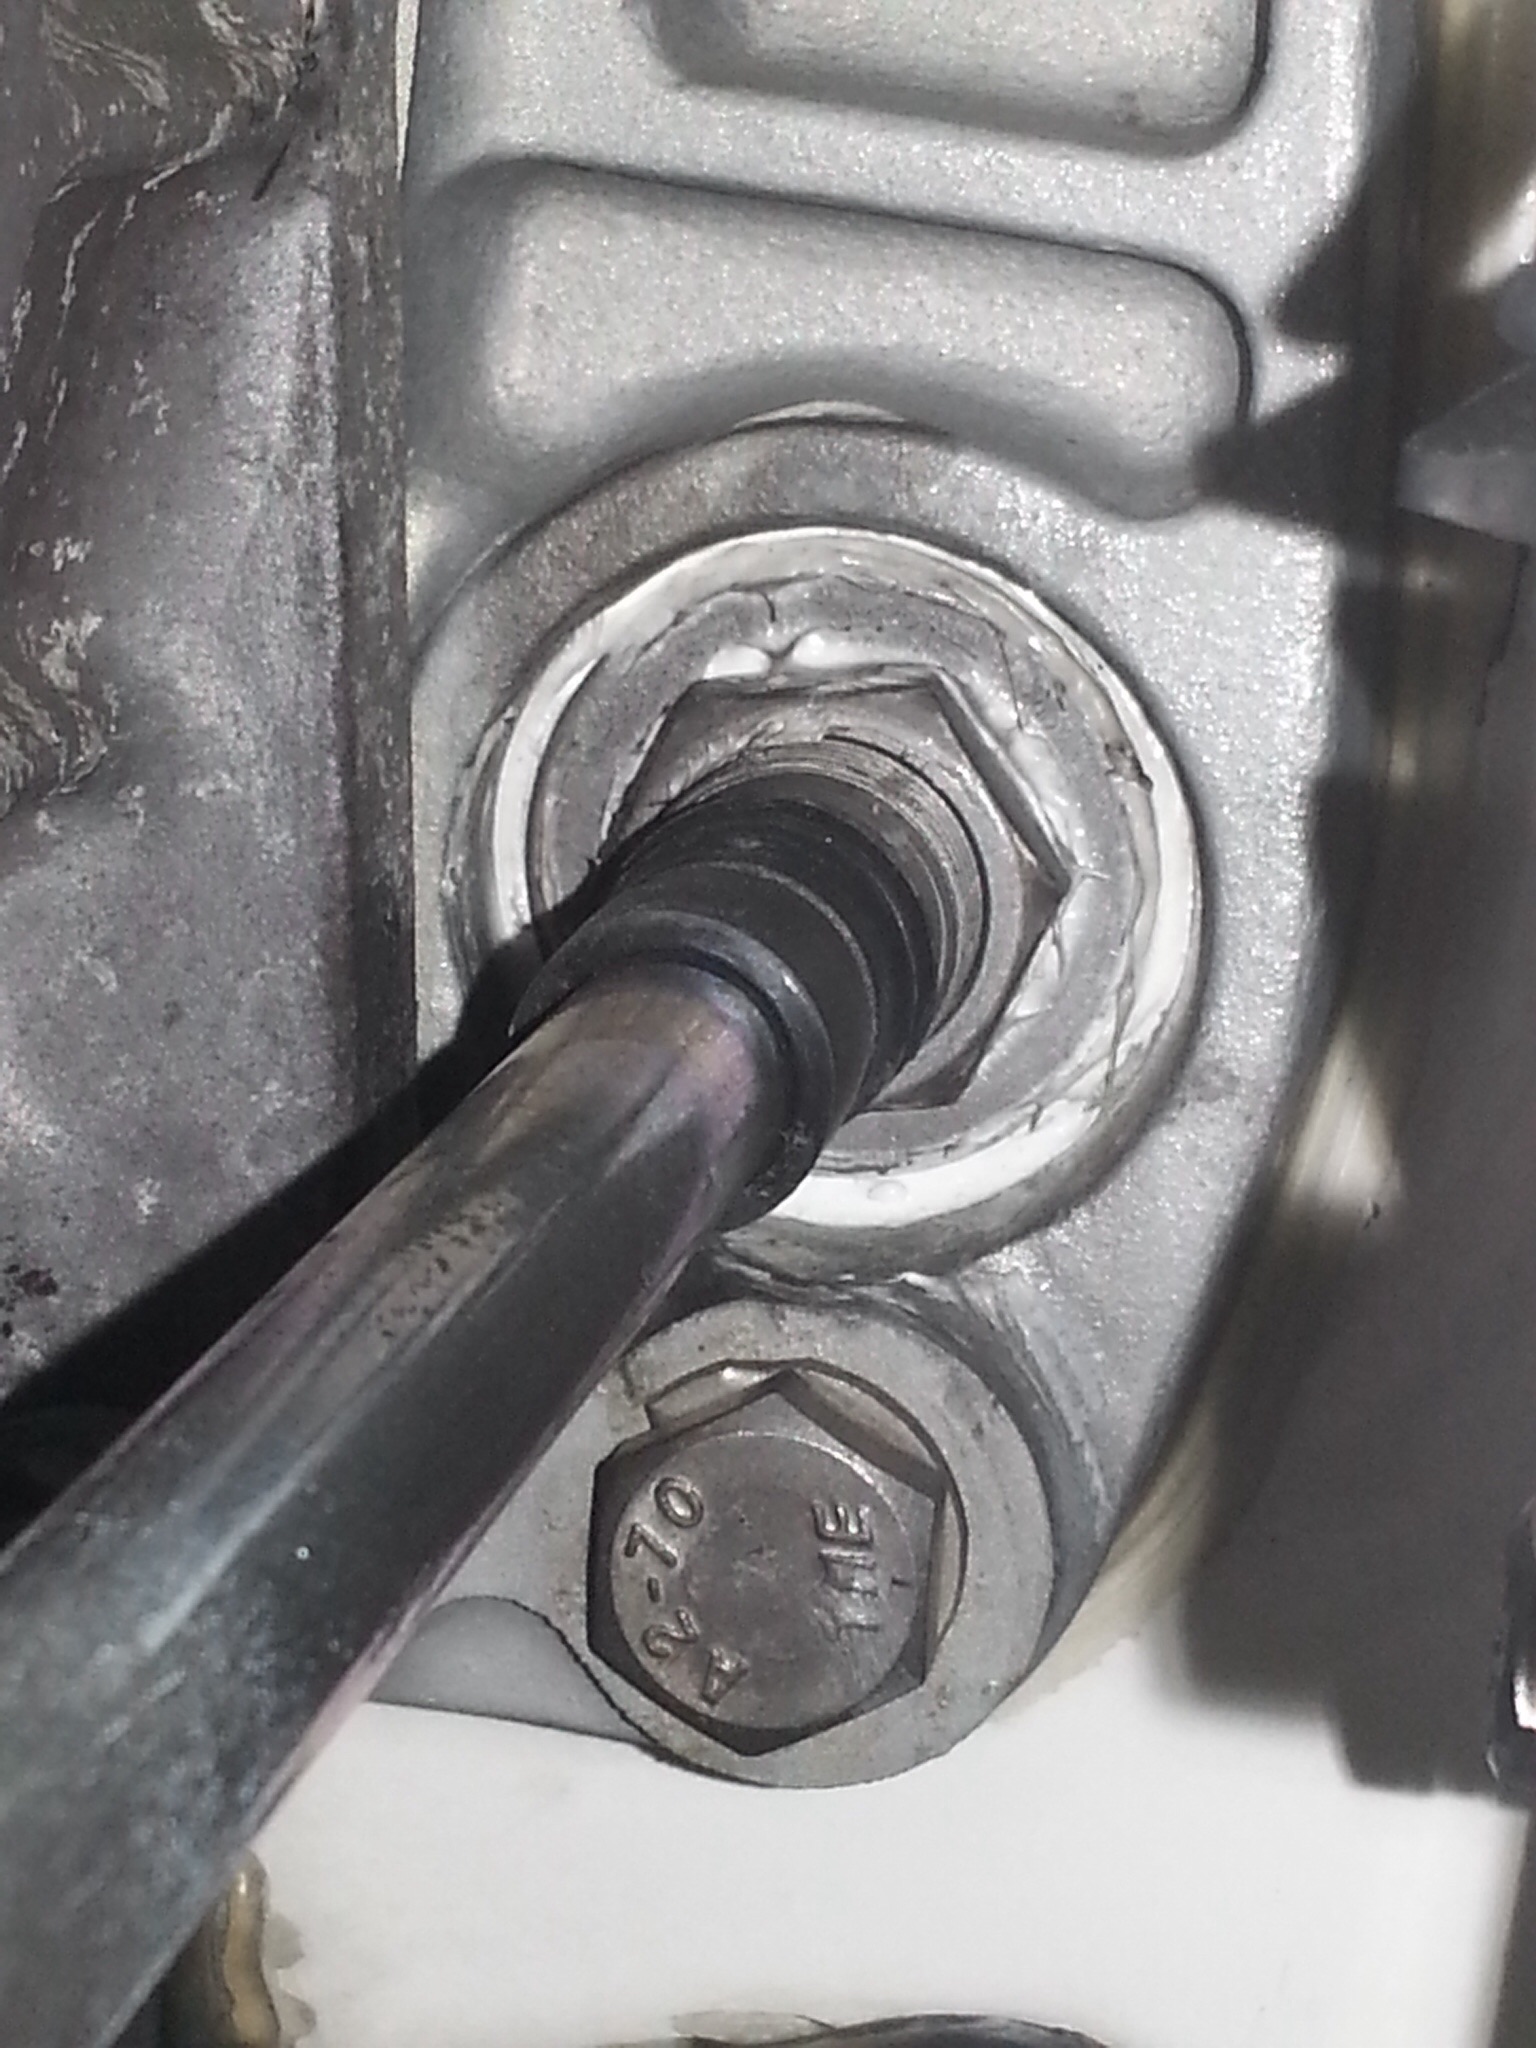
Then my helper pulled from the aft whilst I pushed and guided the connected cable thru the hull and out the back of the hull. When the new cable appeared in the clean out area I disconnected the two and put the large nut back on the cable(without a washer since it must fit into a recess at the hull exit that is just the size of the nut). I then pushed it thru the hull exit and installed the LifeSeal adhesive sealant on the inside and lightly on the outside before installing the outside large nut and washer. Noteworthy, the cable exits thru a metal plate that supports the jet.(pic shows a light coat of LifeSeal protruding from under the washer and nut). I coated it heavily inside the hull with LifeSeal.
11) I installed the second cable using the exact same method up to the point reached in item 10, stopping short of connecting the U connector at the rear.
12) Then I made the connections in reverse order at the helm under the console for both cables (remembering to put the connectors back the same number of turns I removed them).
13) I then connected the U connector for each cable at the jet (remembering to put the connectors back the same number of turns I removed them).
14) Then reconnect the 4 coolant hoses above the cable hull exit and in doing so check the quality of the application of the sealant again. Also confirm all clamps and hoses are of seaworthy quality while in the clean out area. I found a rusted out clamp lying in the bottom that clamped the exhaust hose down!!! There is a "near miss (sinking)" posted on this forum about such!!
15) Reinstall the clean out tray and enjoy your craftsmanship and your brand new boat feel in the steering!!