- Messages
- 18,700
- Reaction score
- 21,158
- Points
- 1,102
- Location
- Raleigh, NC 27614
- Boat Make
- Yamaha
- Year
- 2016
- Boat Model
- 242X E-Series
- Boat Length
- 24
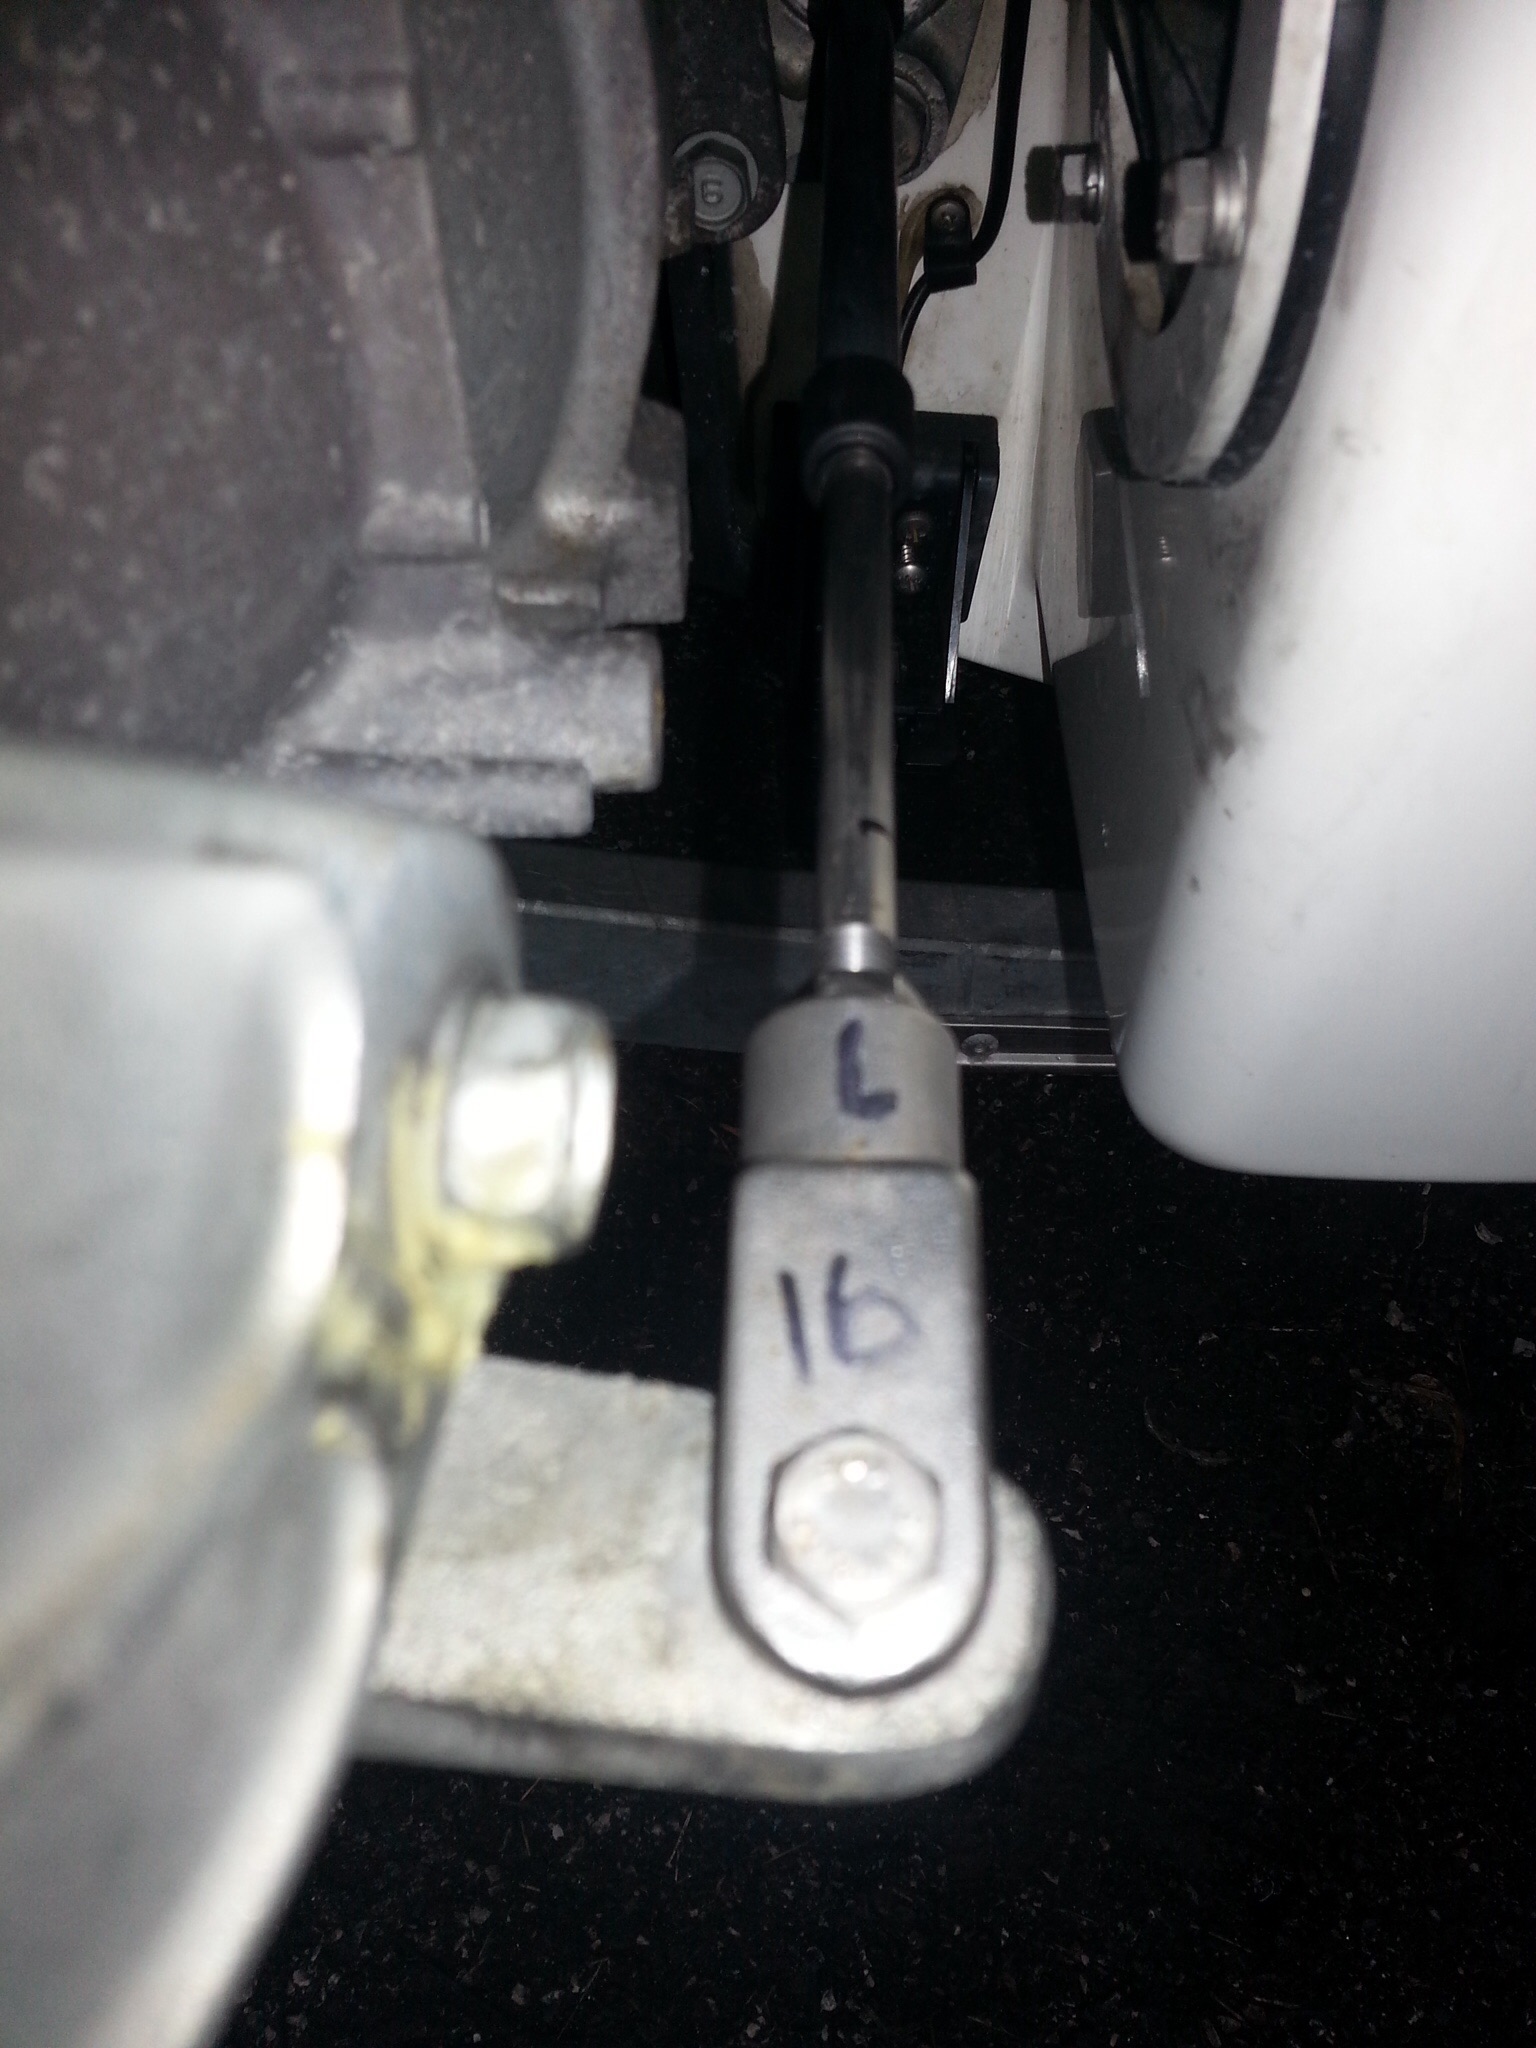
Please take photos and post tips on both your replacement experiences! I'll probably be next up!

We are delighted you have found your way to the best Jet Boaters Forum on the internet! Please consider Signing Up so that you can enjoy all the features and offers on the forum. We have members with boats from all the major manufacturers including Yamaha, Seadoo, Scarab and Chaparral. We don't email you SPAM, and the site is totally non-commercial. So what's to lose? IT IS FREE!
Membership allows you to ask questions (no matter how mundane), meet up with other jet boaters, see full images (not just thumbnails), browse the member map and qualifies you for members only discounts offered by vendors who run specials for our members only! (It also gets rid of this banner!)
@zelone ty for the updates. I have not received my cables yet to start the project.
Referring to the "nut" on the inside..did you have to loosen it and remove the nut from the cable or just dig it out of the 5200 and bring it outside the hull with the cable then reinstall the inside nut before putting your new cable back in? (I re-read your post and it looks like you used the drift hammer on the outside of the hull to "knock the nut loose from the "5200"..?)
Also did you reapply a sealant at the exit point inside and outside the hull? If so what sealant?
Did you have to count the turns of the nuts on either end of the cable so to center your steering? If not what must be done to realign the nozzles and center the steering wheel?
Did you fish the new cable from the helm to the back or from the outside/back through to the helm?
Many thanks, Lee

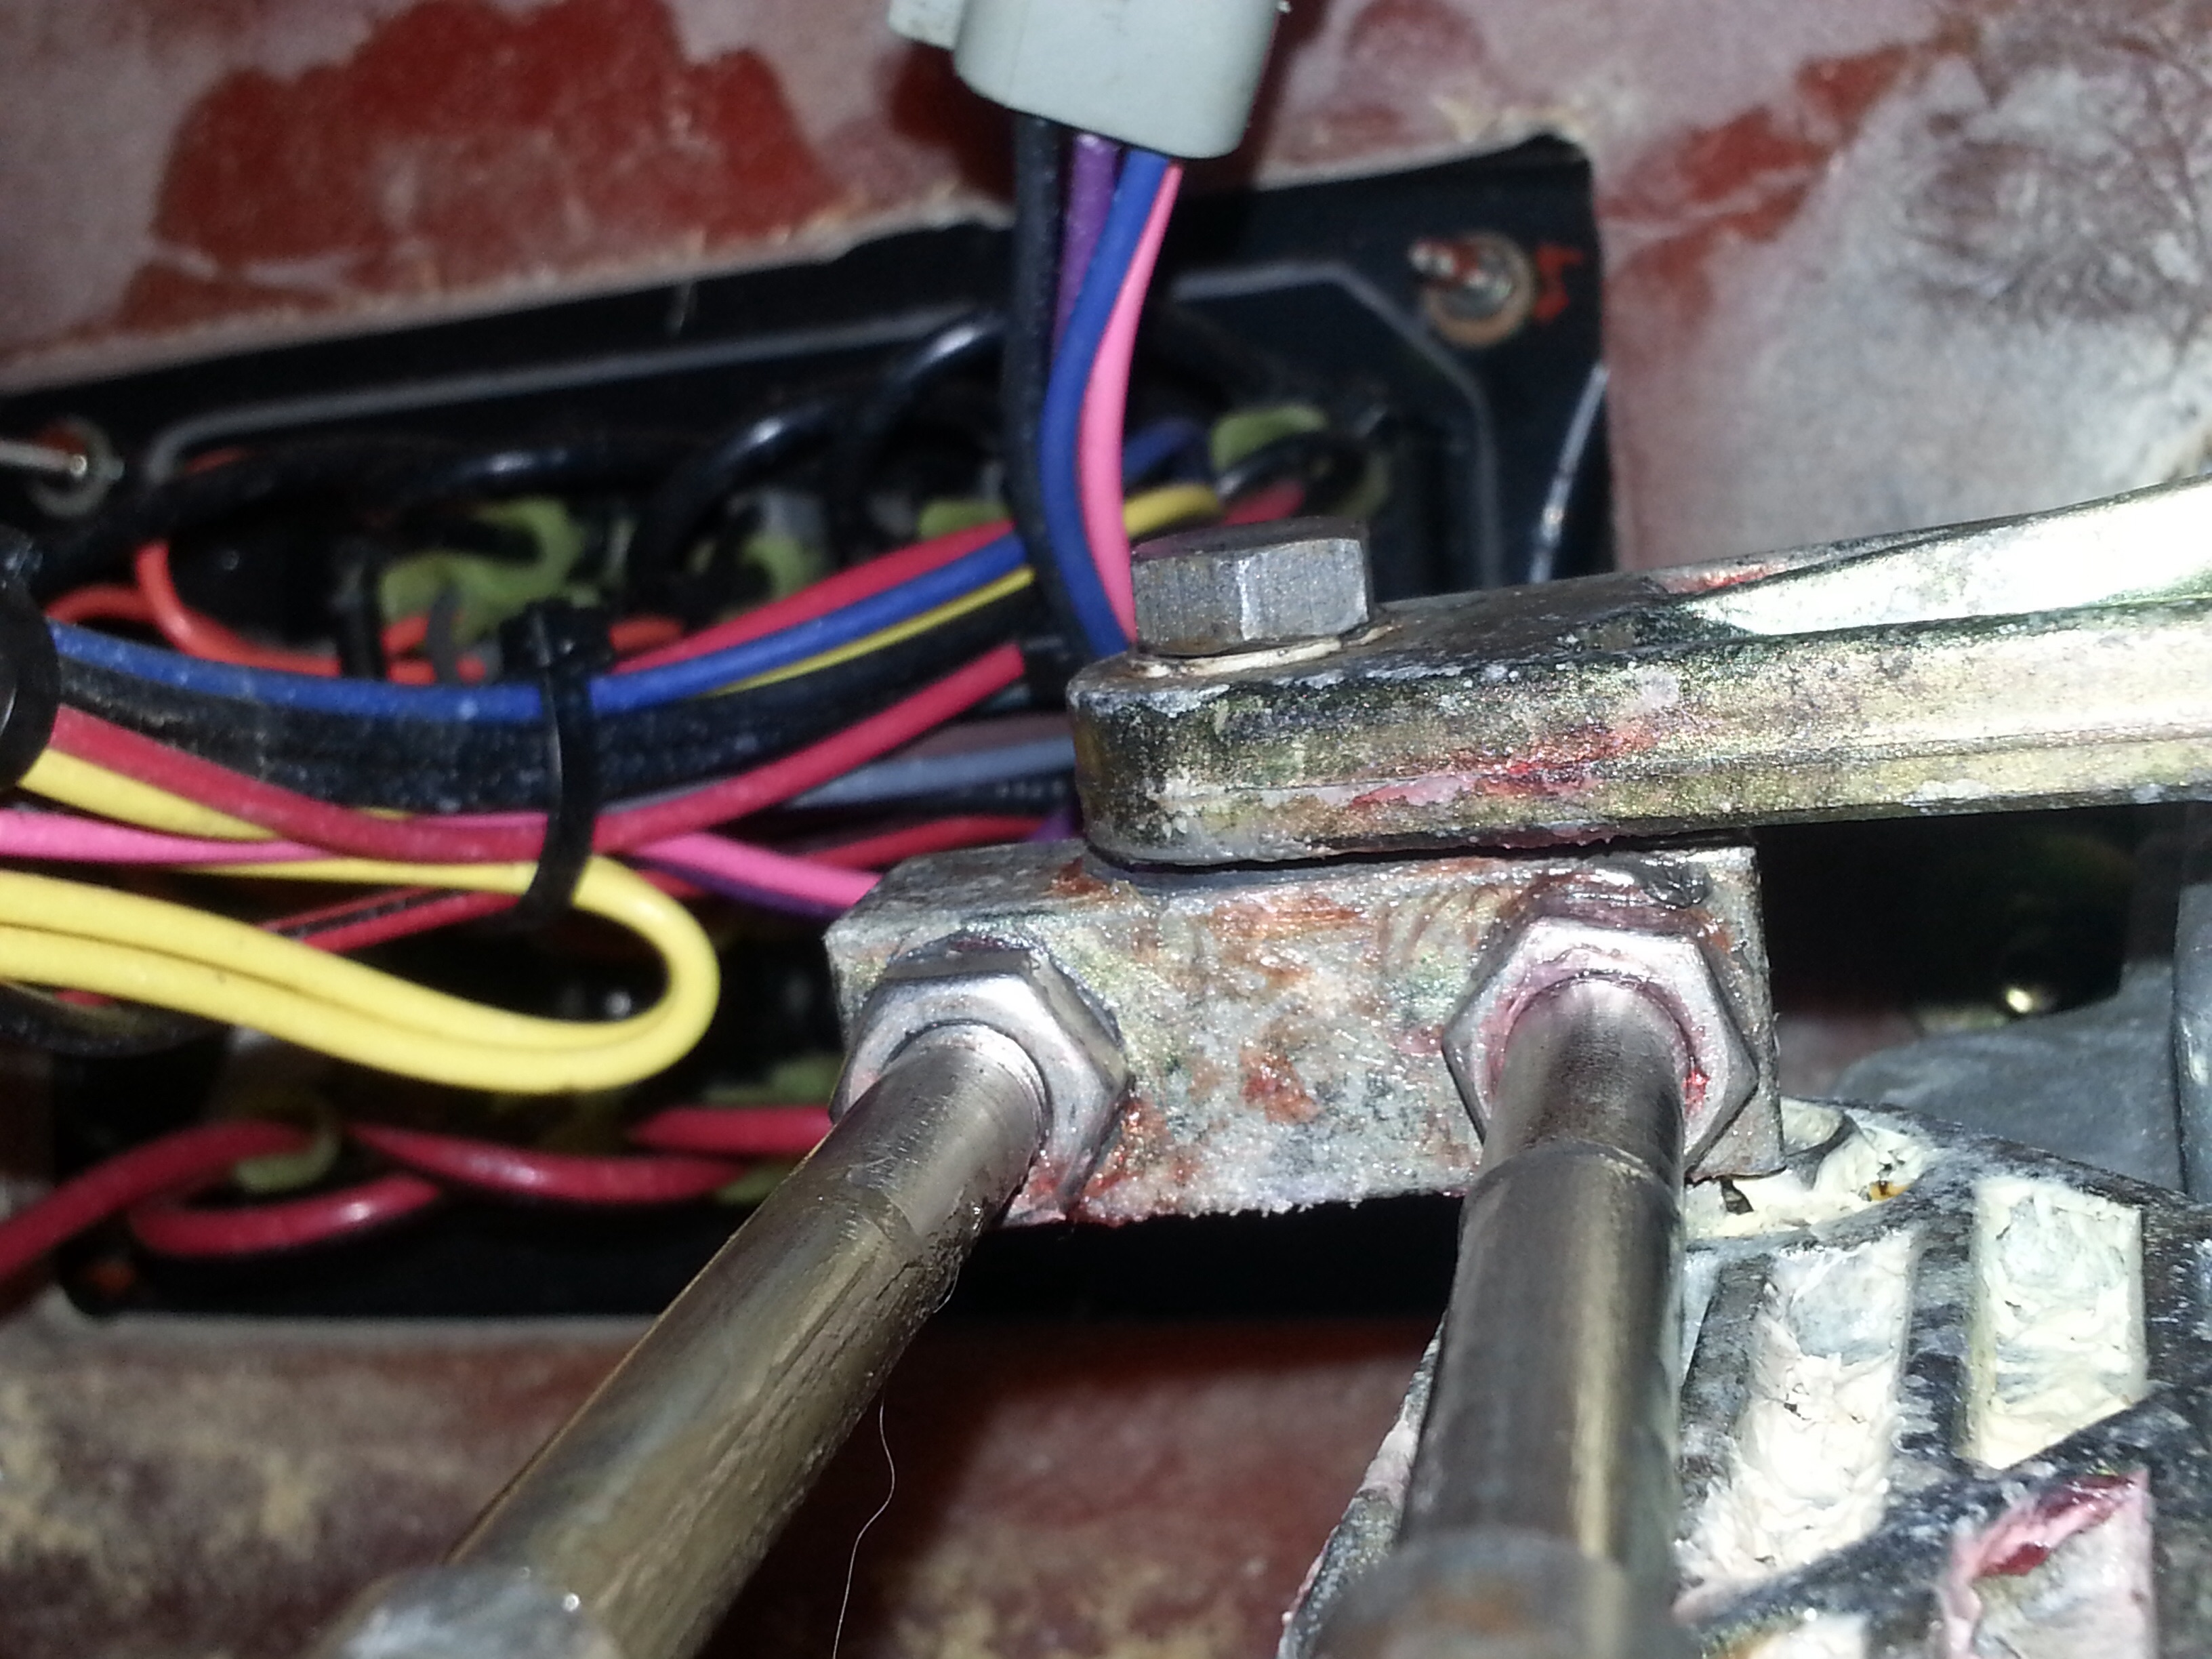
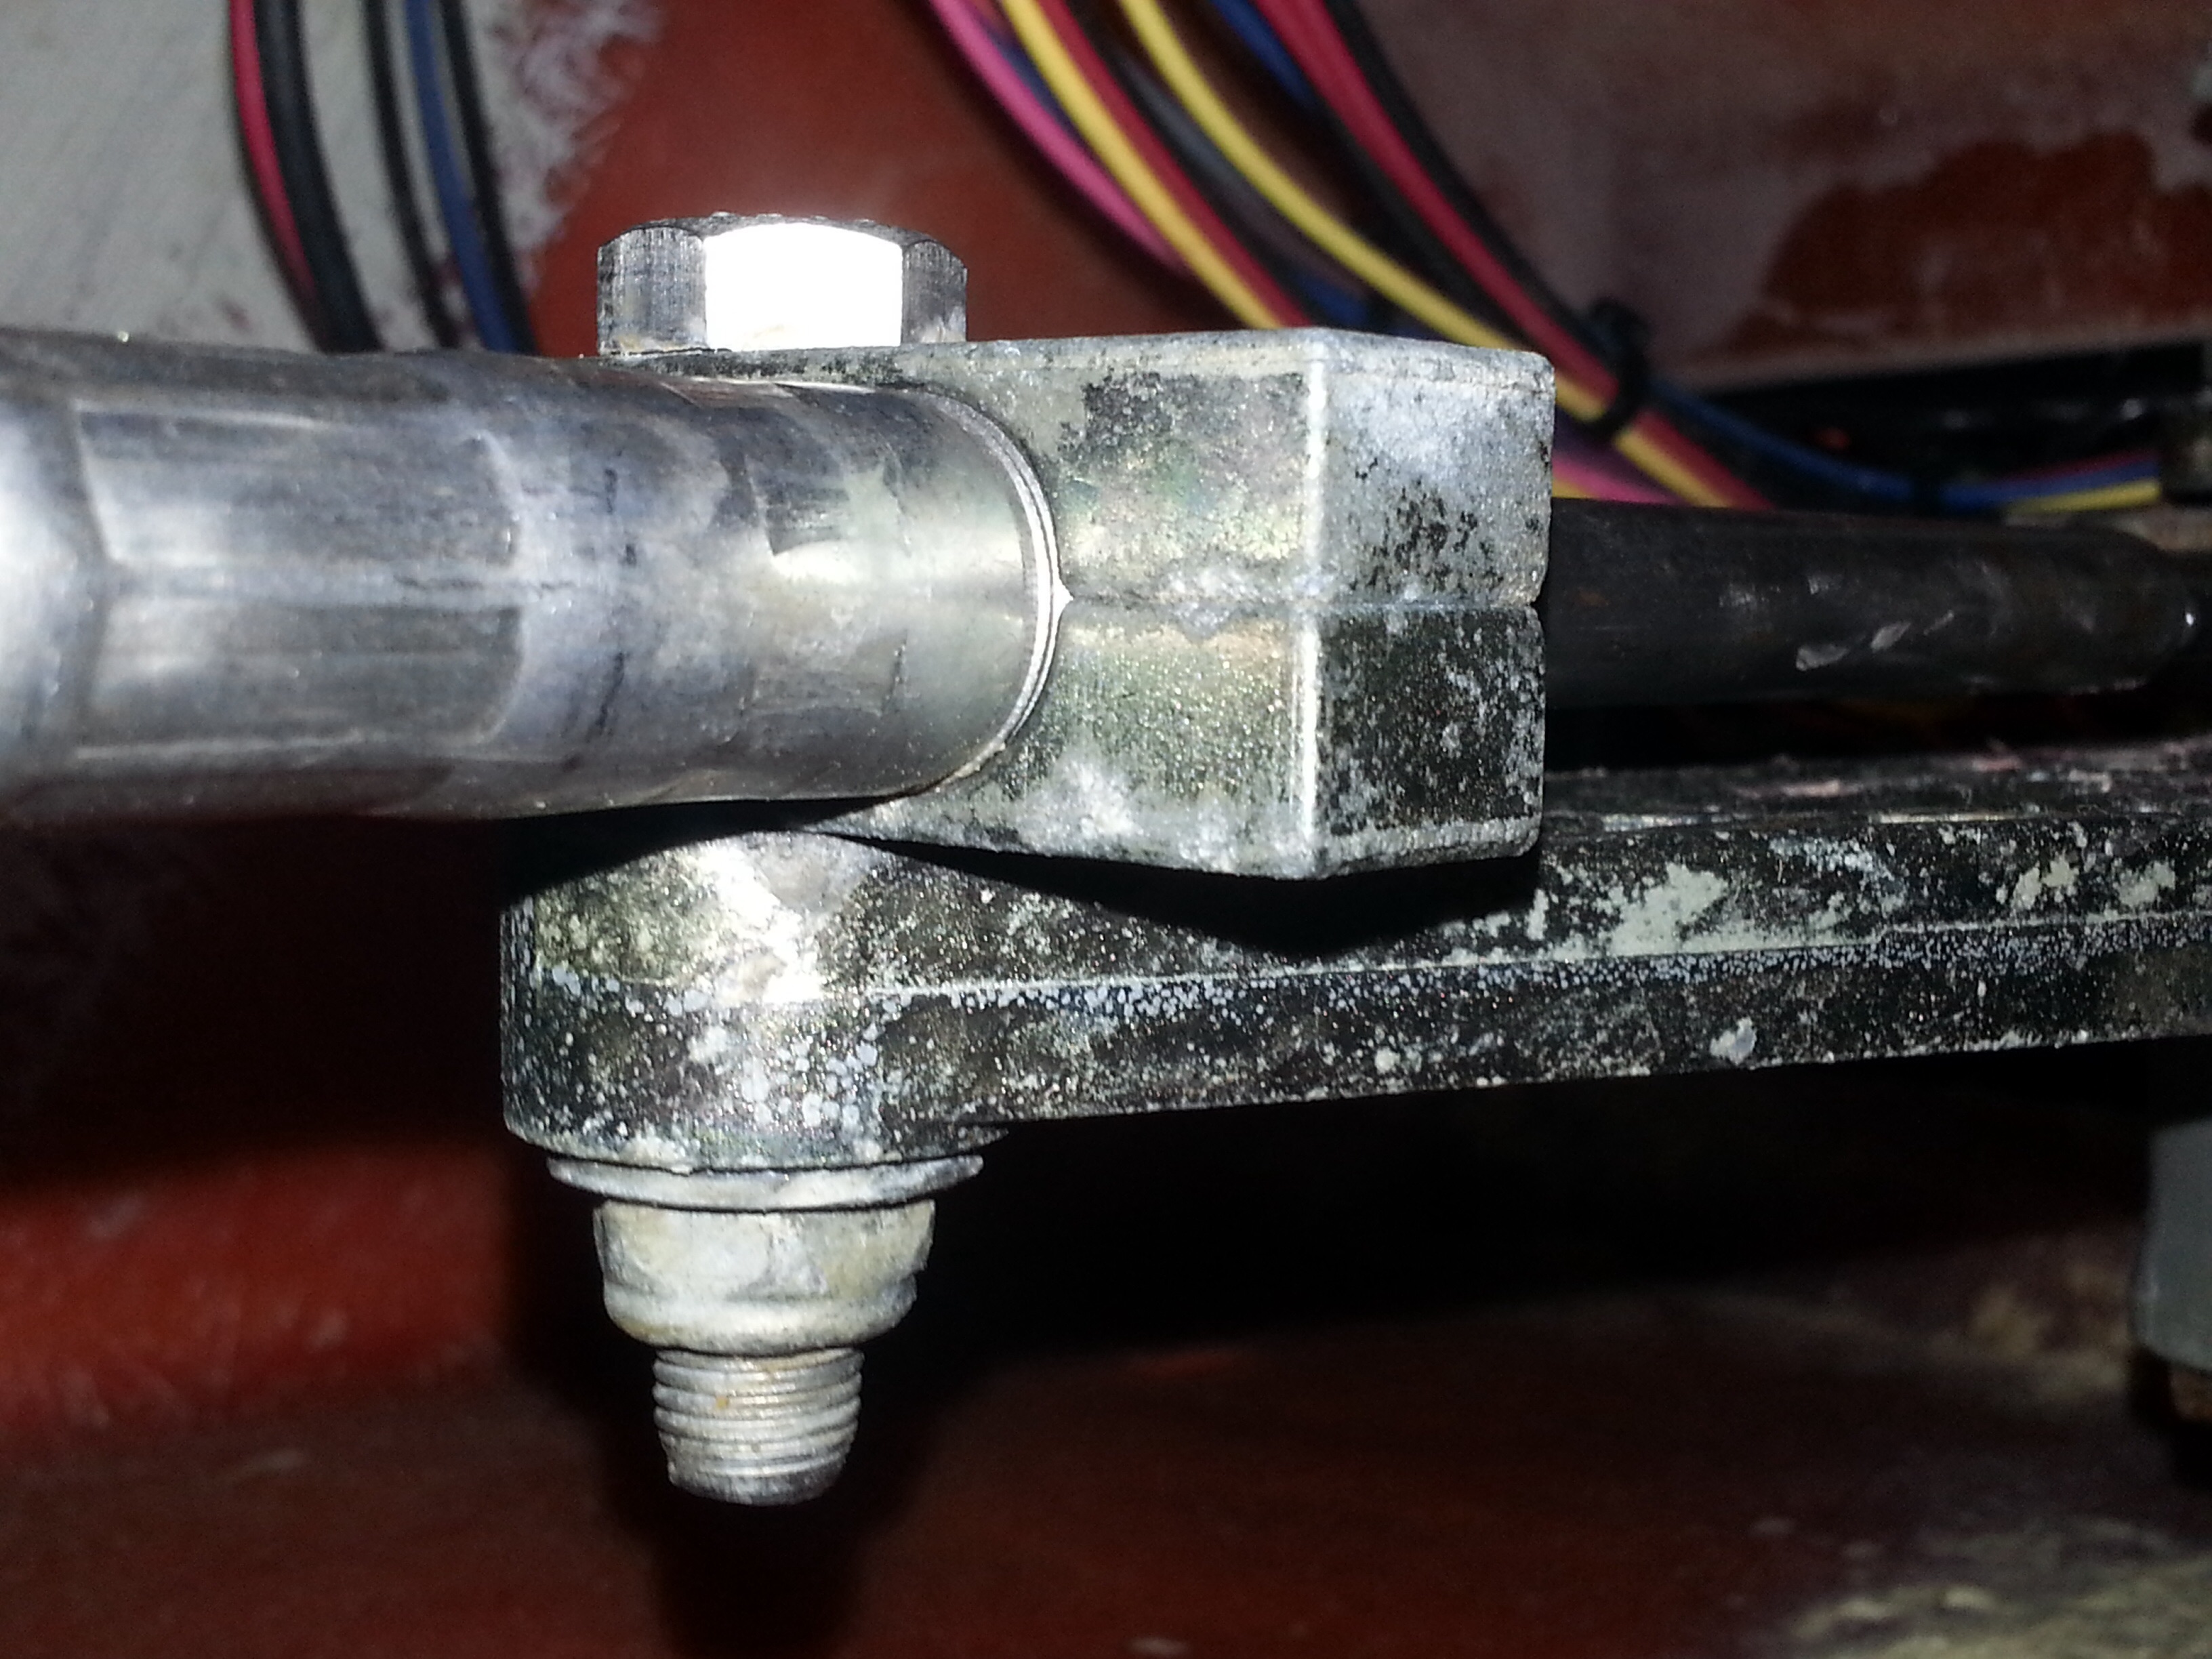
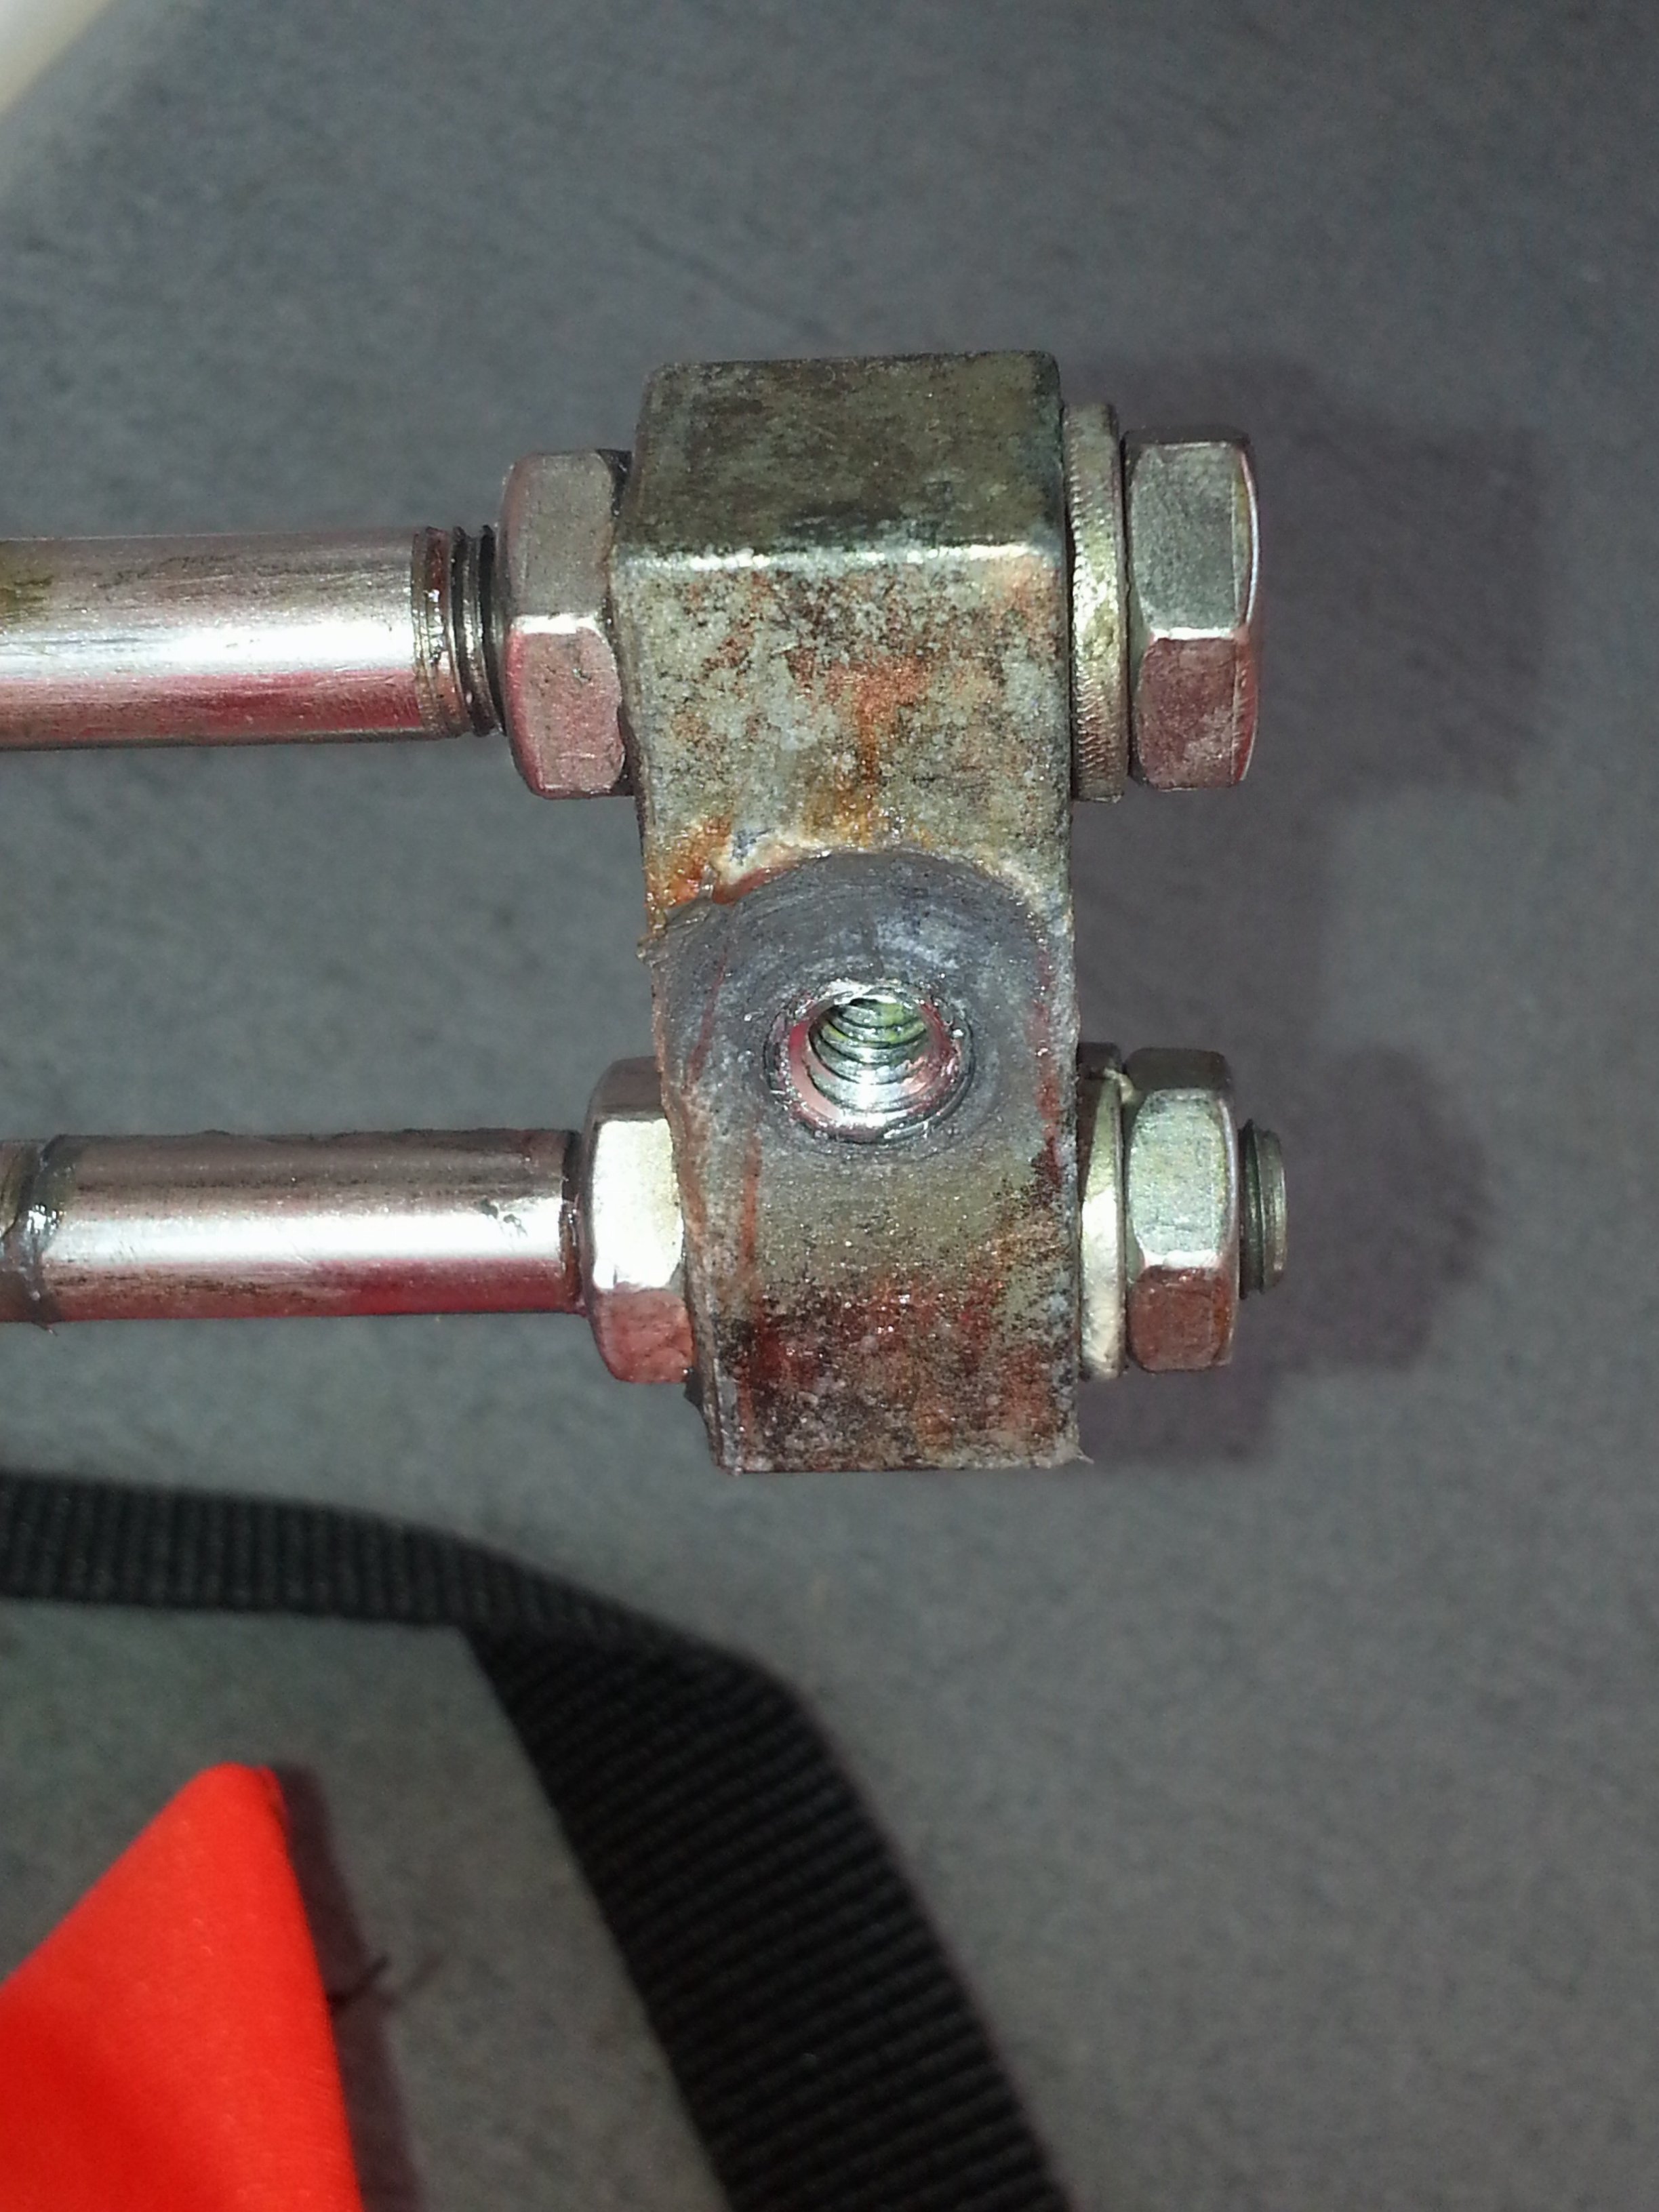
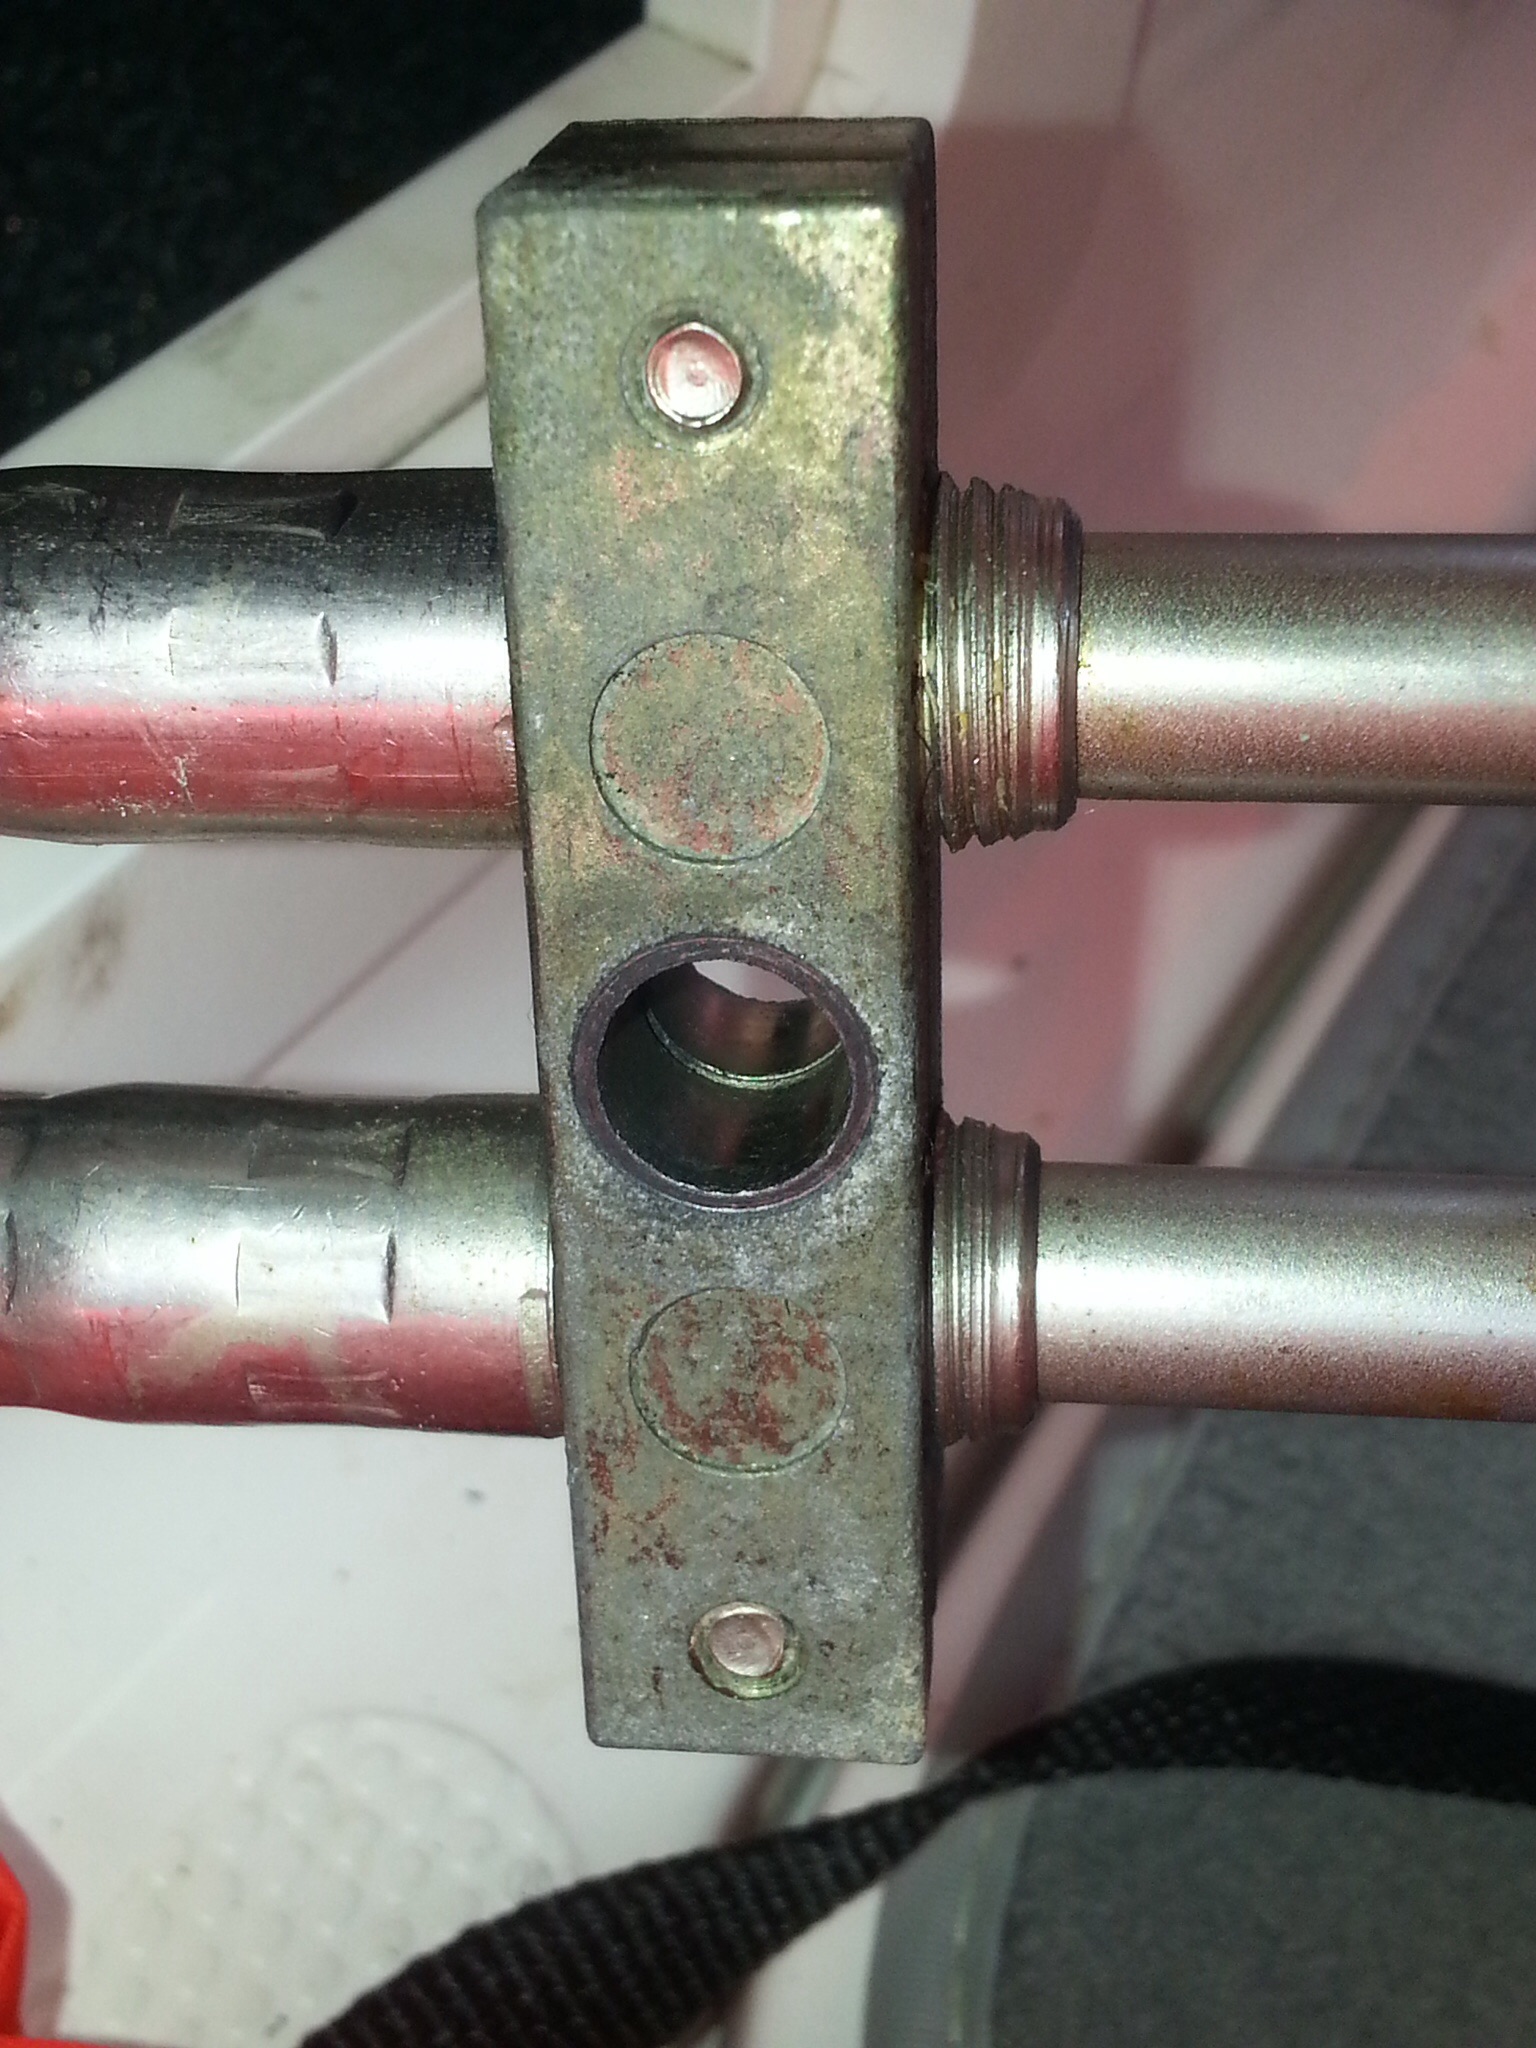
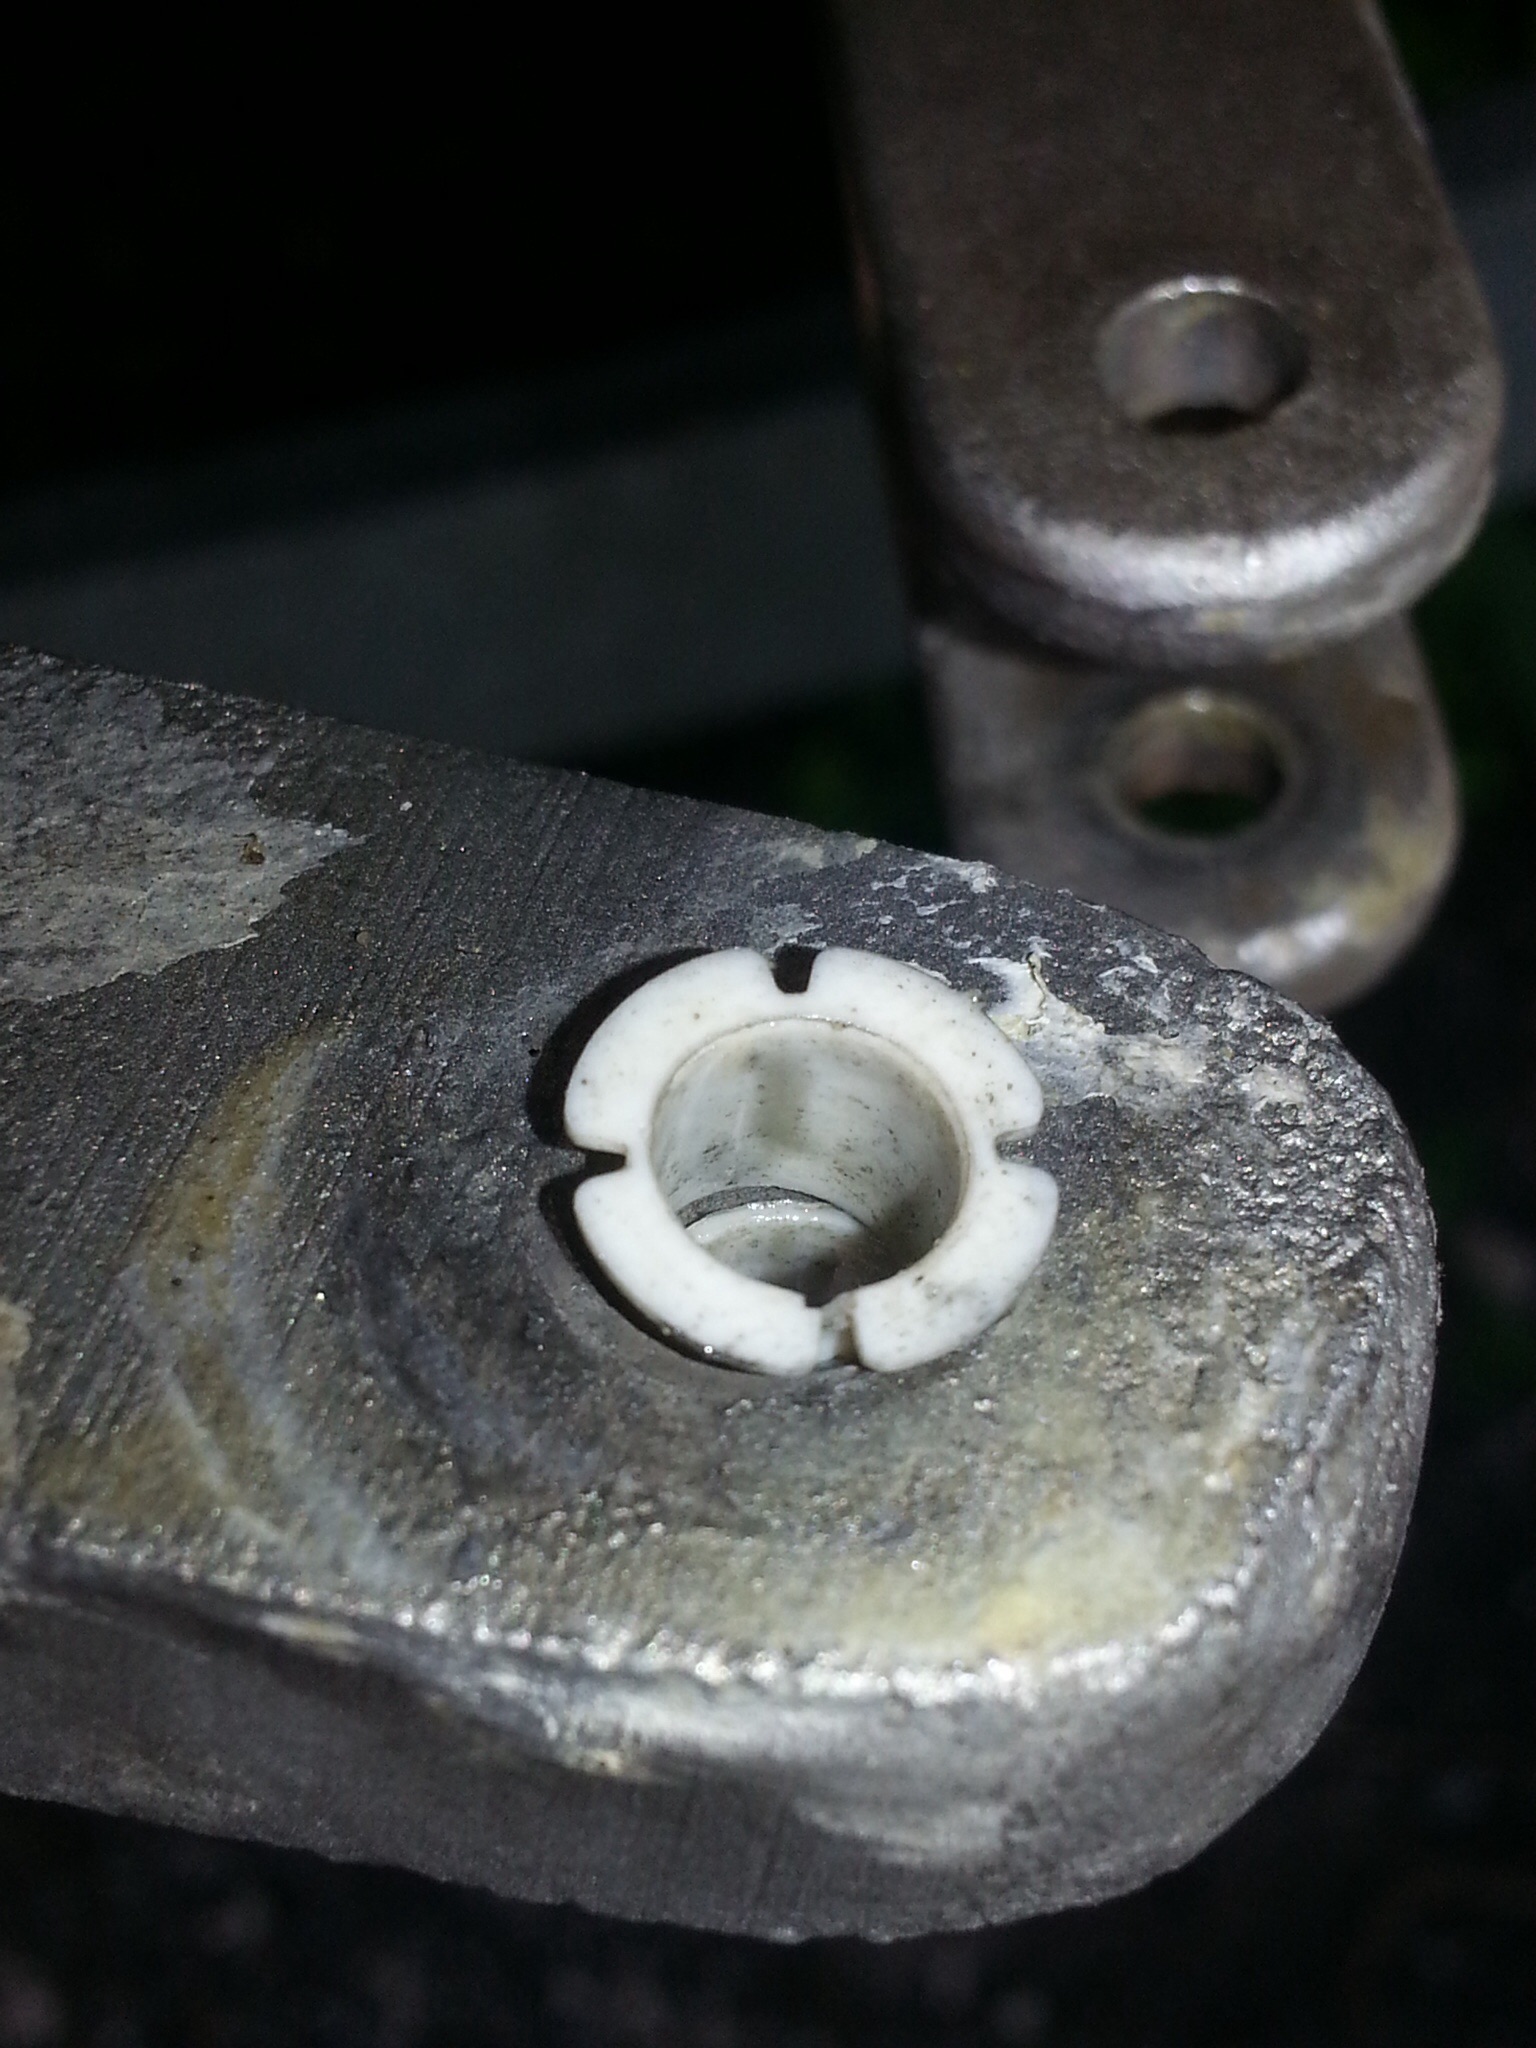
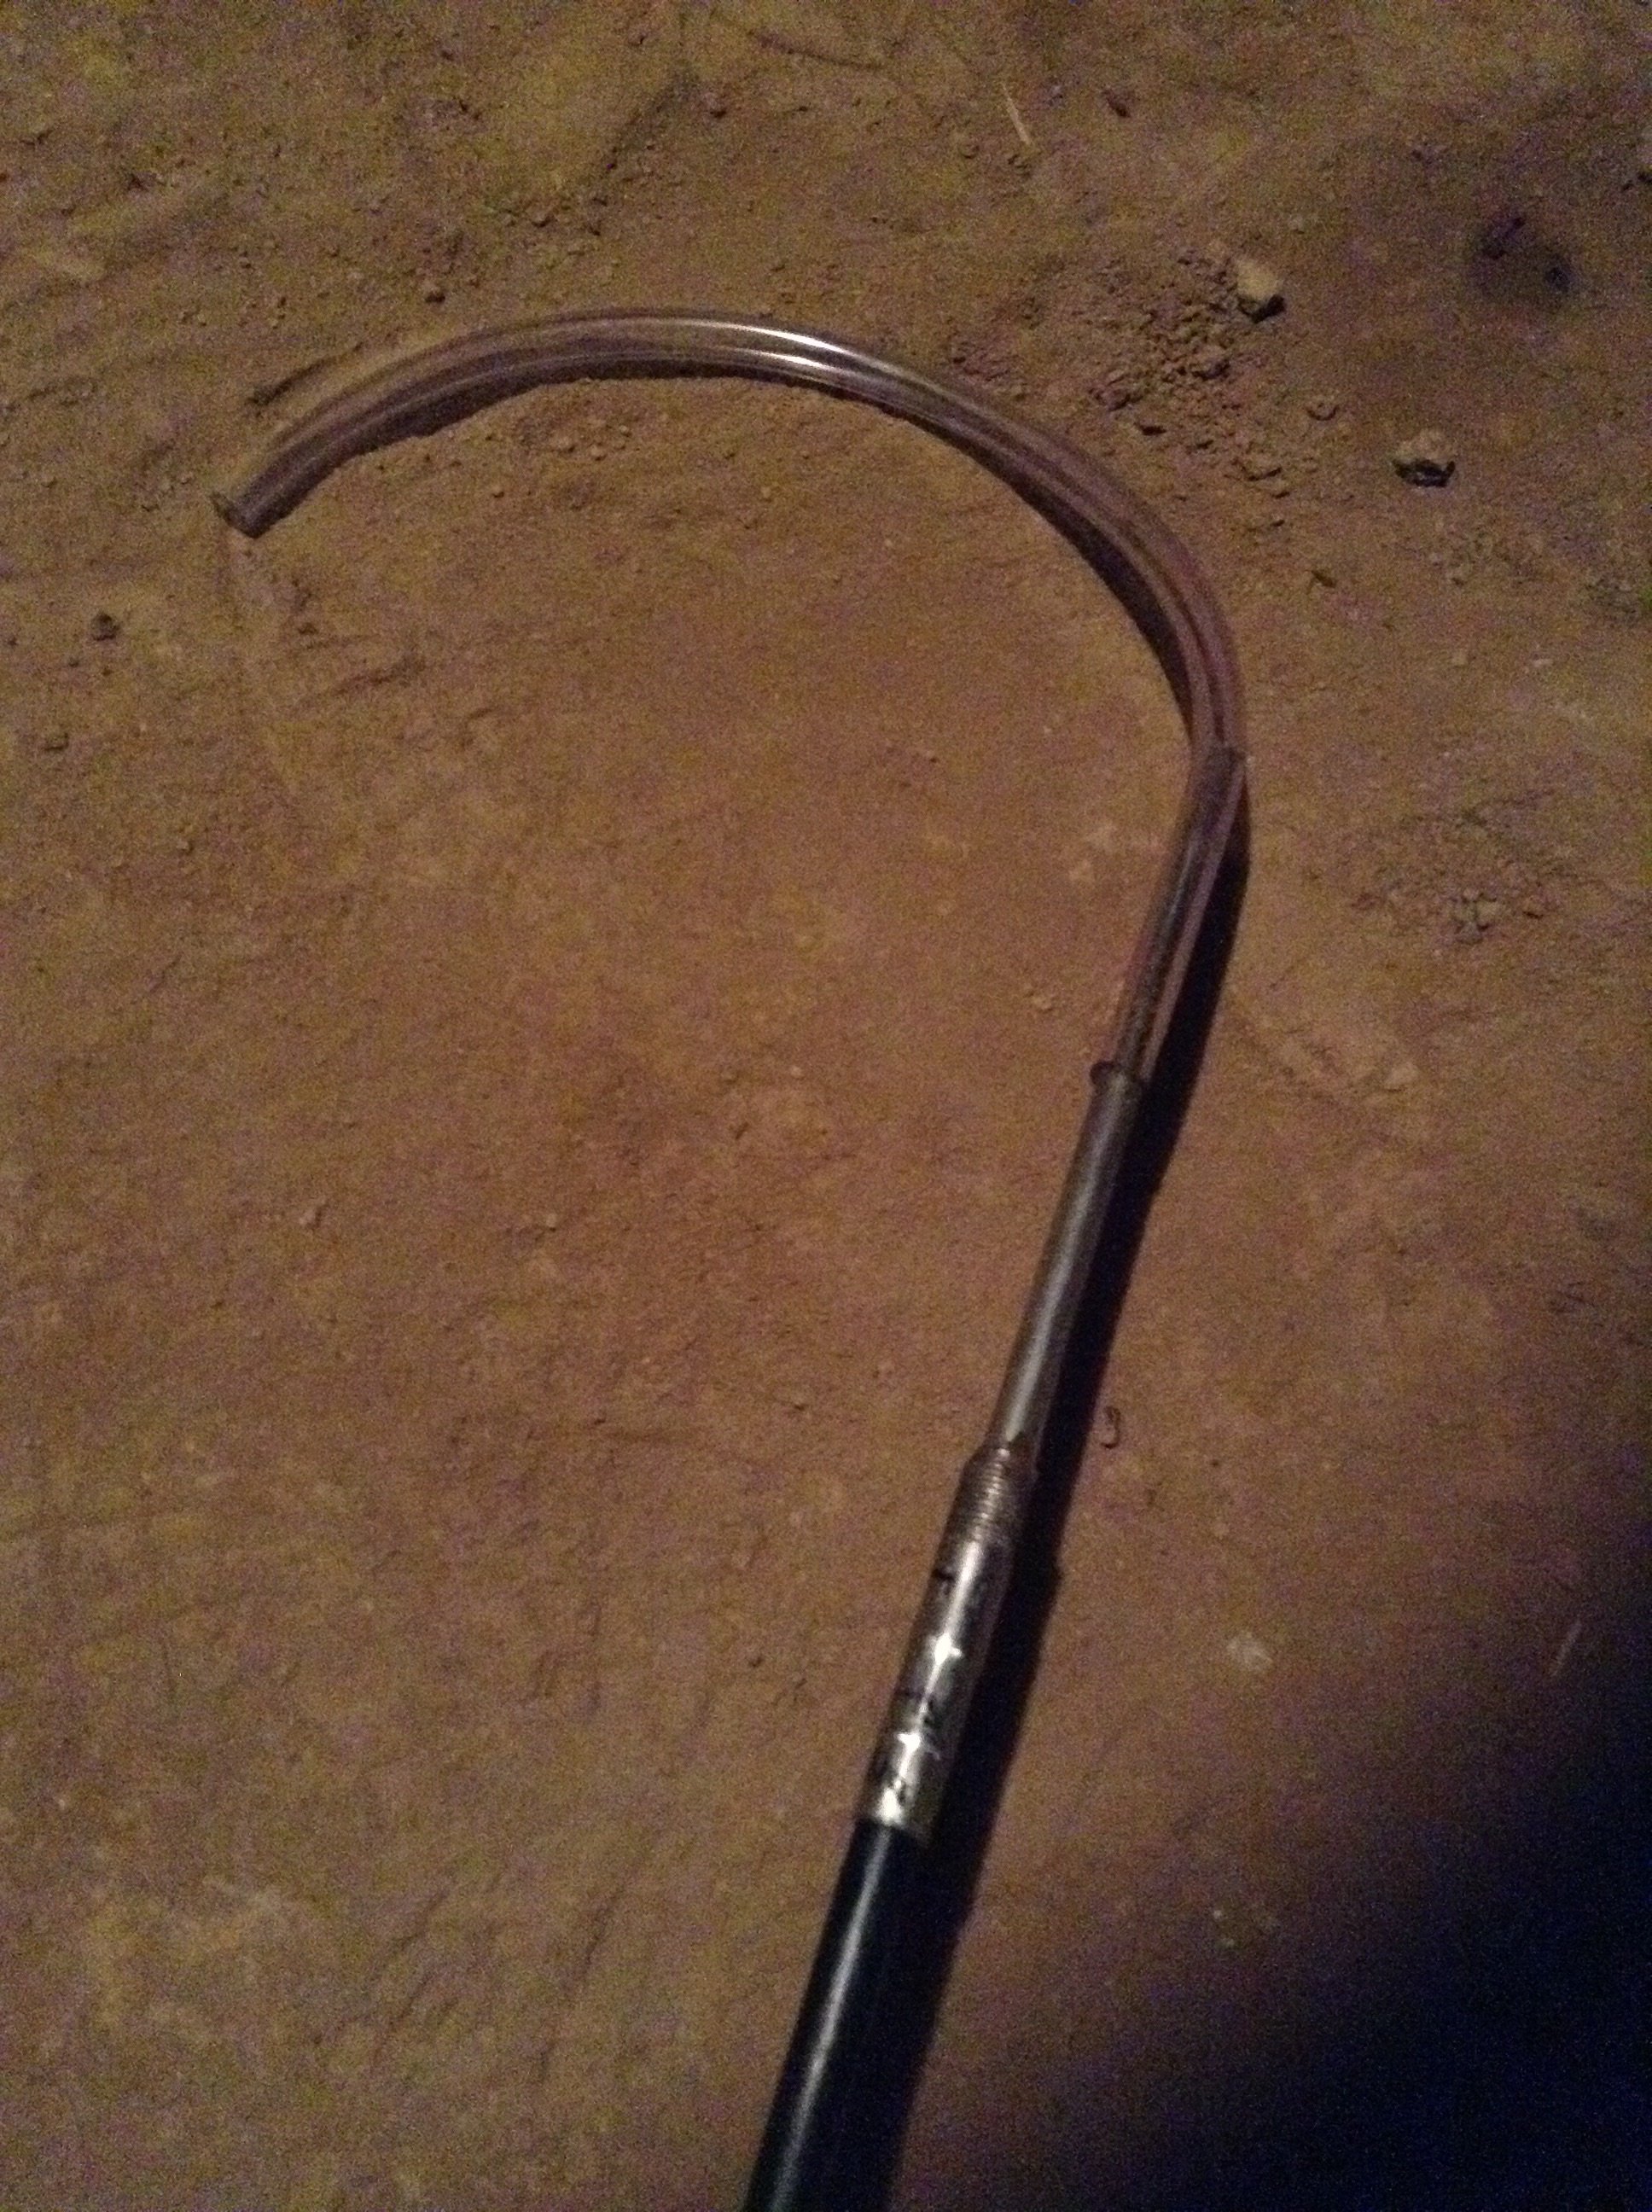
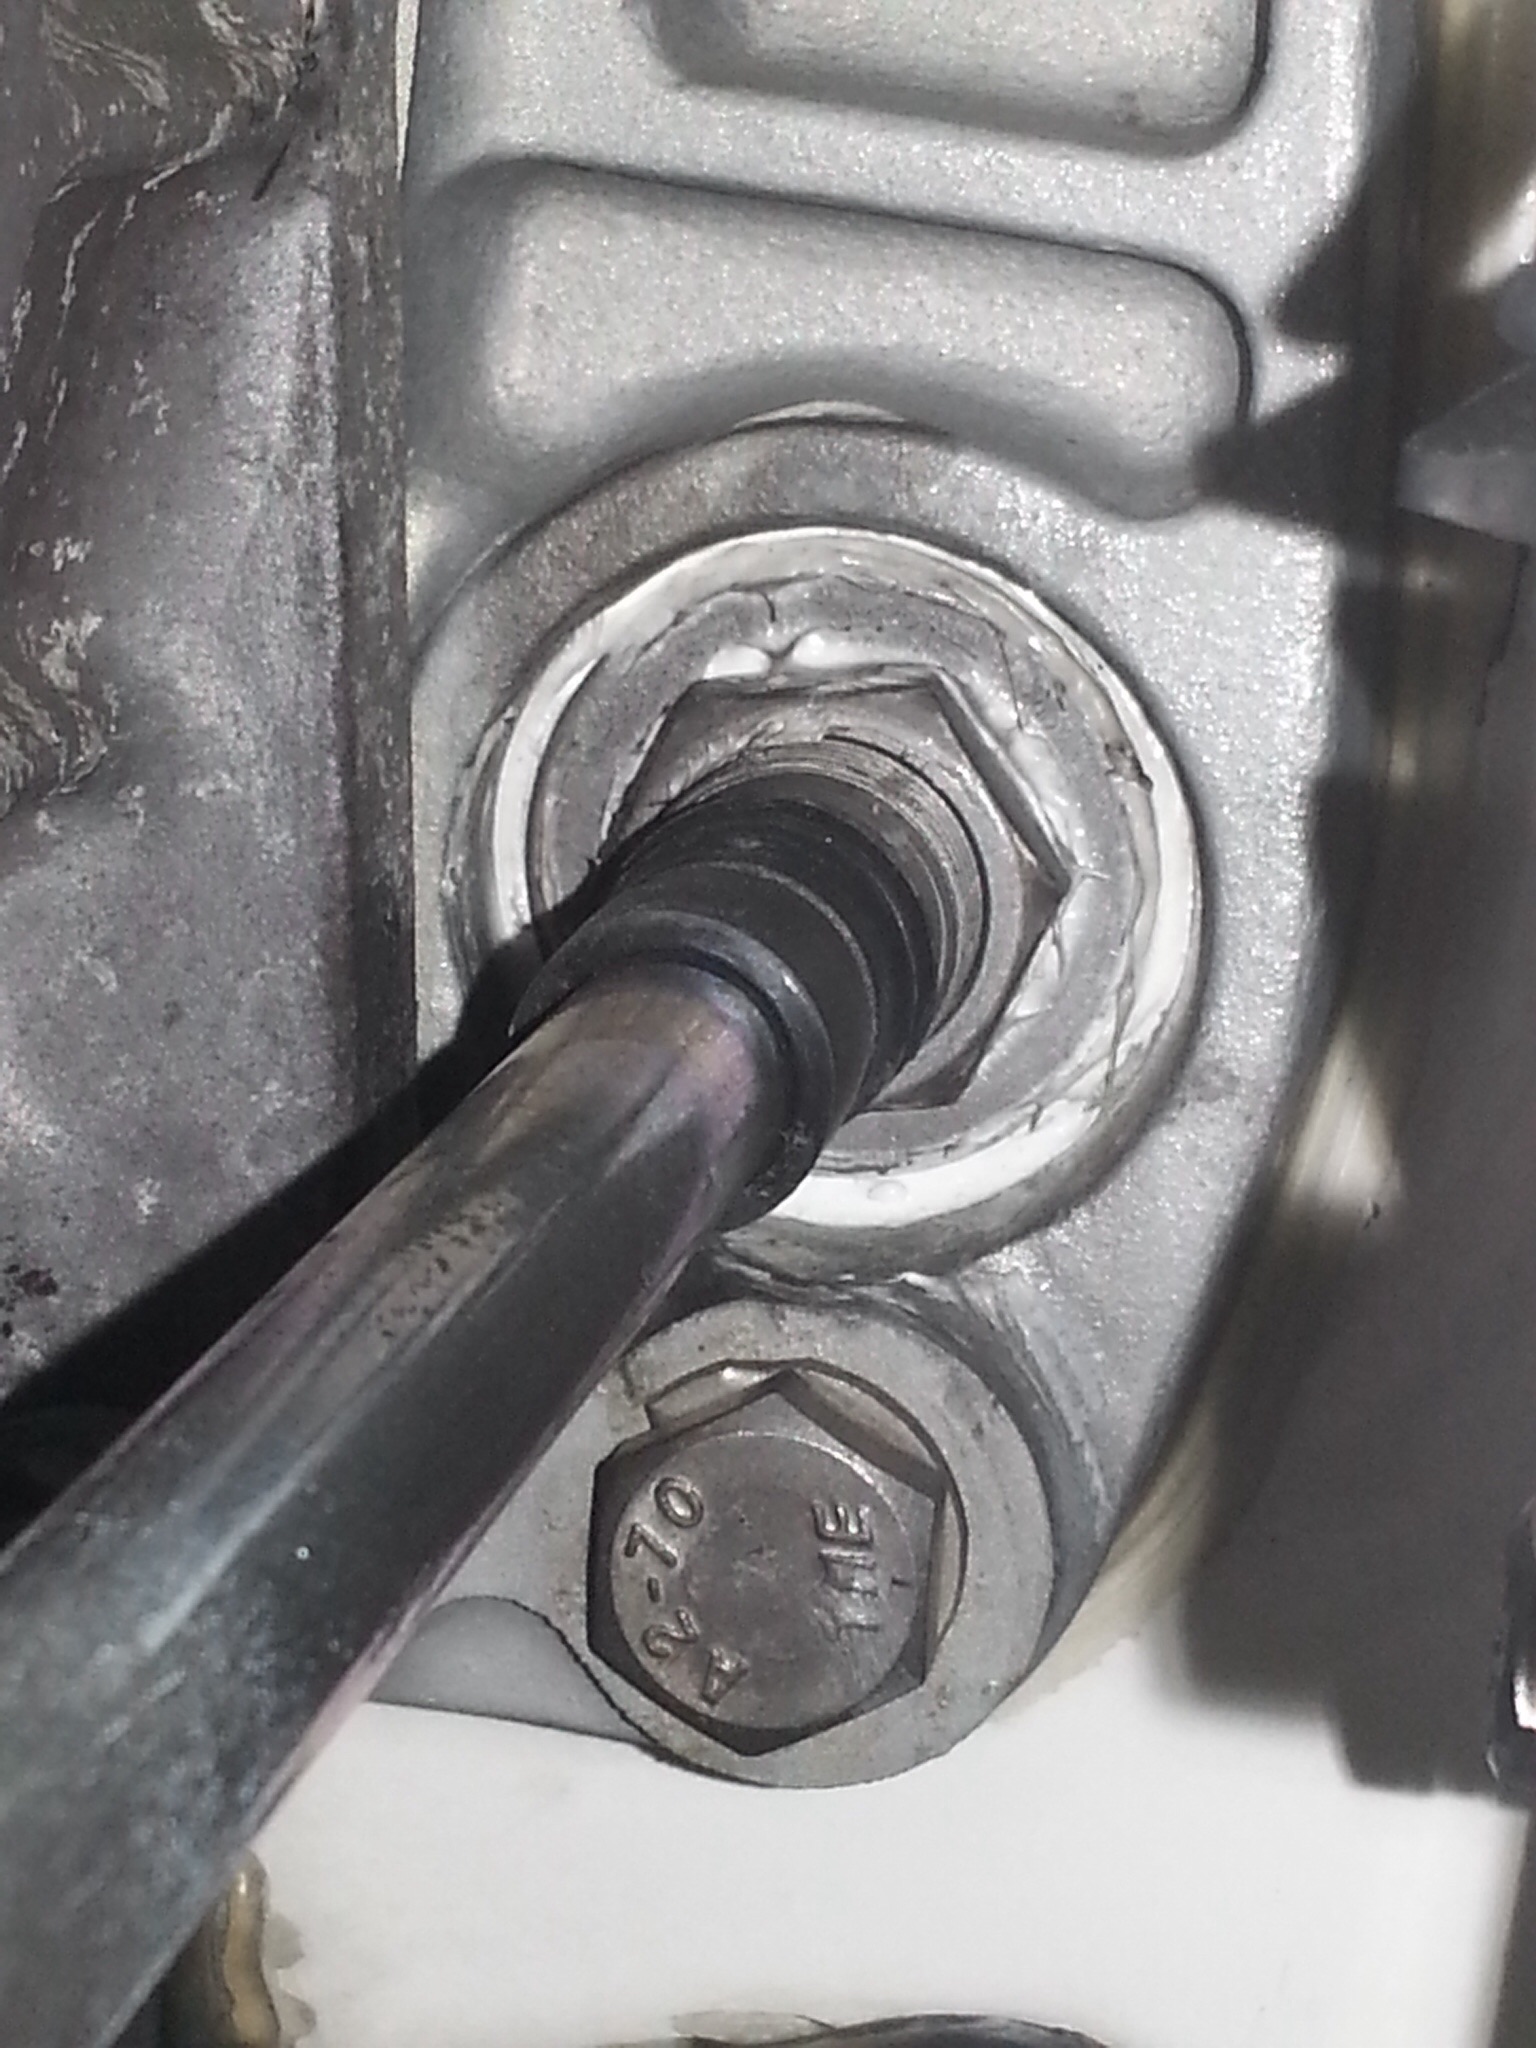
8) There is another nut(no washer ,so I did not put one back) inside the hull on the cable that is hidden inside some adhesive sealant. Then I had my helper use a small hammer and tap from the outside on the cable end while I tugged on the cable inside the clean out area. This dislodged the nut from the adhesive sealant that holds the nut and cable inside the hull. ( No pic at this time.)