
biglar155
Jetboaters Admiral
- Messages
- 1,577
- Reaction score
- 2,142
- Points
- 277
- Location
- Fredonia, WI
- Boat Make
- Yamaha
- Year
- 2009
- Boat Model
- SX
- Boat Length
- 23
Alright, so I found a little tiny hole starting in my cover last year. When I first found it we were heading out to the Dells for a week with my Wife's family (...and it occurs to me I never posted about that trip... boy I owe you guys a lot of posts...) and I wasn't going to let anything interfere with that trip so I "patched" the hole with some clear packing tape. (I've used the technique to temporarily patch sails with success so I figured it would hold my cover together for a 3 hour ride to the Dells - and it did.)
The other day @Glassman mentioned this Atwood canvas repair kit he was thinking of purchasing: http://www.amazon.com/dp/B000B91OTQ...vptwo=&hvqmt=b&hvdev=c&ref=pd_sl_25fgmffoc7_b
I ordered the kit. It arrived within a couple of days (Thank You Amazon Prime) and yesterday I set to work.
So here's what you find when you open the box:

I opened the package and found a rather large piece of canvas, a bottle of glue, and instructions:
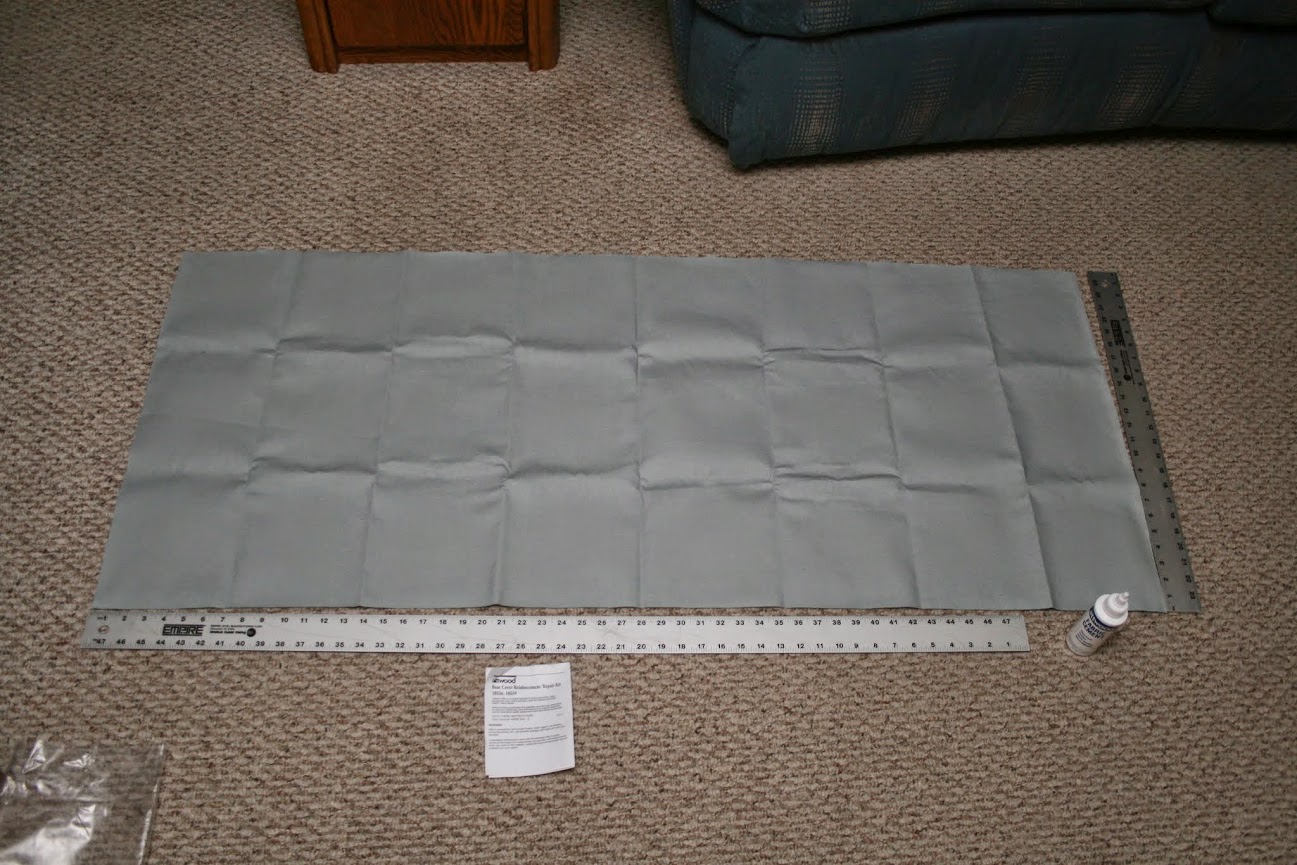
The ruler on the bottom is 48" and the one on the side is 24".
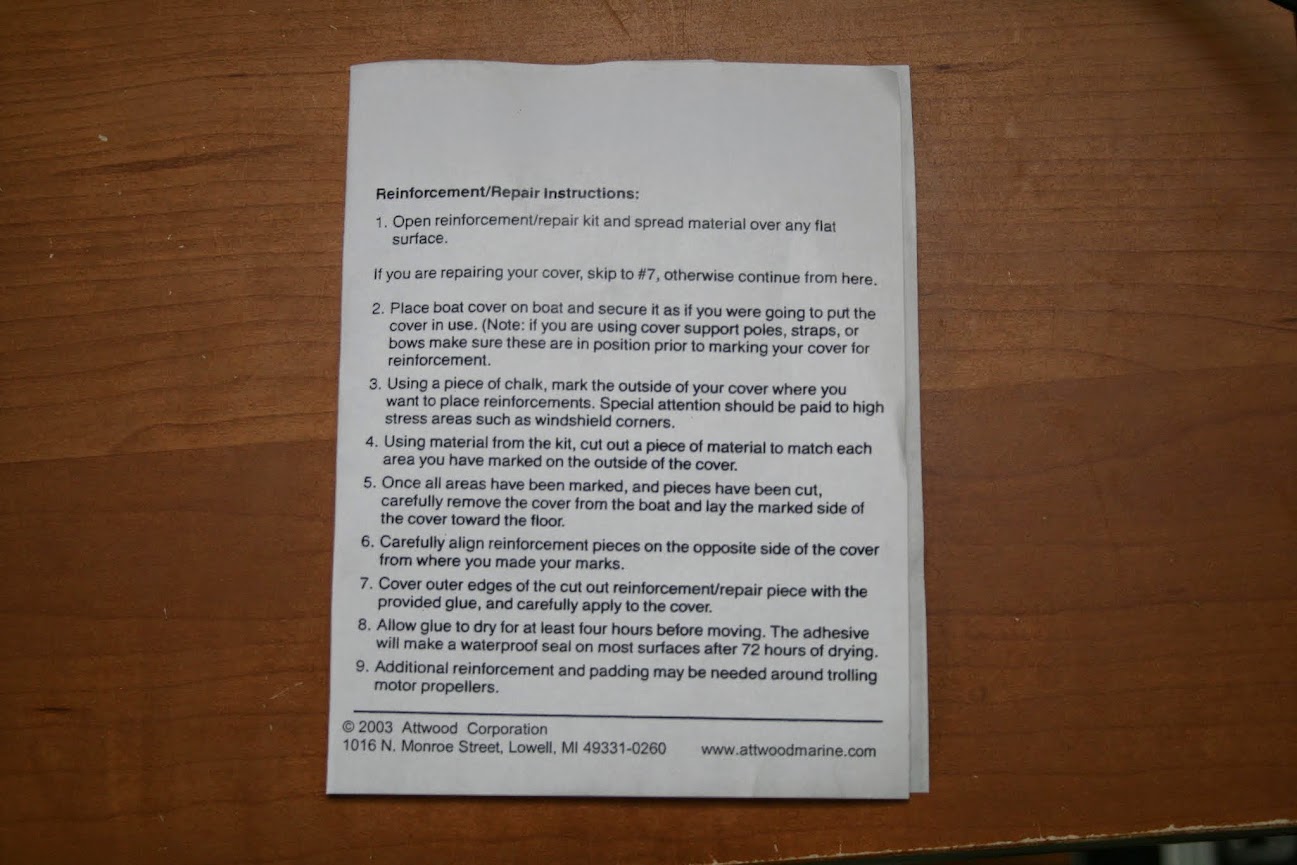
Here's the instructions:
And the glue bottle:


Here's the target of my angst:
Not a huge hole by any means (might have been a mouse-bite - more on that in another post) but I wanted to fix it before it became one.
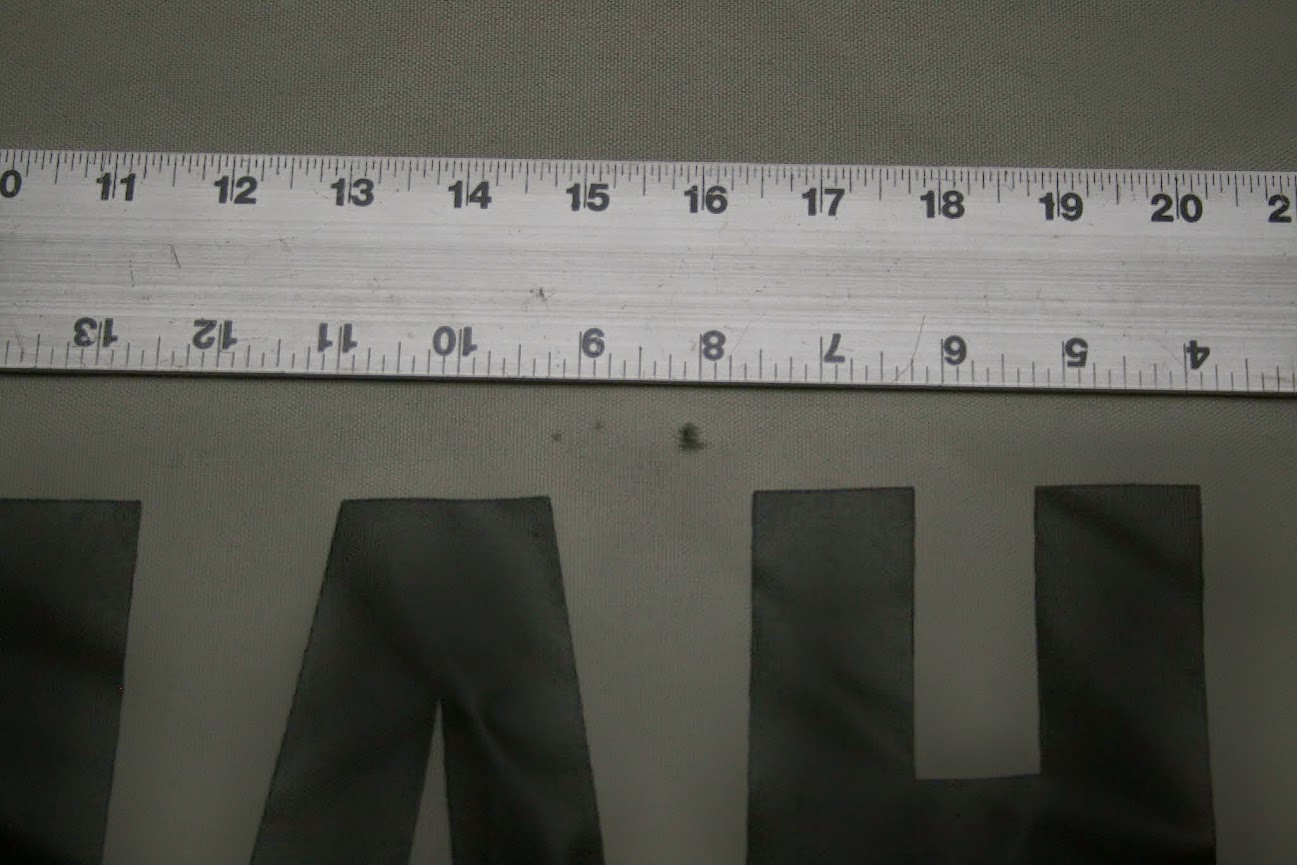
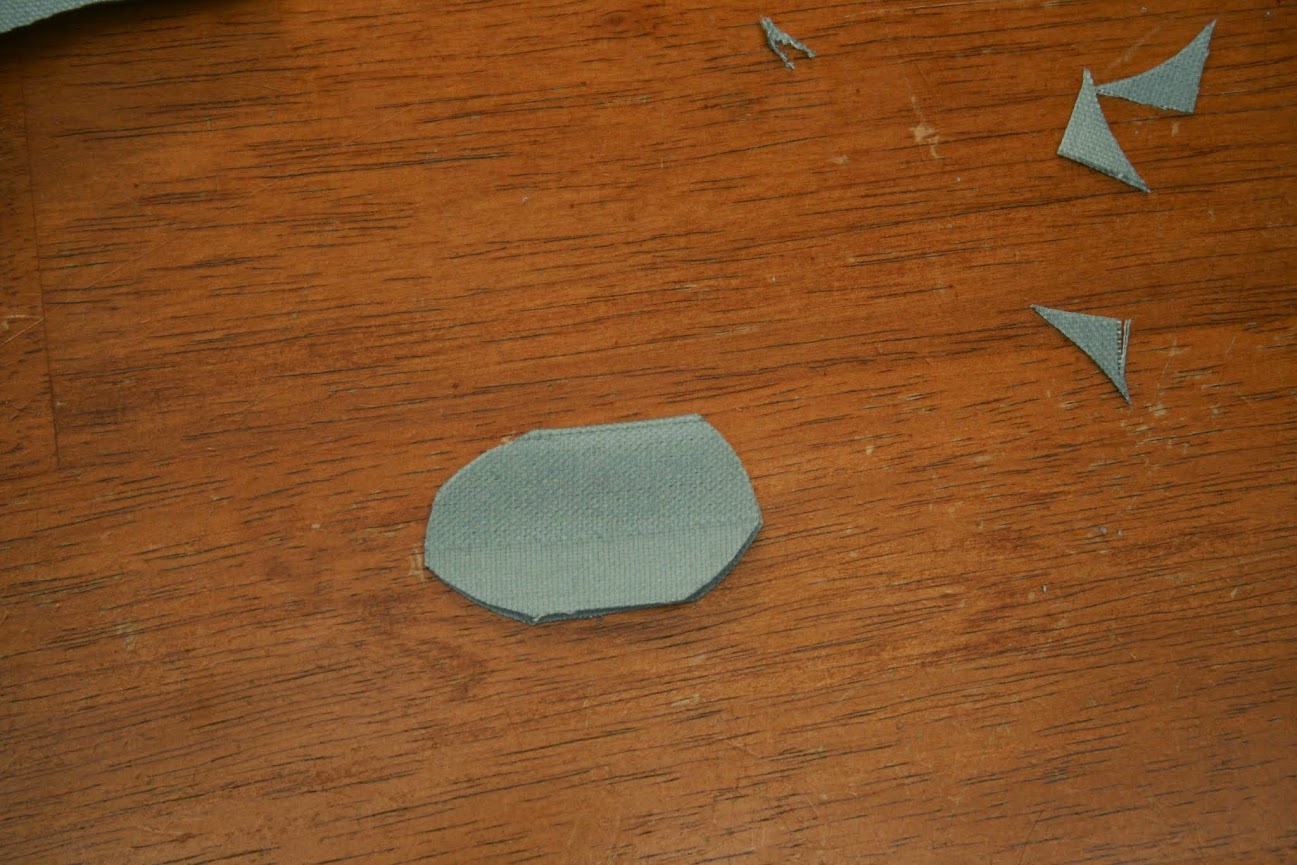
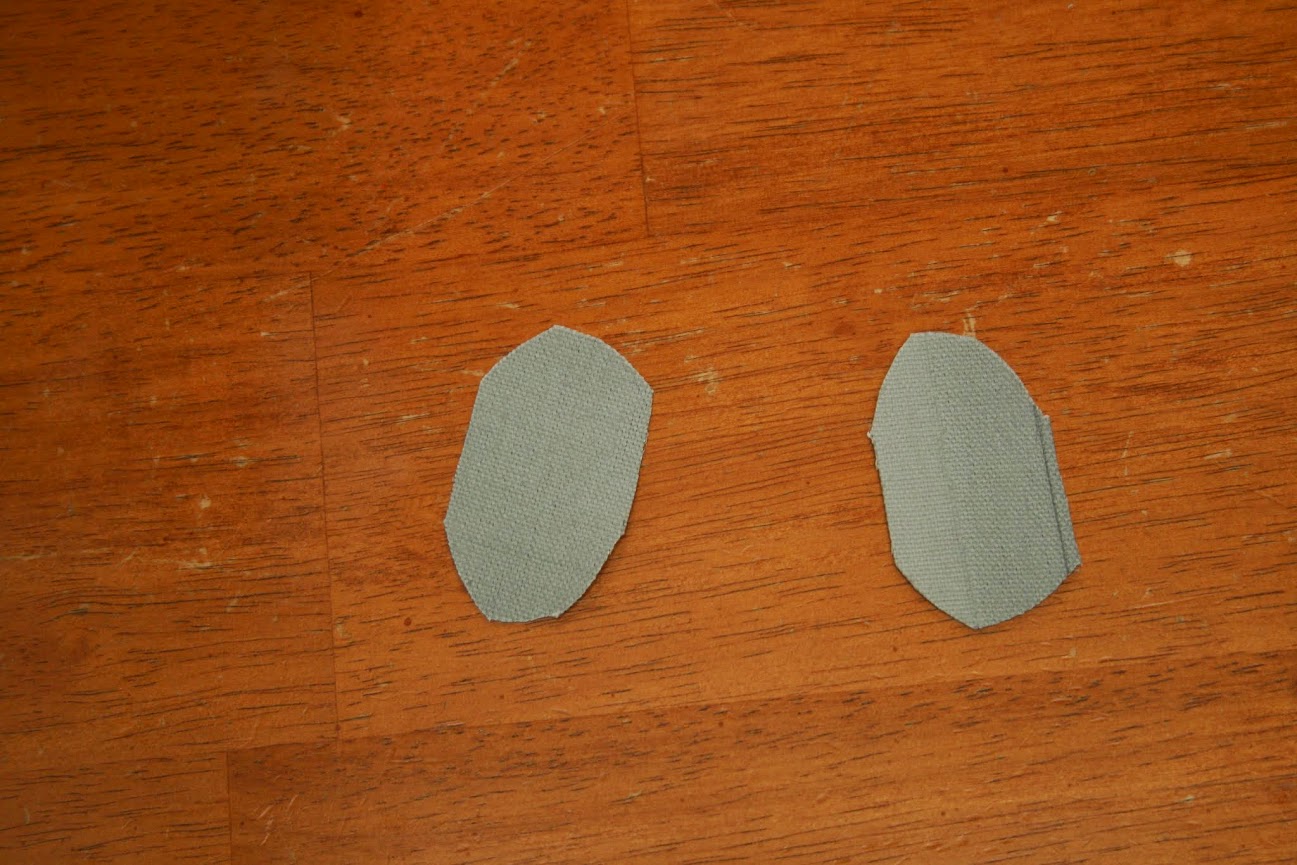
So the first thing I did was cut out a piece of material for a patch. I decided to cut out two and put one piece of patch on each side.

I didn't want to have square corners to "hook" on anything so I rounded them off (Yes, I cut things out like Charlie Brown.)

With the patches cut out, it was time to apply the fabric adhesive.
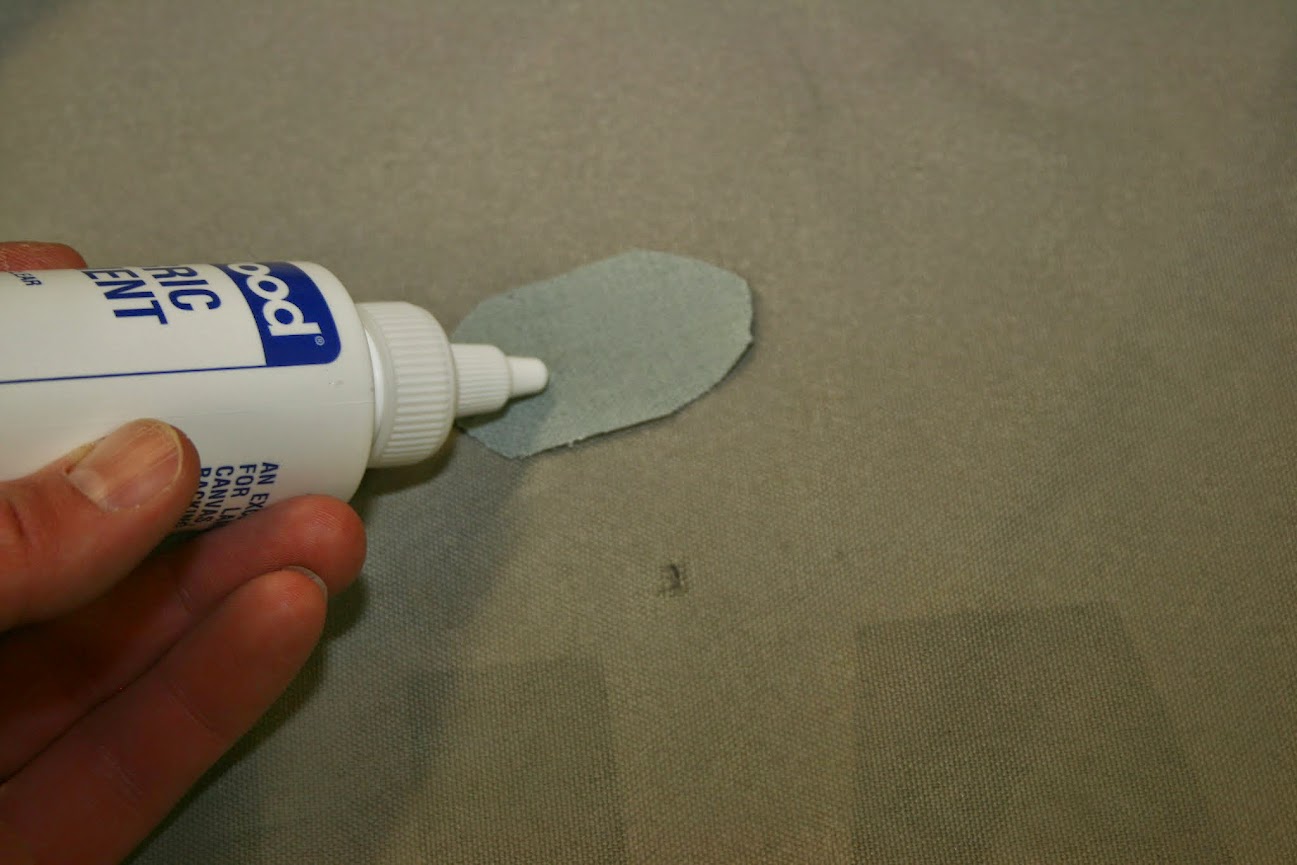
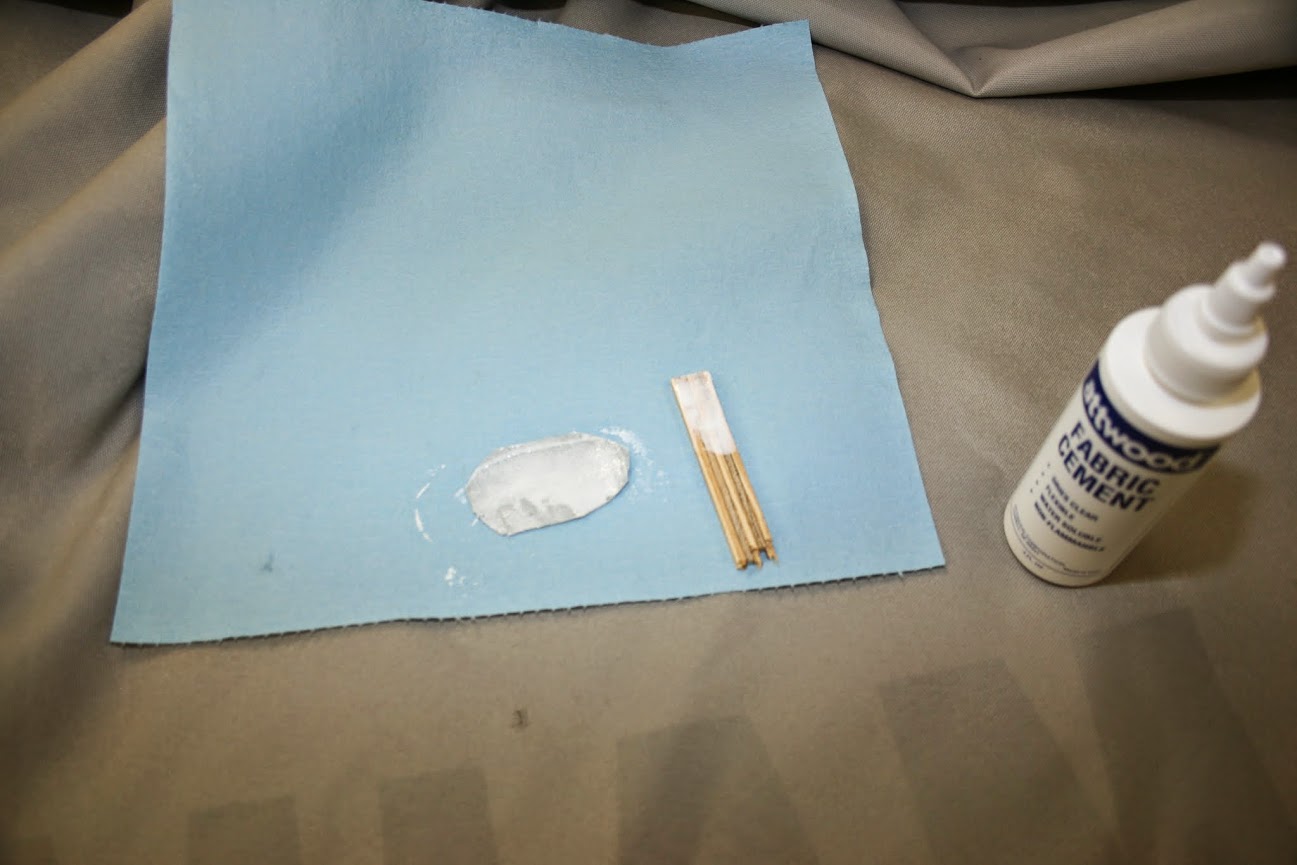
The instructions say you should run a bead of it around the outside edge of the patch. Considering that the patch was so small, I took a small piece of scrap (you could use a Popsicle stick) and spread glue on the entire patch.
In this next pic, you see me applying a bead of glue around the outside edge of the patch (actually this is the 2nd patch - the one on the outside of the cover) after it has been applied. This seemed to help hold the edges down better. I hadn't done this with the first side, but I later went back and did it.

The glue cleans up with water, so it was just a matter of wiping up the excess with a wet cloth.
I also decided to do something a little different to make sure it was held in place firmly: I put a piece of wax paper on the table under the patch and another on top of the patch. Then I found a nice flat piece of scrap in my scrap-box and put it on top of the patch.

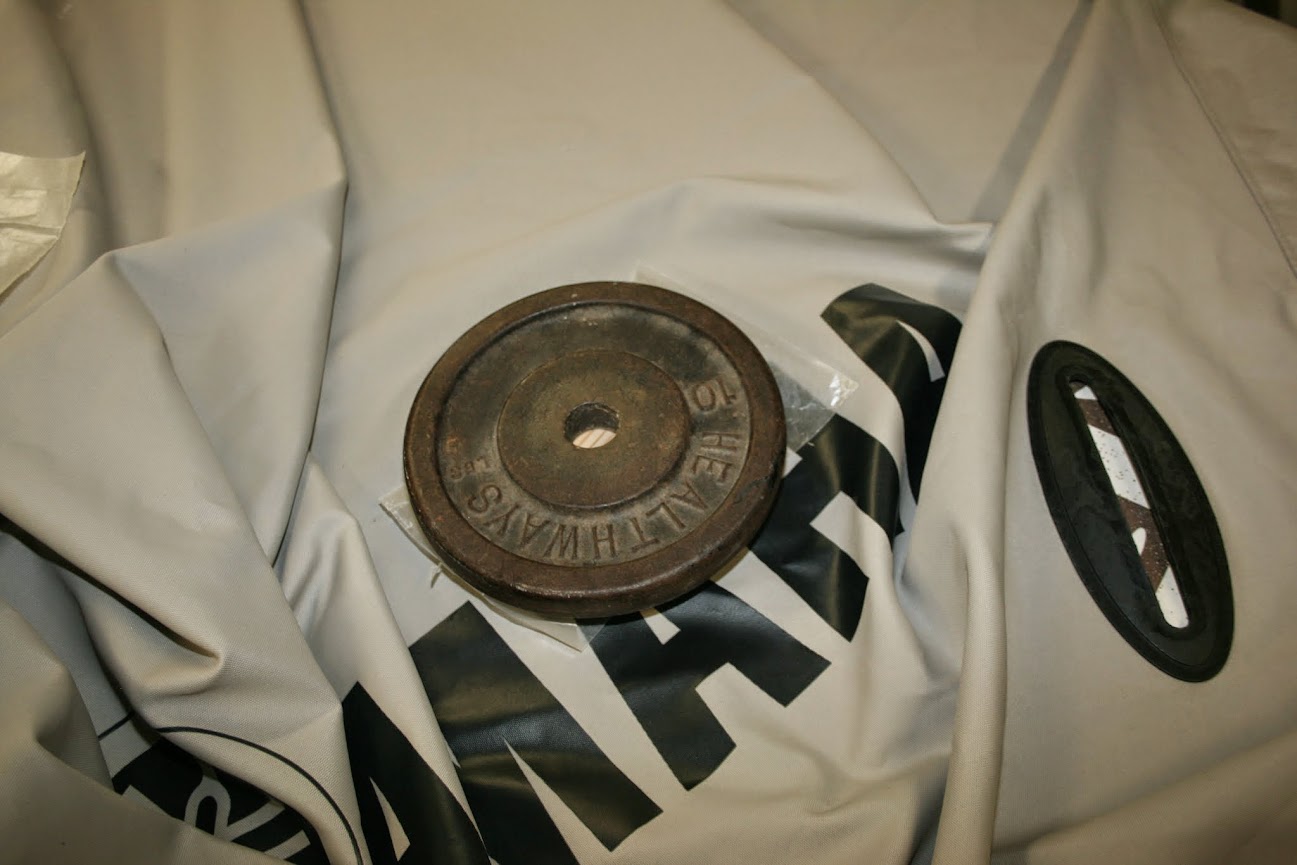
Then I stuck some weight on it:
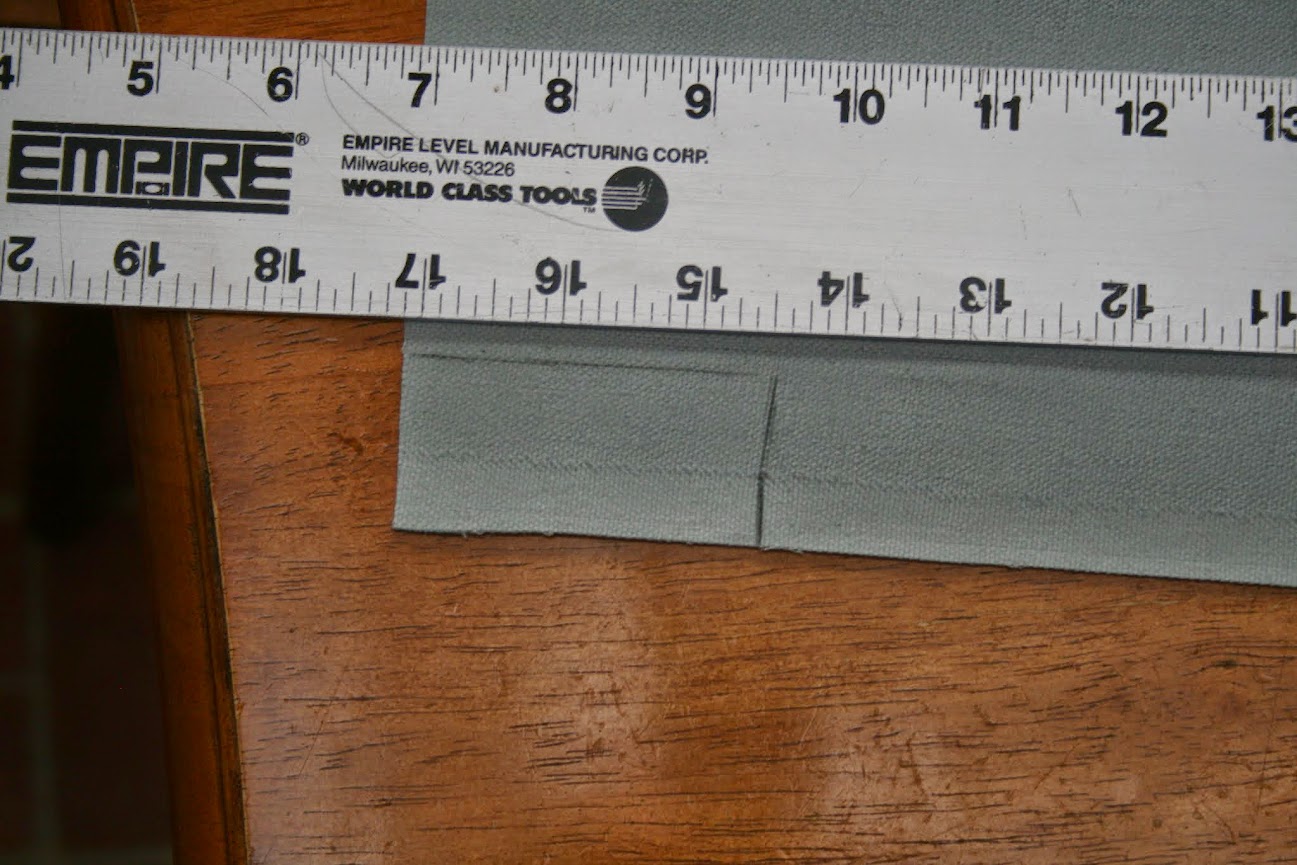
I let it sit overnight and then this morning I took it out of the "press" and removed the wax paper. Here is the end result:

And the inside:

As mentioned, the edges of the inside patch didn't look as good so I ran a bead around it and put it in the "press" again.
After that had set fairly well, I cut another slightly bigger piece to cover the spot where the bumper on top of the windshield rubs. It wasn't a hole, but I wanted to reinforce it.


(The water in the butter tub is so that I'd have something to clean up the excess glue with.)
I did the same thing where I covered the entire patch with adhesive and also ran a bead around the outer edge with my finger:

Some more wax paper...

and some weights for the "press."

No pic of that one completed, but it looks the same as the others. I'm pretty happy with it. It's a bit stiff, but does have some flexibility. I don't think it's going to peel off but only time will tell. It will be a few weeks before I get to tow it down the road for any distance. I'll check back in and let you know how things hold up.
I were to do it again, I'd wait a few hours between doing the inside and the outside. By trying to put the patch on the outside immediately after doing the inside, I disturbed the inside patch a bit and had to go back and tack it down around the edges.
The other day @Glassman mentioned this Atwood canvas repair kit he was thinking of purchasing: http://www.amazon.com/dp/B000B91OTQ...vptwo=&hvqmt=b&hvdev=c&ref=pd_sl_25fgmffoc7_b
I ordered the kit. It arrived within a couple of days (Thank You Amazon Prime) and yesterday I set to work.
So here's what you find when you open the box:
I opened the package and found a rather large piece of canvas, a bottle of glue, and instructions:
The ruler on the bottom is 48" and the one on the side is 24".
Here's the instructions:
And the glue bottle:
Here's the target of my angst:
Not a huge hole by any means (might have been a mouse-bite - more on that in another post) but I wanted to fix it before it became one.
So the first thing I did was cut out a piece of material for a patch. I decided to cut out two and put one piece of patch on each side.
I didn't want to have square corners to "hook" on anything so I rounded them off (Yes, I cut things out like Charlie Brown.)
With the patches cut out, it was time to apply the fabric adhesive.
The instructions say you should run a bead of it around the outside edge of the patch. Considering that the patch was so small, I took a small piece of scrap (you could use a Popsicle stick) and spread glue on the entire patch.
In this next pic, you see me applying a bead of glue around the outside edge of the patch (actually this is the 2nd patch - the one on the outside of the cover) after it has been applied. This seemed to help hold the edges down better. I hadn't done this with the first side, but I later went back and did it.
The glue cleans up with water, so it was just a matter of wiping up the excess with a wet cloth.
I also decided to do something a little different to make sure it was held in place firmly: I put a piece of wax paper on the table under the patch and another on top of the patch. Then I found a nice flat piece of scrap in my scrap-box and put it on top of the patch.
Then I stuck some weight on it:
I let it sit overnight and then this morning I took it out of the "press" and removed the wax paper. Here is the end result:
And the inside:
As mentioned, the edges of the inside patch didn't look as good so I ran a bead around it and put it in the "press" again.
After that had set fairly well, I cut another slightly bigger piece to cover the spot where the bumper on top of the windshield rubs. It wasn't a hole, but I wanted to reinforce it.
(The water in the butter tub is so that I'd have something to clean up the excess glue with.)
I did the same thing where I covered the entire patch with adhesive and also ran a bead around the outer edge with my finger:
Some more wax paper...
and some weights for the "press."
No pic of that one completed, but it looks the same as the others. I'm pretty happy with it. It's a bit stiff, but does have some flexibility. I don't think it's going to peel off but only time will tell. It will be a few weeks before I get to tow it down the road for any distance. I'll check back in and let you know how things hold up.
I were to do it again, I'd wait a few hours between doing the inside and the outside. By trying to put the patch on the outside immediately after doing the inside, I disturbed the inside patch a bit and had to go back and tack it down around the edges.
