• Welcome to Jetboaters.net!

    We are delighted you have found your way to the best Jet Boaters Forum on the internet! Please consider Signing Up so that you can enjoy all the features and offers on the forum. We have members with boats from all the major manufacturers including Yamaha, Seadoo, Scarab and Chaparral. We don't email you SPAM, and the site is totally non-commercial. So what's to lose? IT IS FREE!

    Membership allows you to ask questions (no matter how mundane), meet up with other jet boaters, see full images (not just thumbnails), browse the member map and qualifies you for members only discounts offered by vendors who run specials for our members only! (It also gets rid of this banner!)

    free hit counter

Sport Jet leaking exhaust manifold, The saga continues...

RedBarron55

Jet Boat Addict
Messages
280
Reaction score
100
Points
122
Location
Navarre, FL
Boat Make
Jetcraft
Year
1995
Boat Model
Other
Boat Length
16
OK I replaced the exhaust manifold gasket and head gaskets and put the boat in the water and ran it.
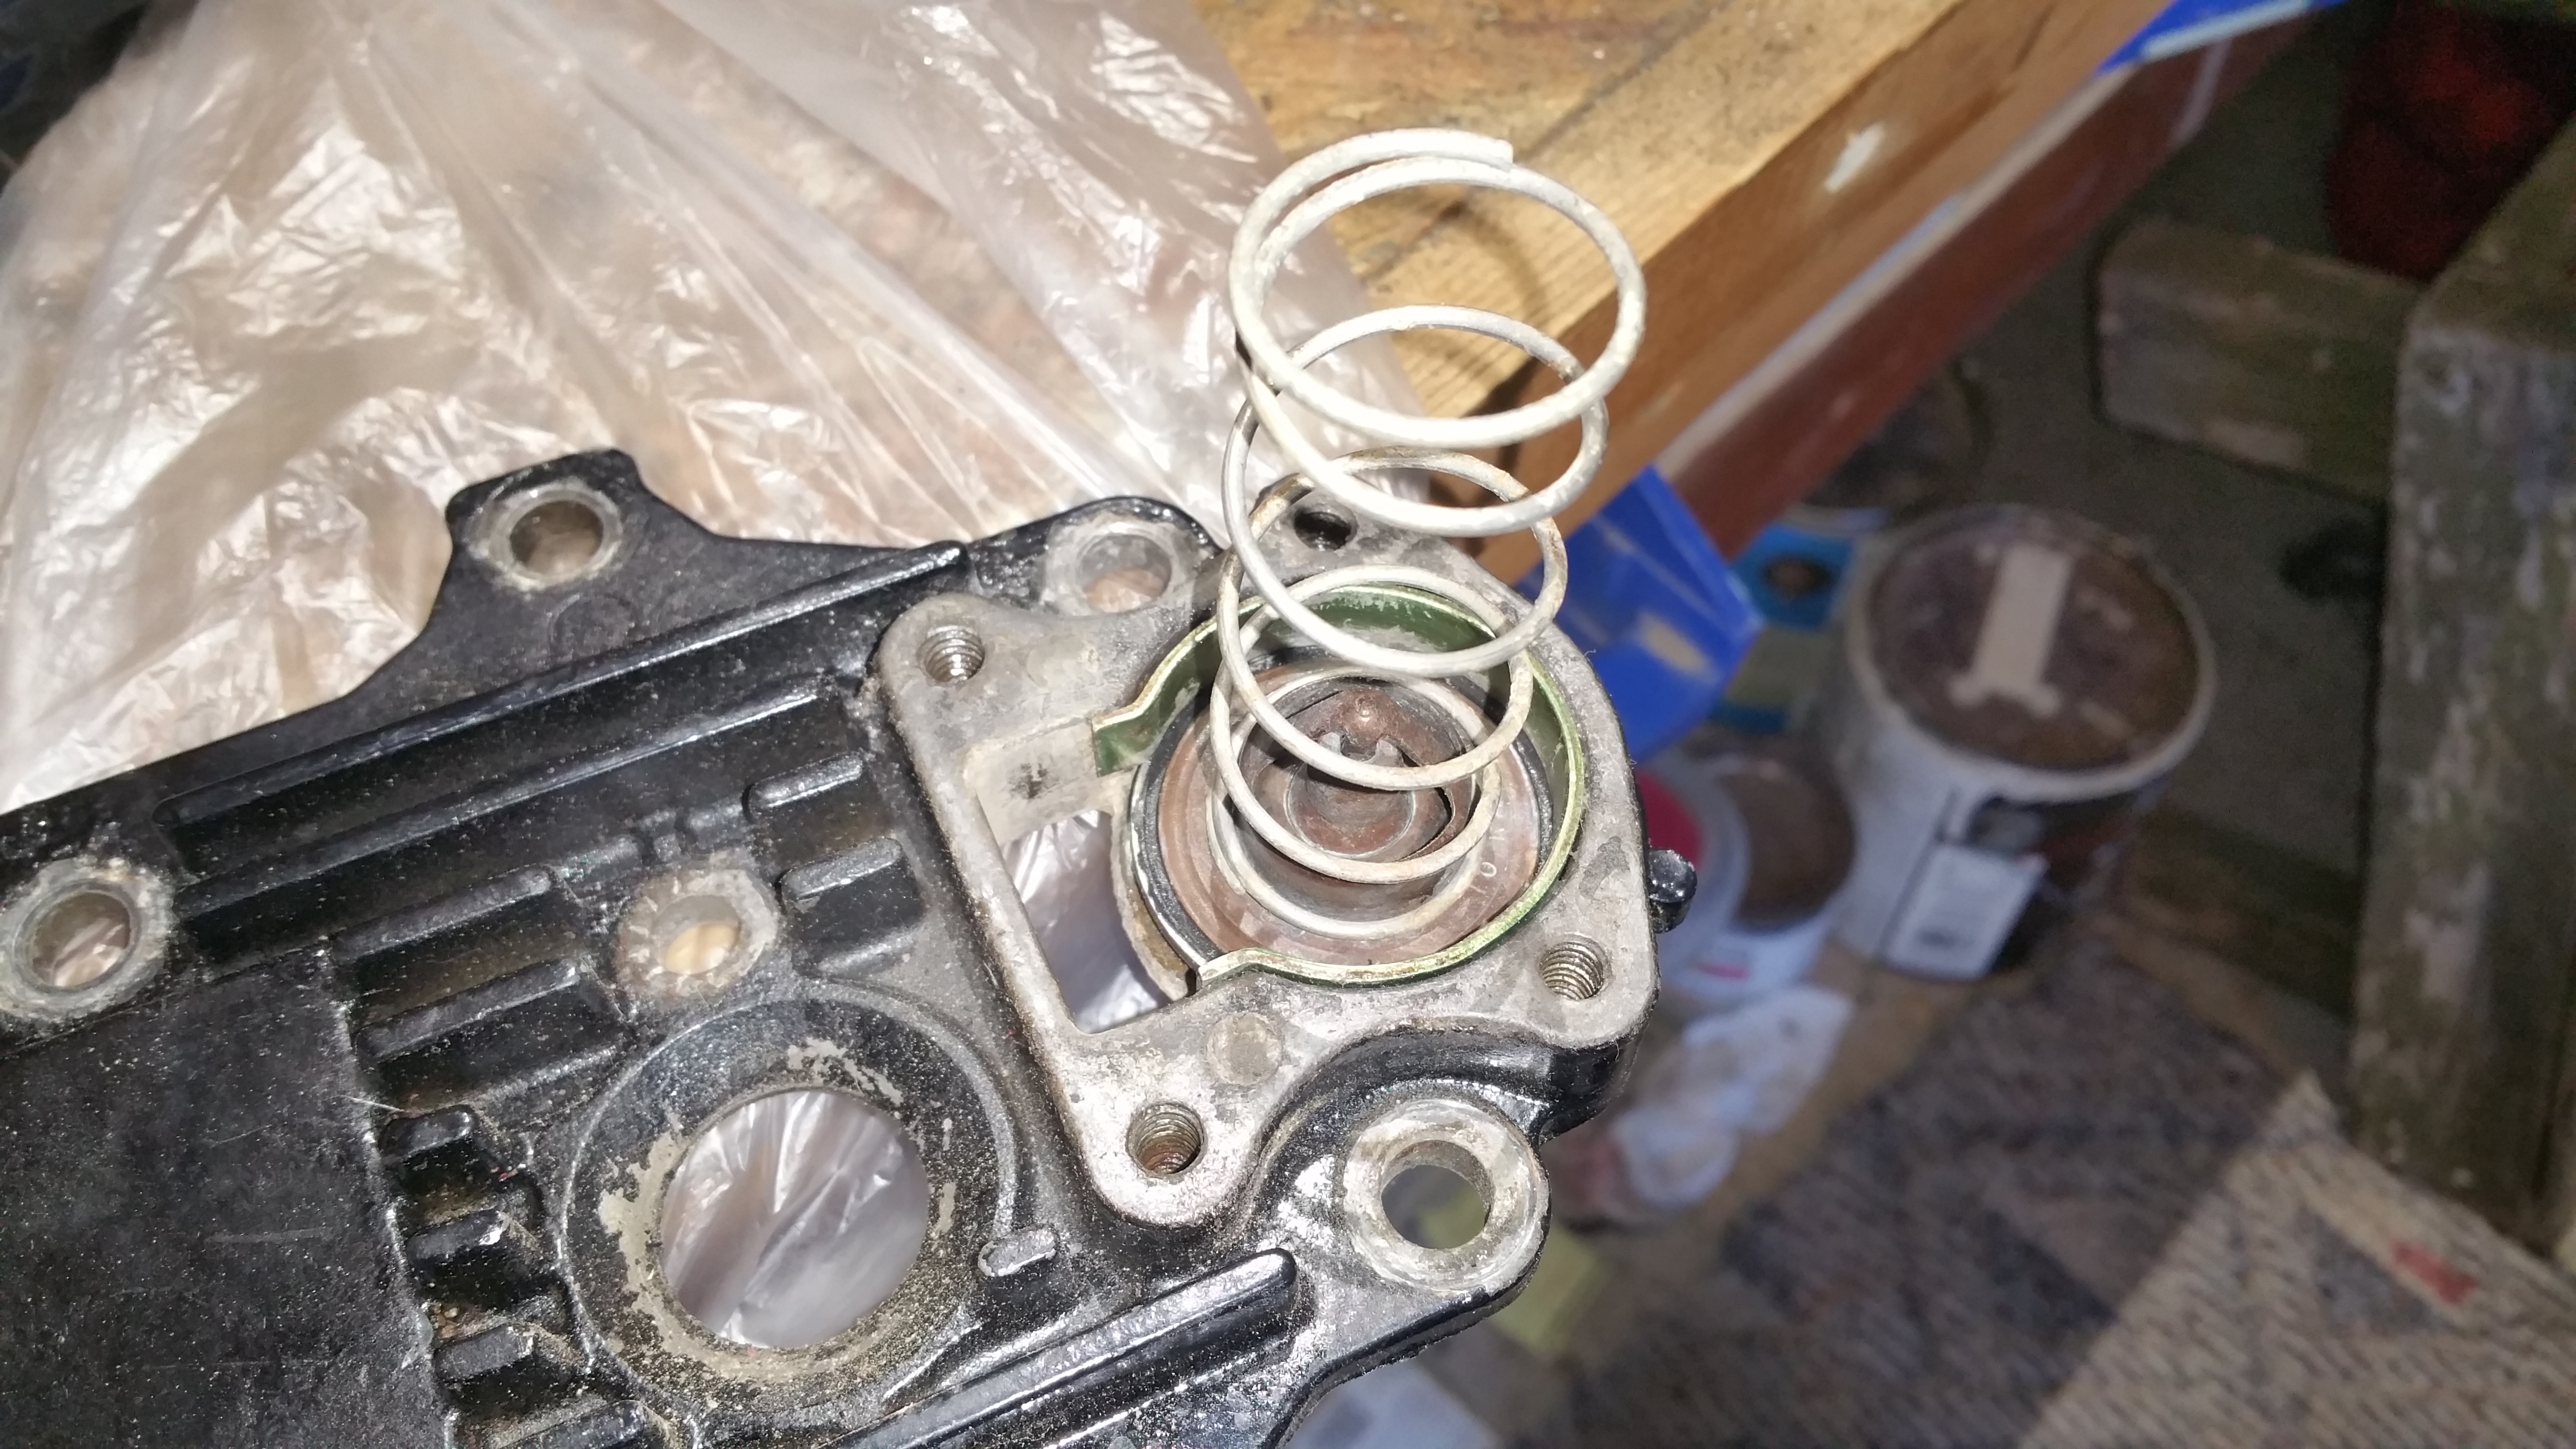
It did't want to start and idle with the carbs set closed so that the enrichment valve would work, but a spritz of ether started it up.
Let it warm up and to start it didn't want to take throttle, but with a little coaxing I could get it to run to 4000 rpm. It wanted to die at about 3000 and I changed to a portable tank instead of the built in tank with the new water separator filter. (perhaps the fuel pump is a little weak).
Two observations
1. I left the boat on the trailer and the jet stayed under water and is 4000 rpm OK with this configuration> I mean would the fact that the jet outlet is submerged and not up in the air on a plane load the engine so that 4000 is reasonable?
2. When I took the boat home to flush it and with the hose set to a very low flow there was a trickle of water from the ride plate area. Being cautious i tried turning the flywheel by hand and it was locked up when it came to #3 again.
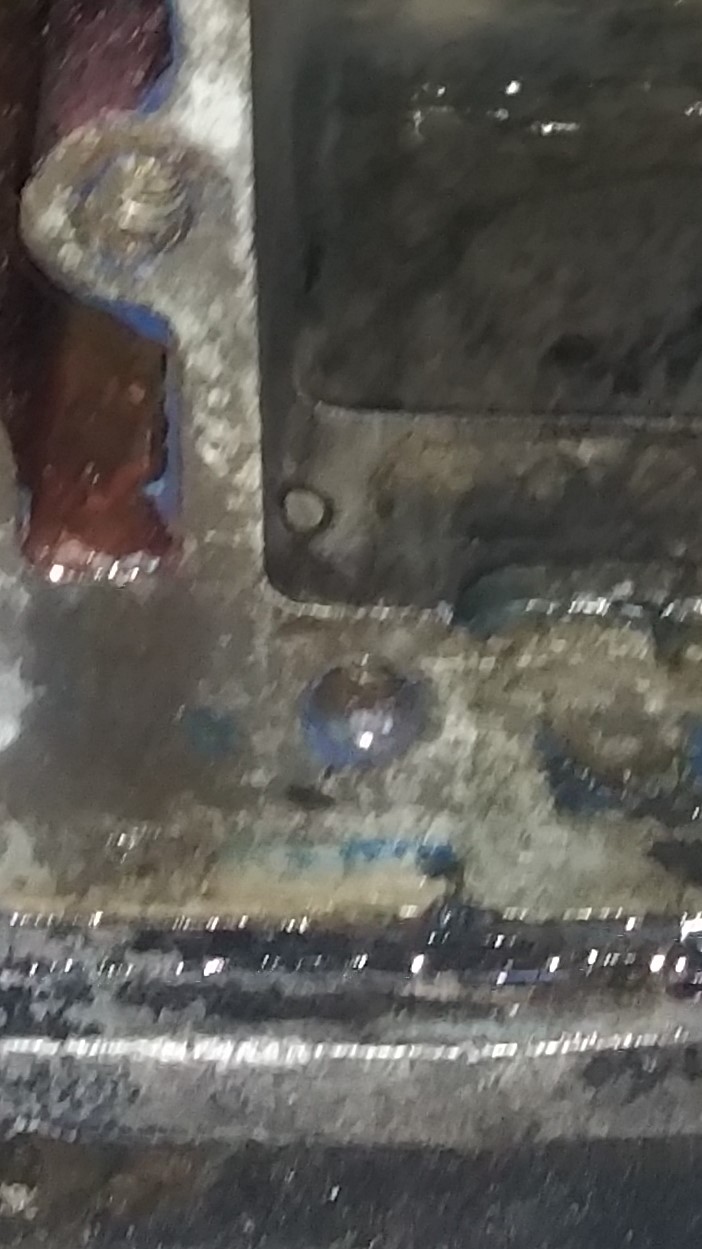
Removed plug and out comes water again!!! water more or less straight from the exhaust manifold to the lower cylinder!
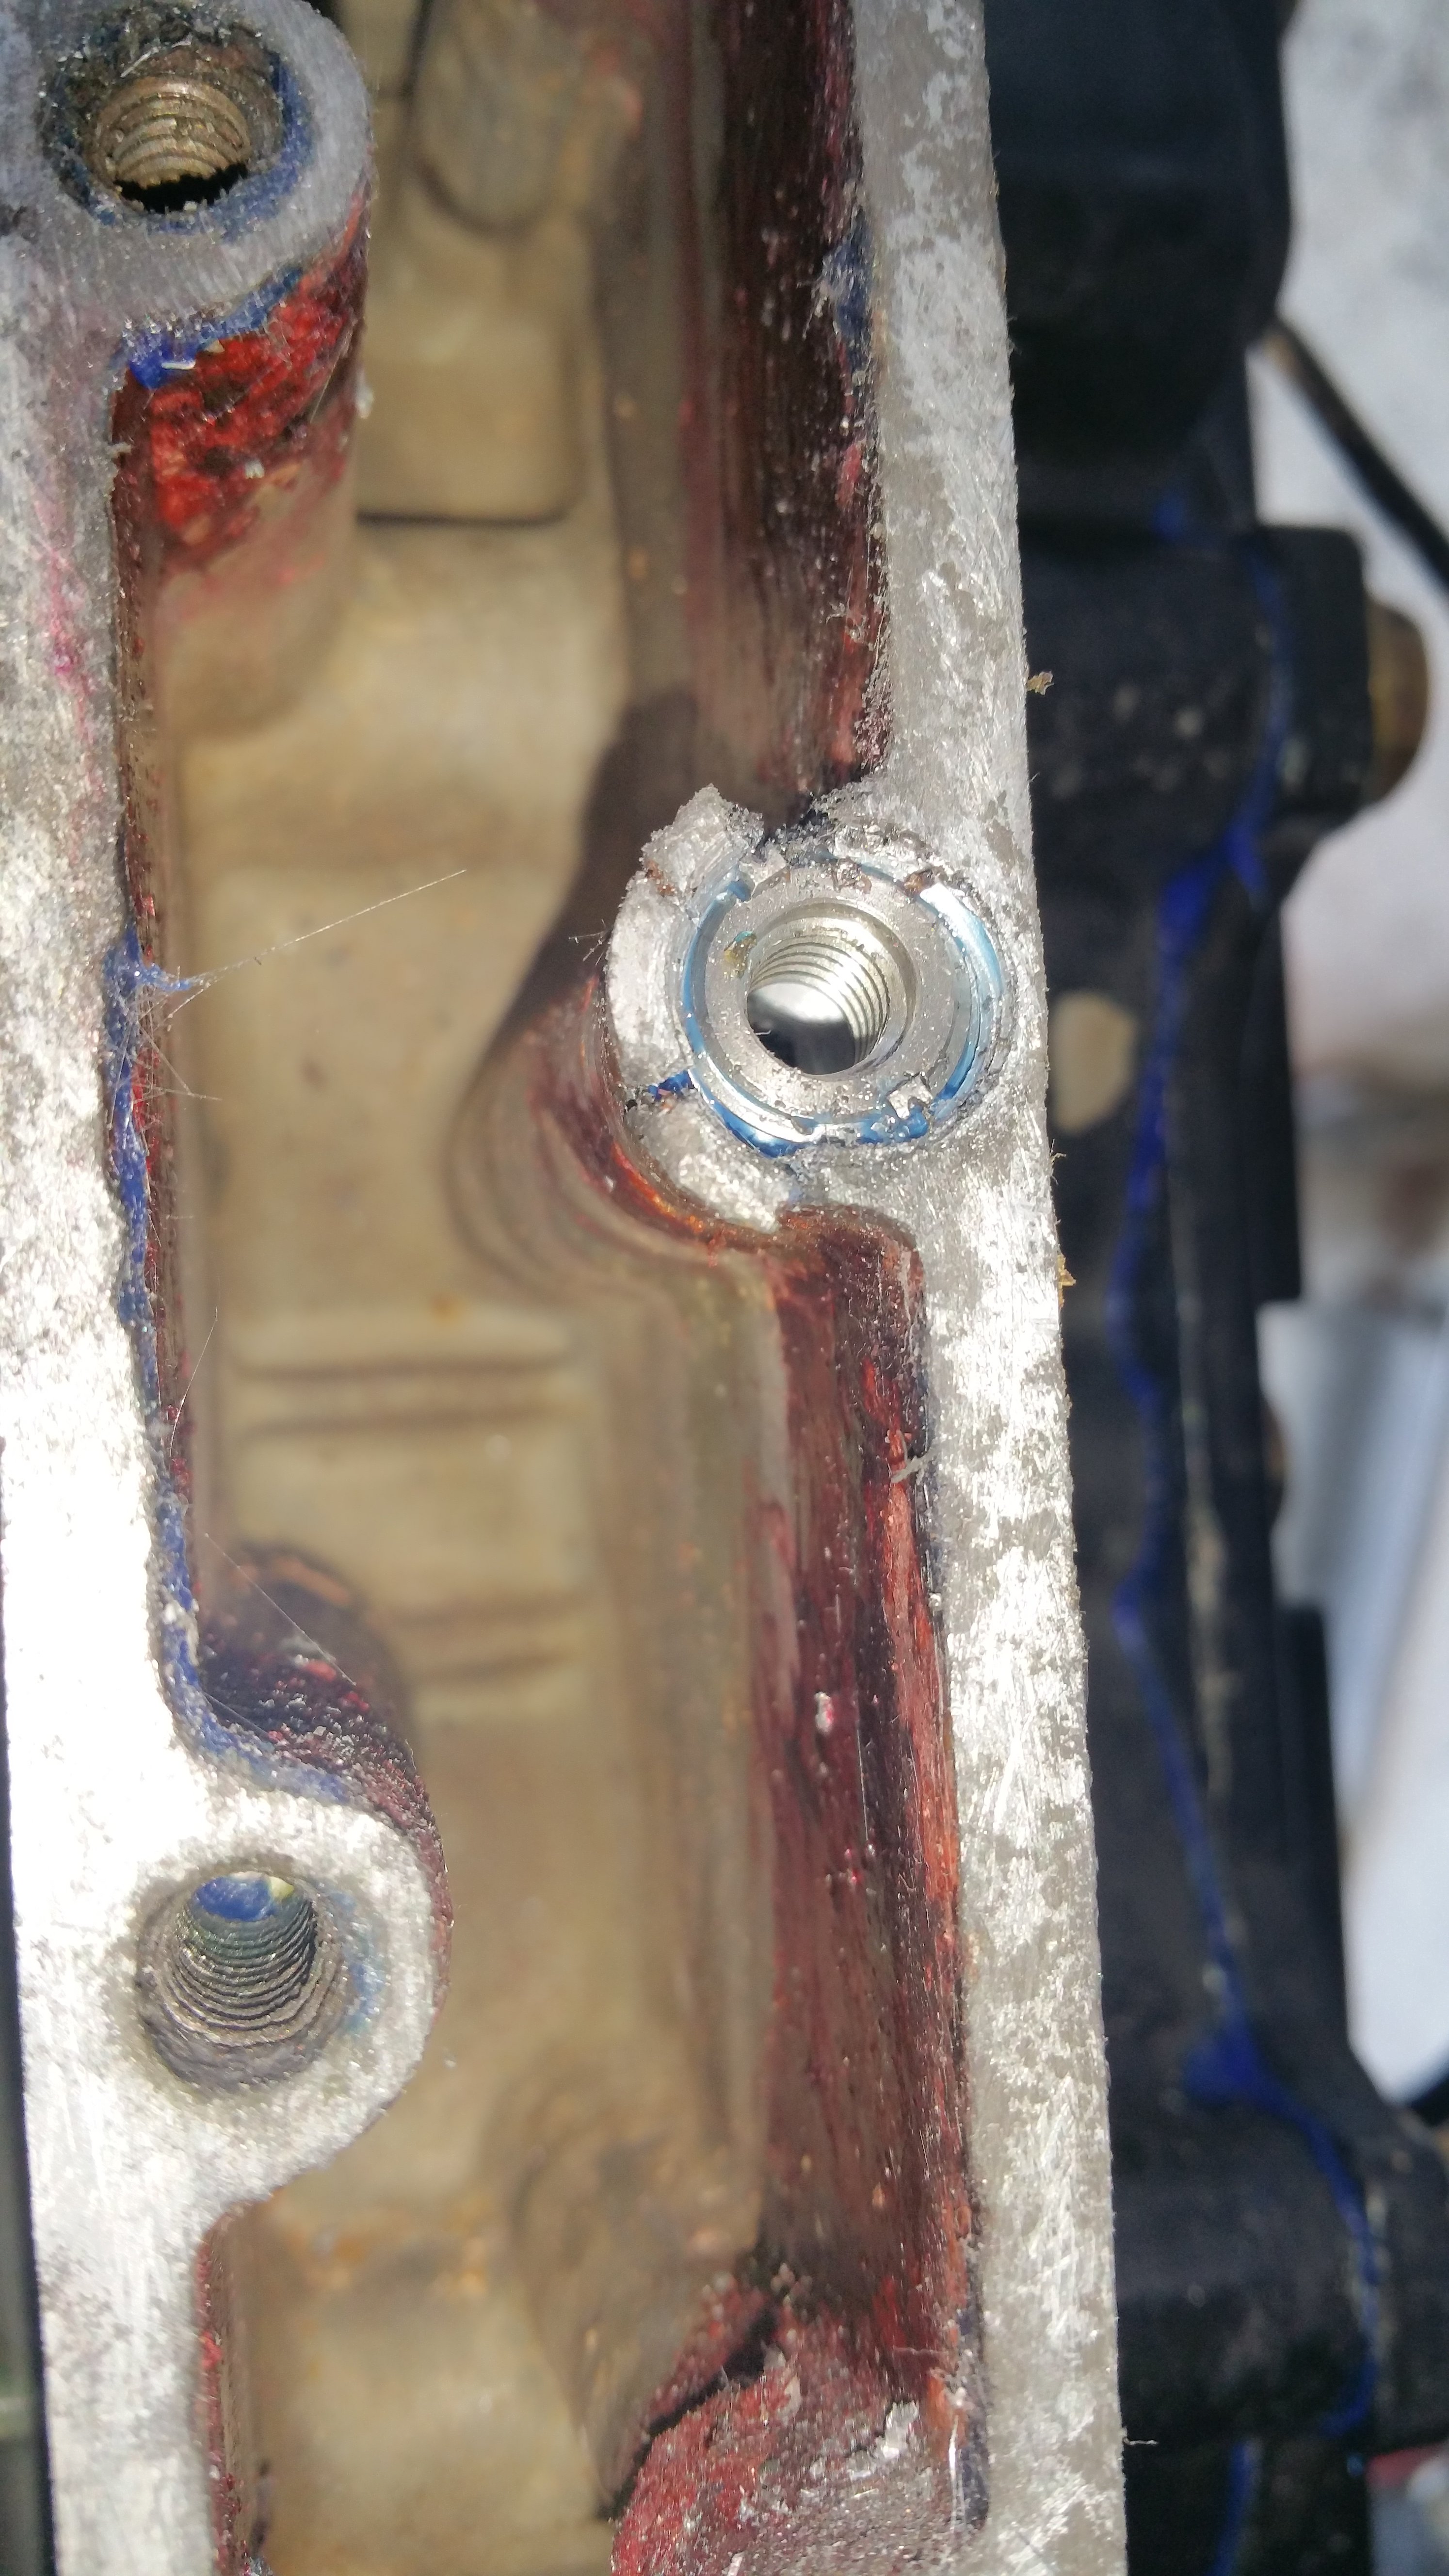
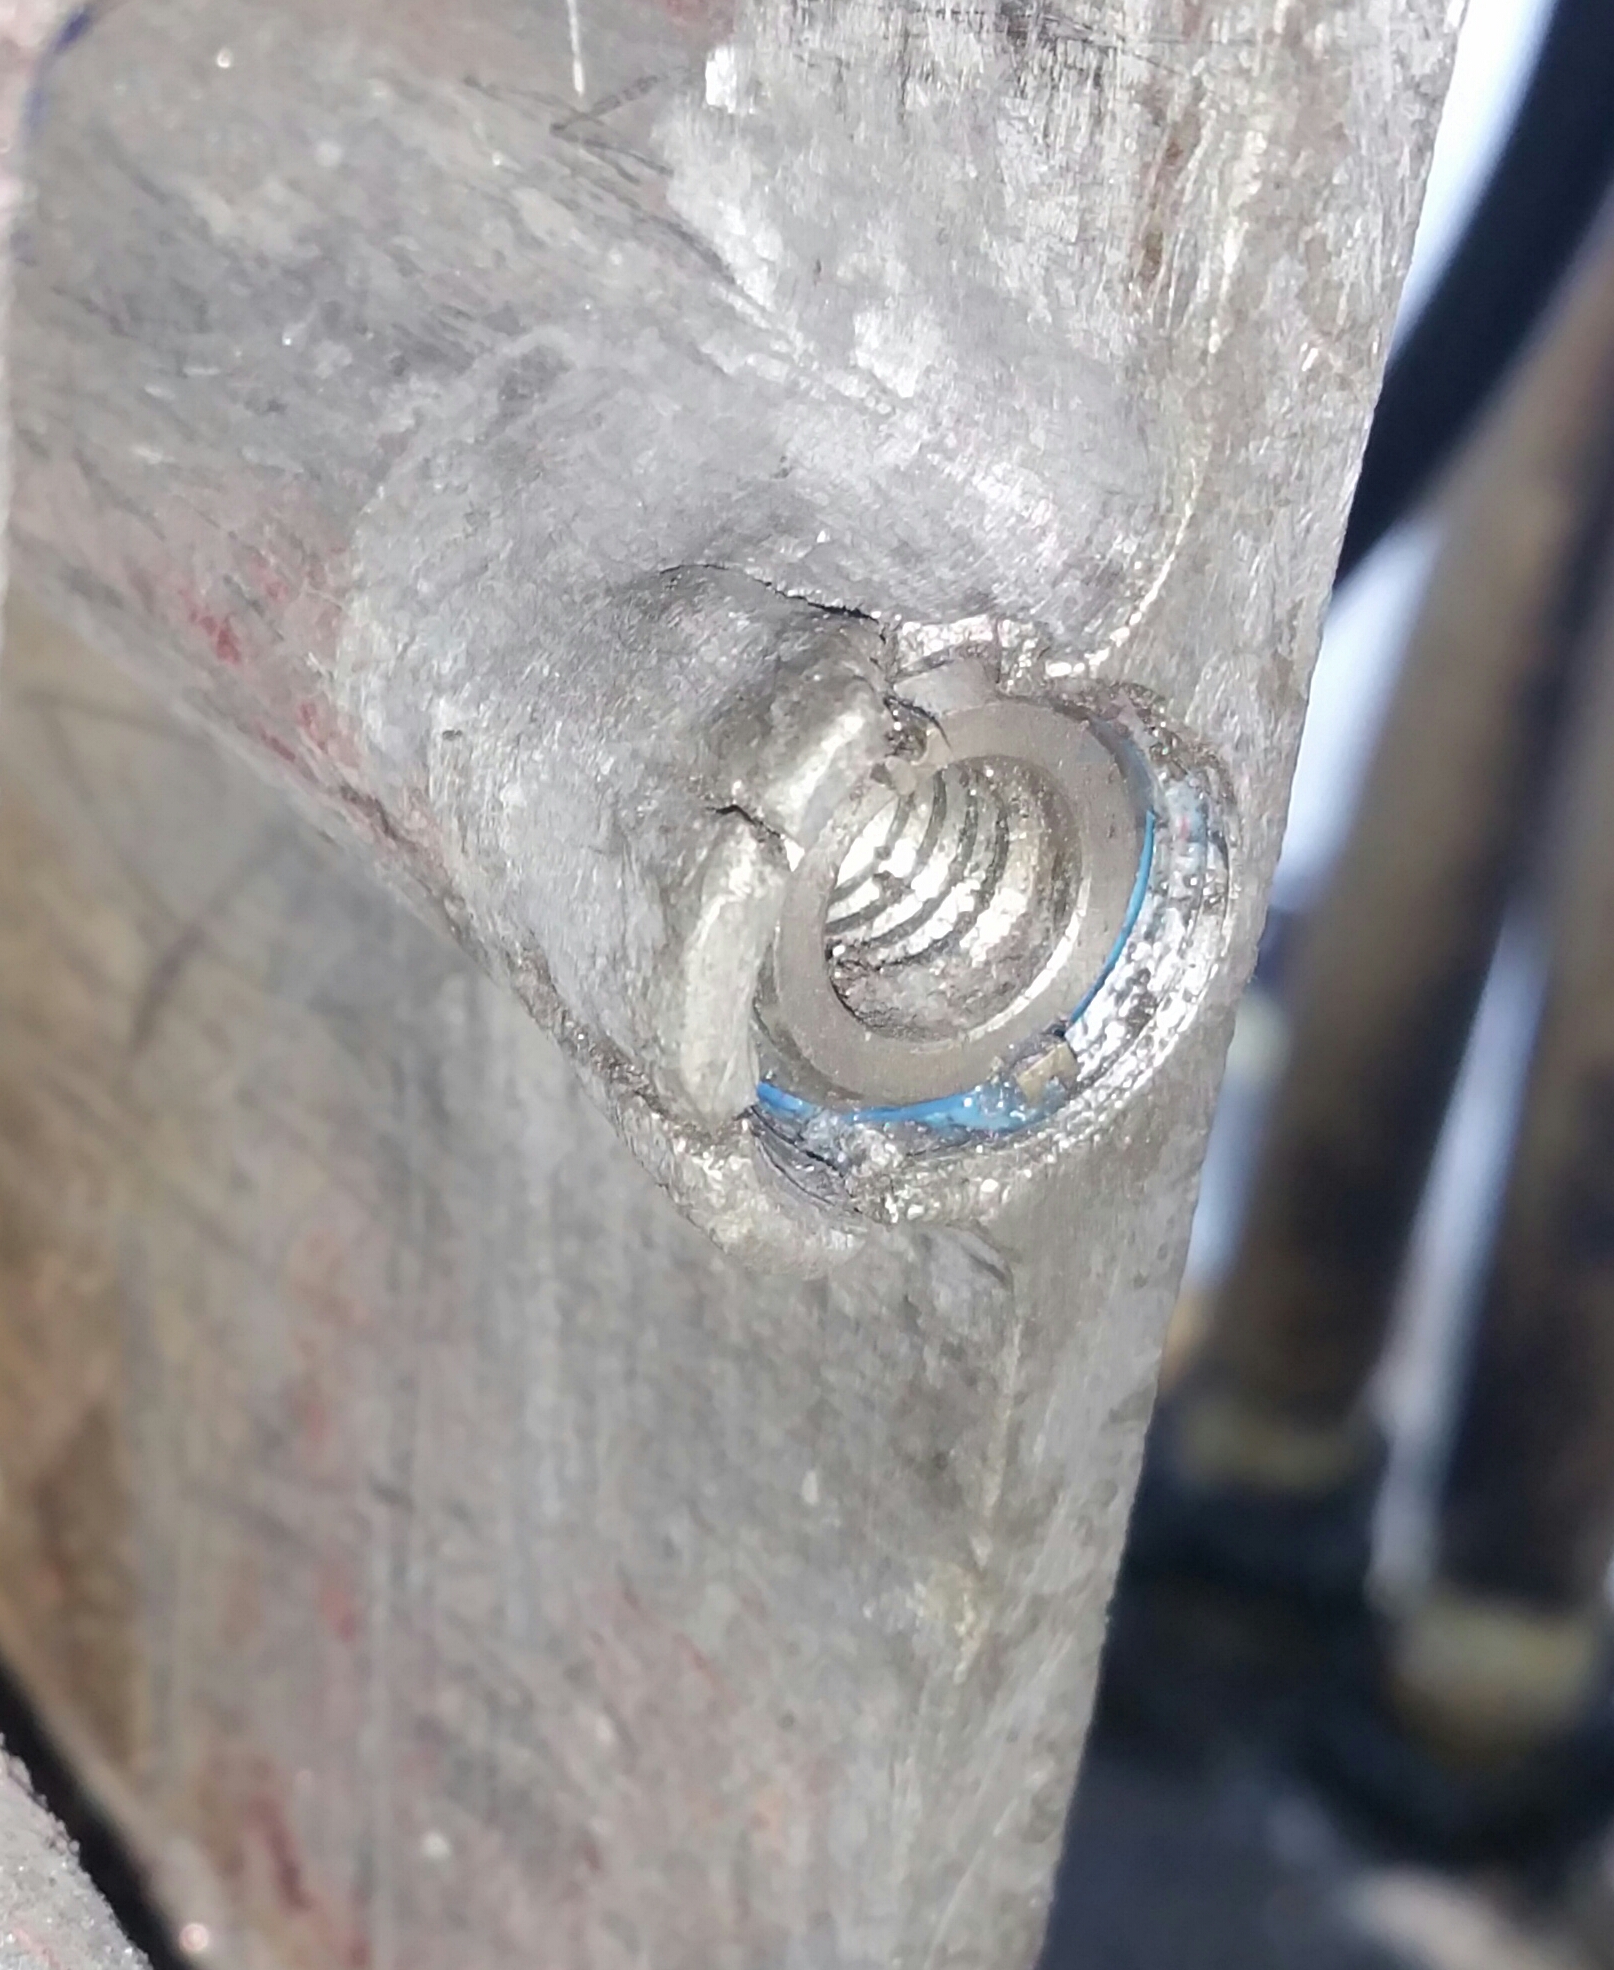
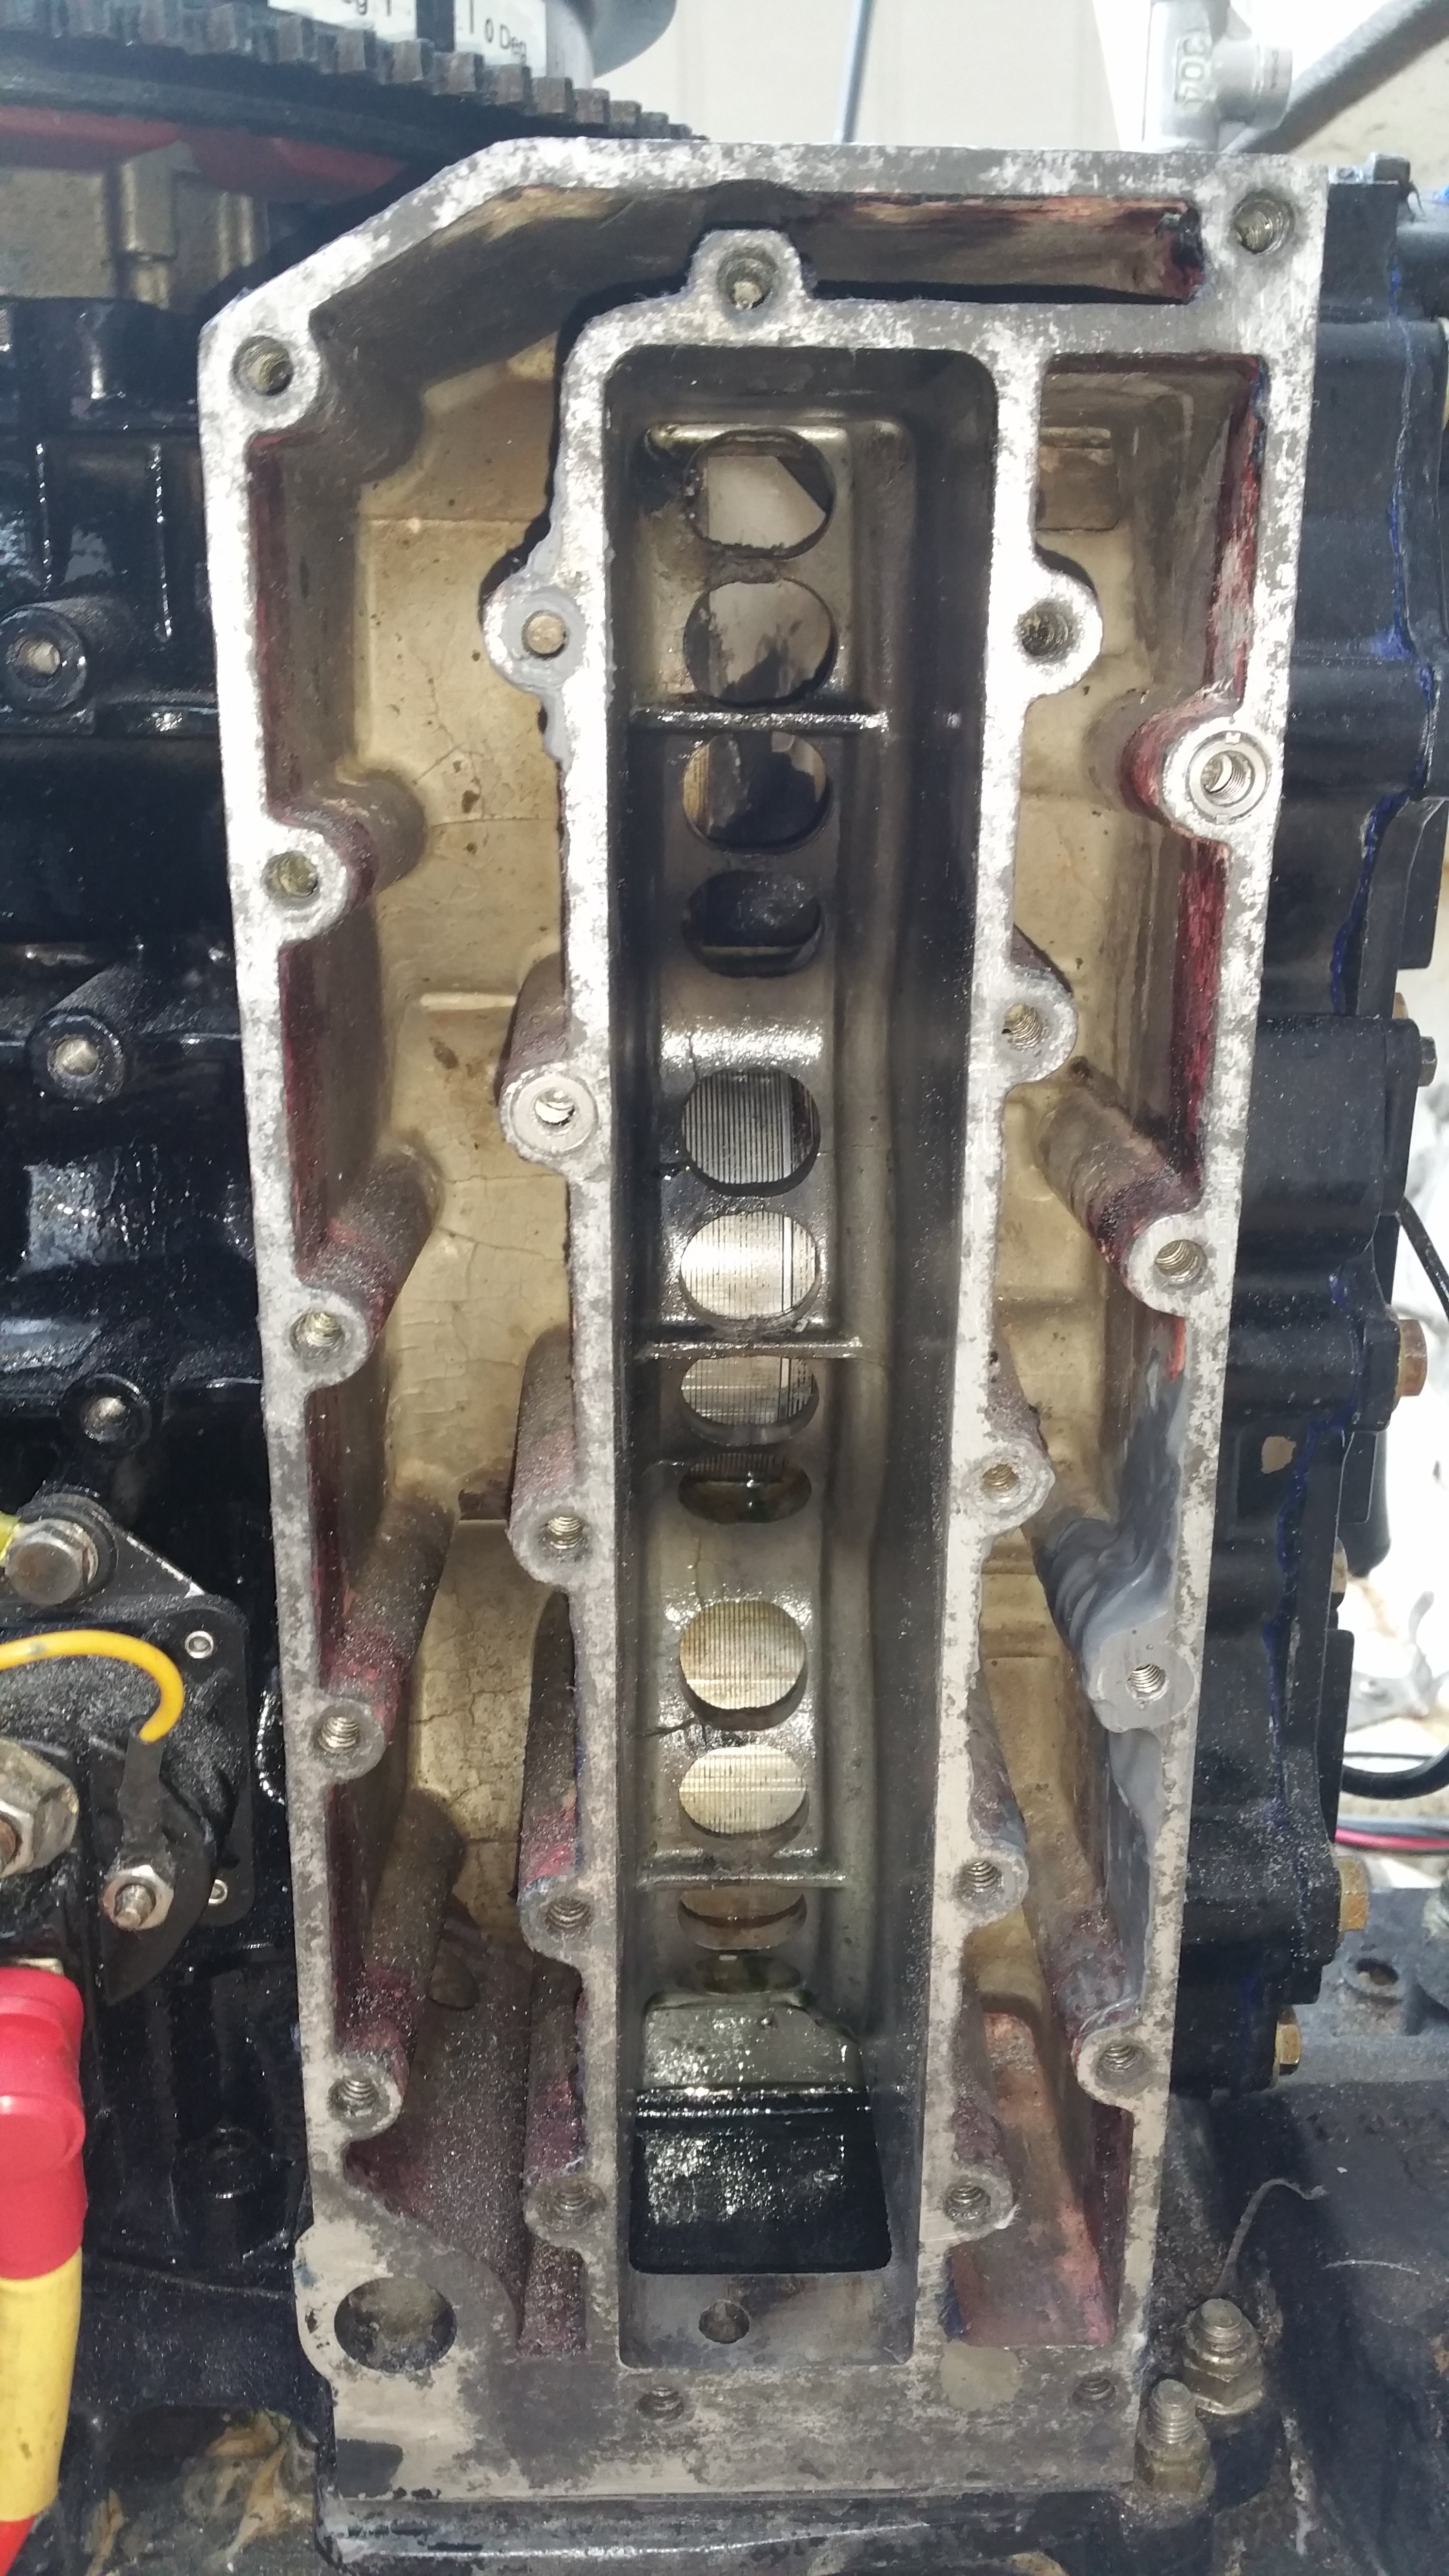
I pulled the exhaust manifold and the helicoils that were ground down flush are pulled out again.


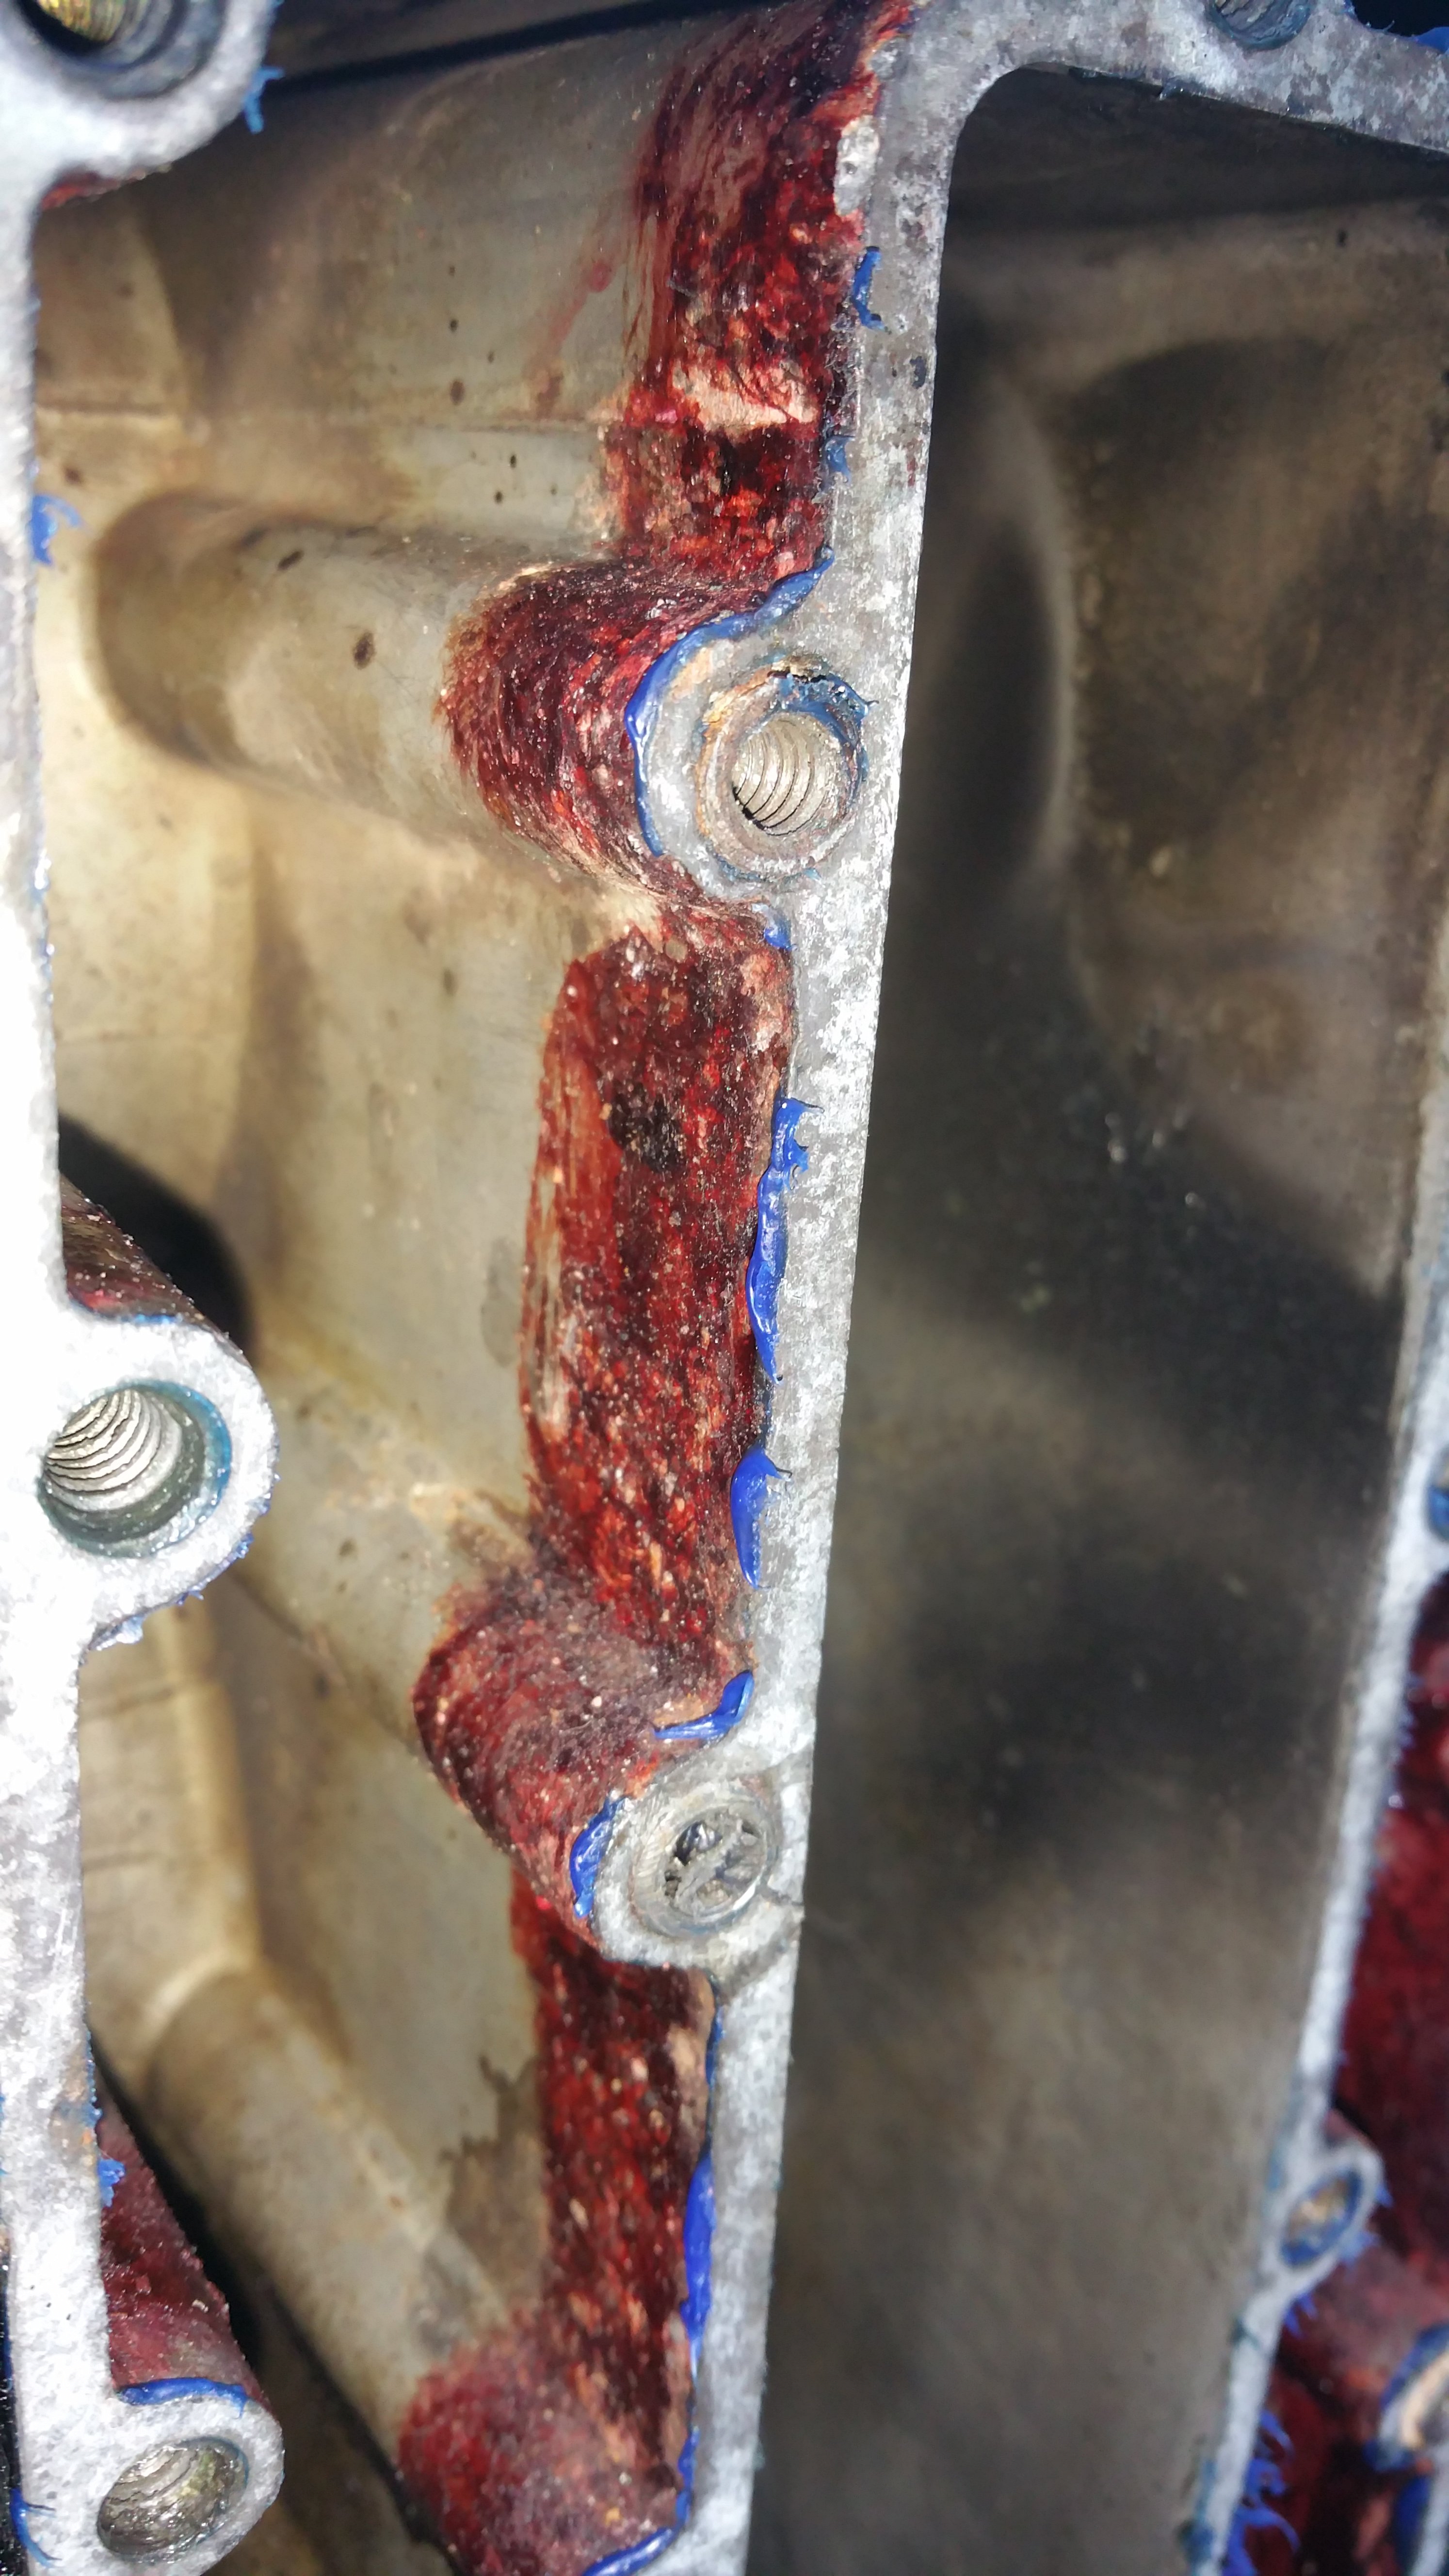
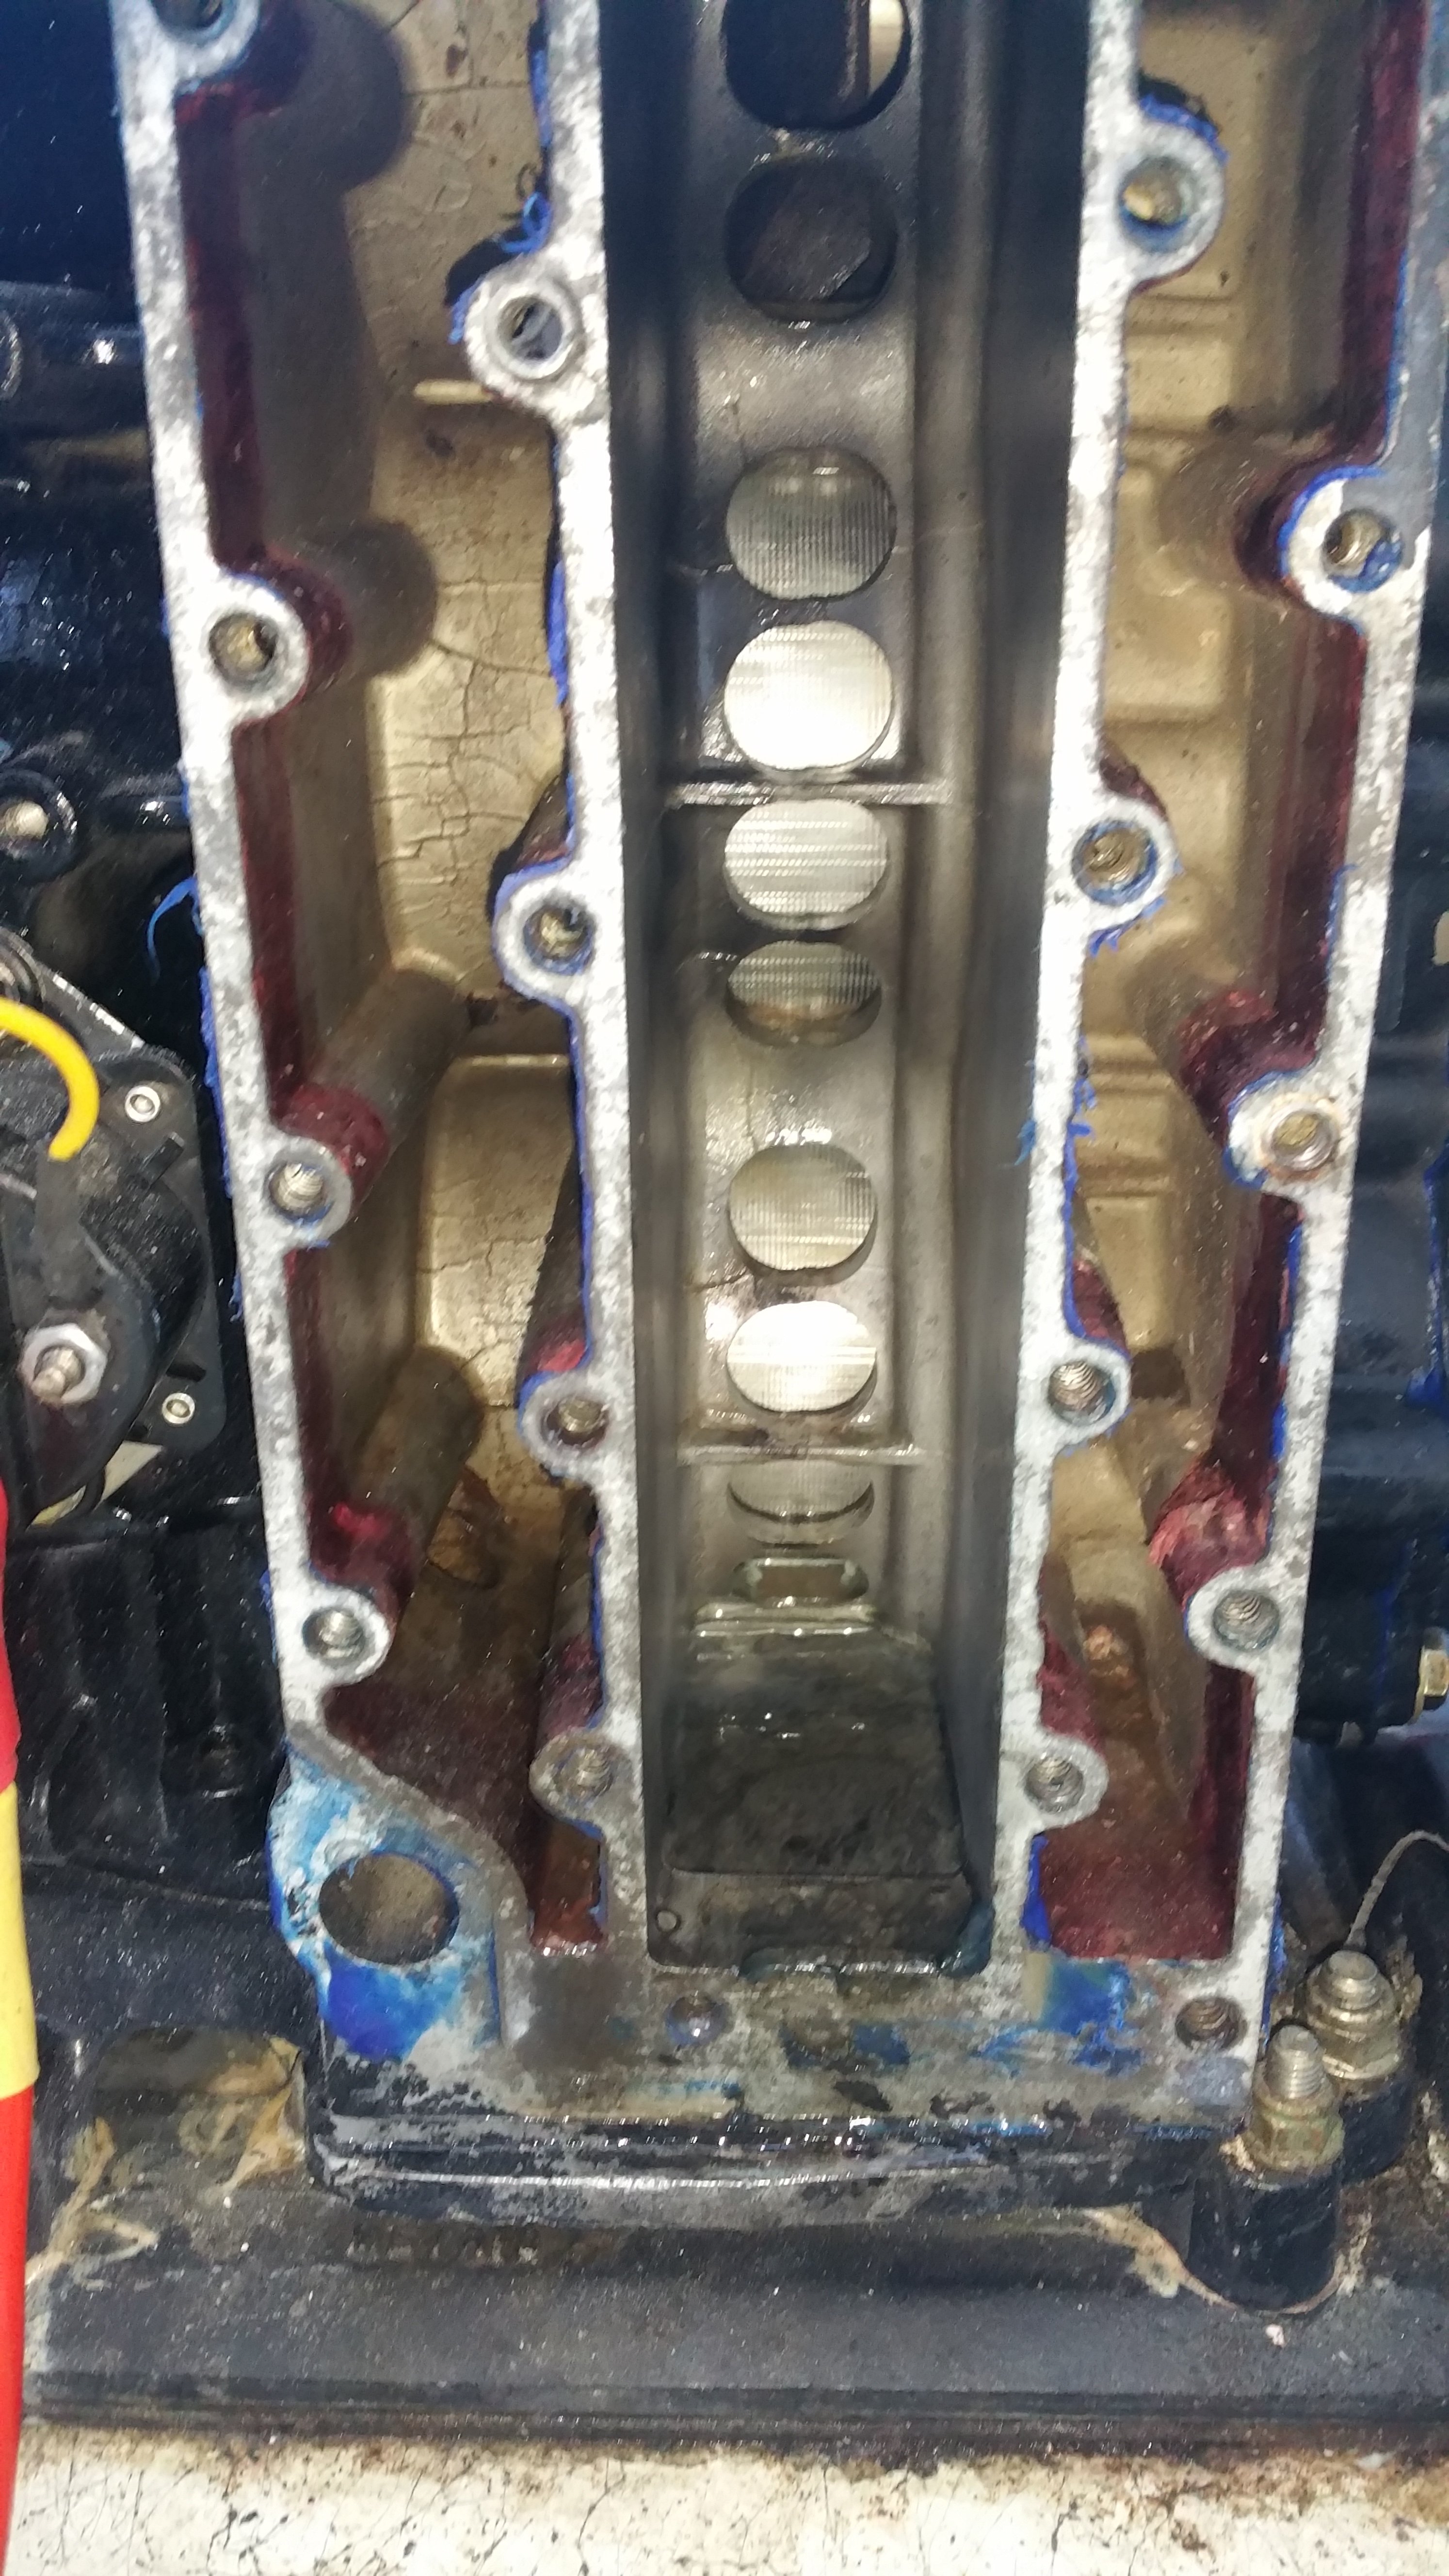
So I am completely removing the coils and either tapping the holes deeper and using longer bolts or installing Time-Serts if they will fit with the helicoil insert pulled out and messed up.
It seems that most if not all of the helicoil or whatever repairs installed are giving trouble or could expect to in the future.
Two of the three I see with a cursory examination are repeats that were ground down leading me to expect more trouble unless completely replaced.
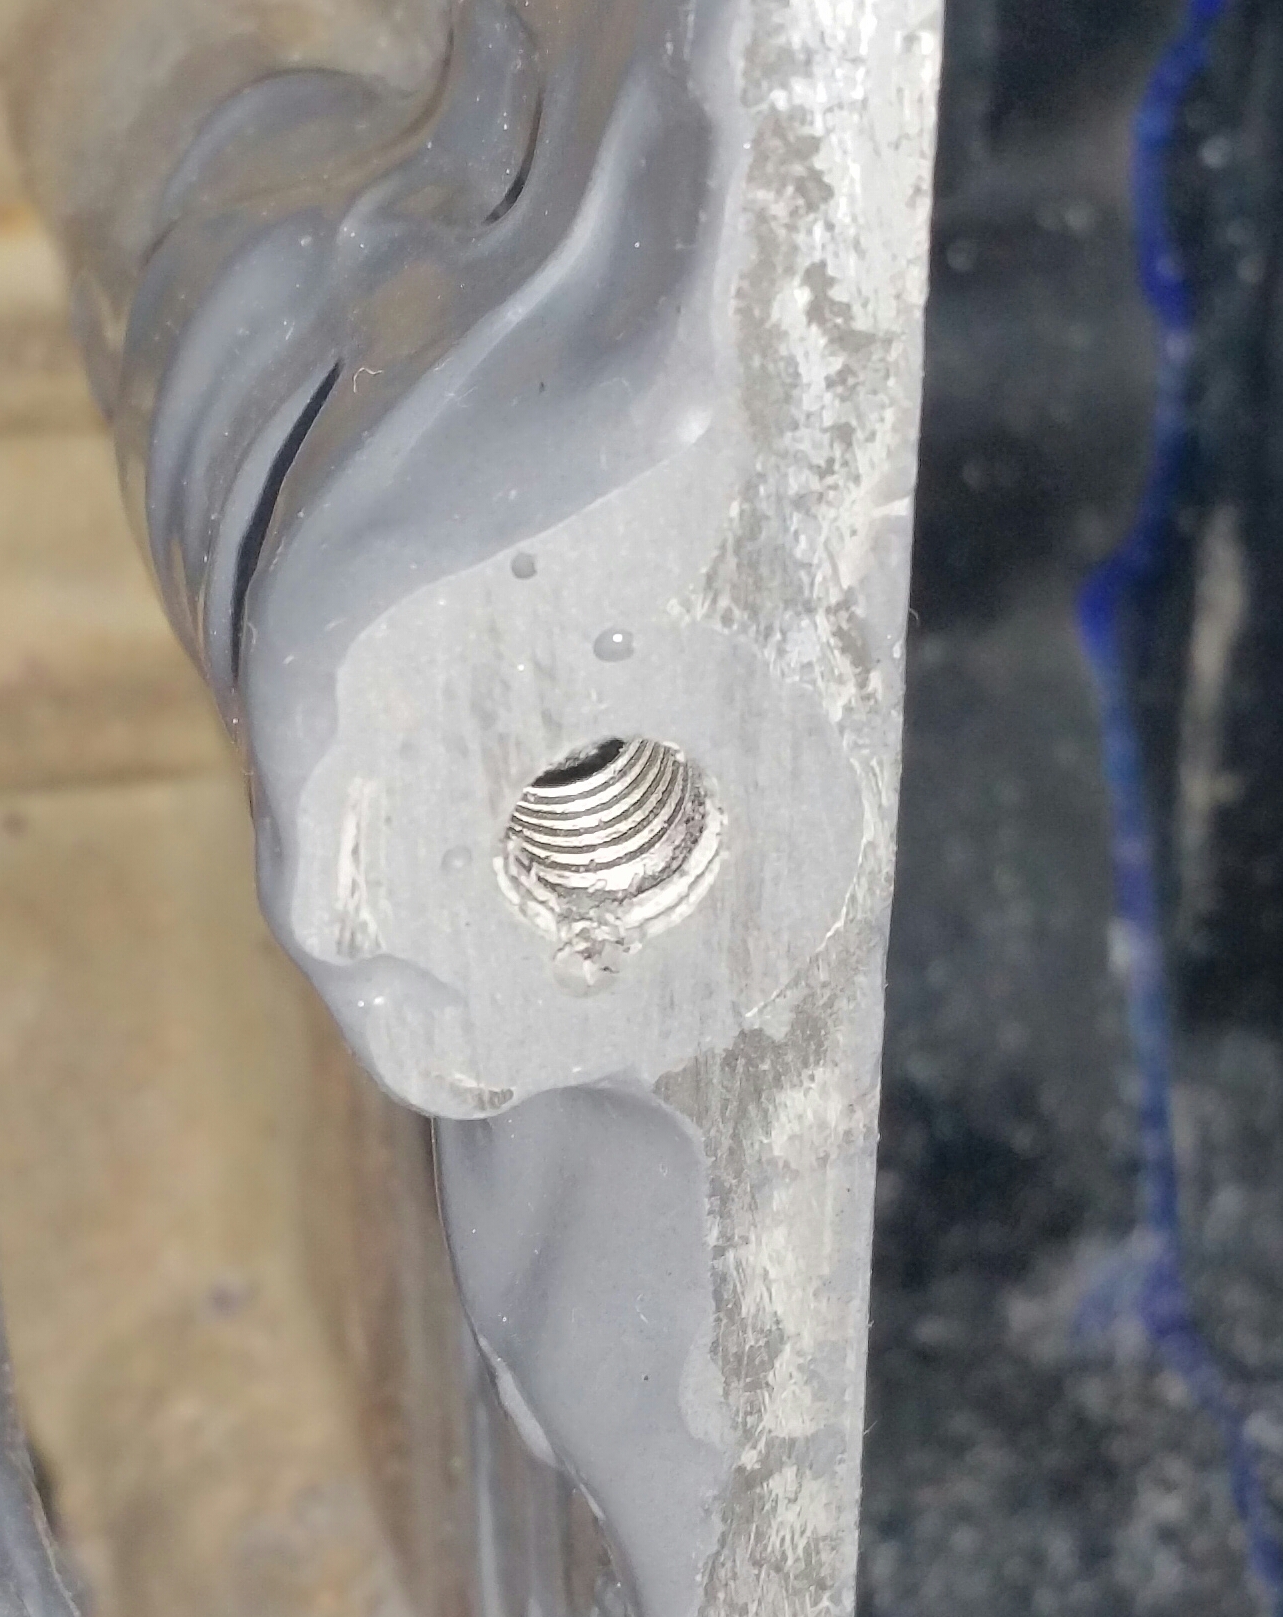
Perhaps as I have seen on one of the forums the suggestion was to drill and tap deeper since there is plenty of distance before you get into the cylinder area. Since a coarse thread in aluminum develops full strength with 2 X diameter of the bolt since these are 1/4 - 20 the depth should be 1/2", but let's go for 3/4 - 1" with longer bolts.
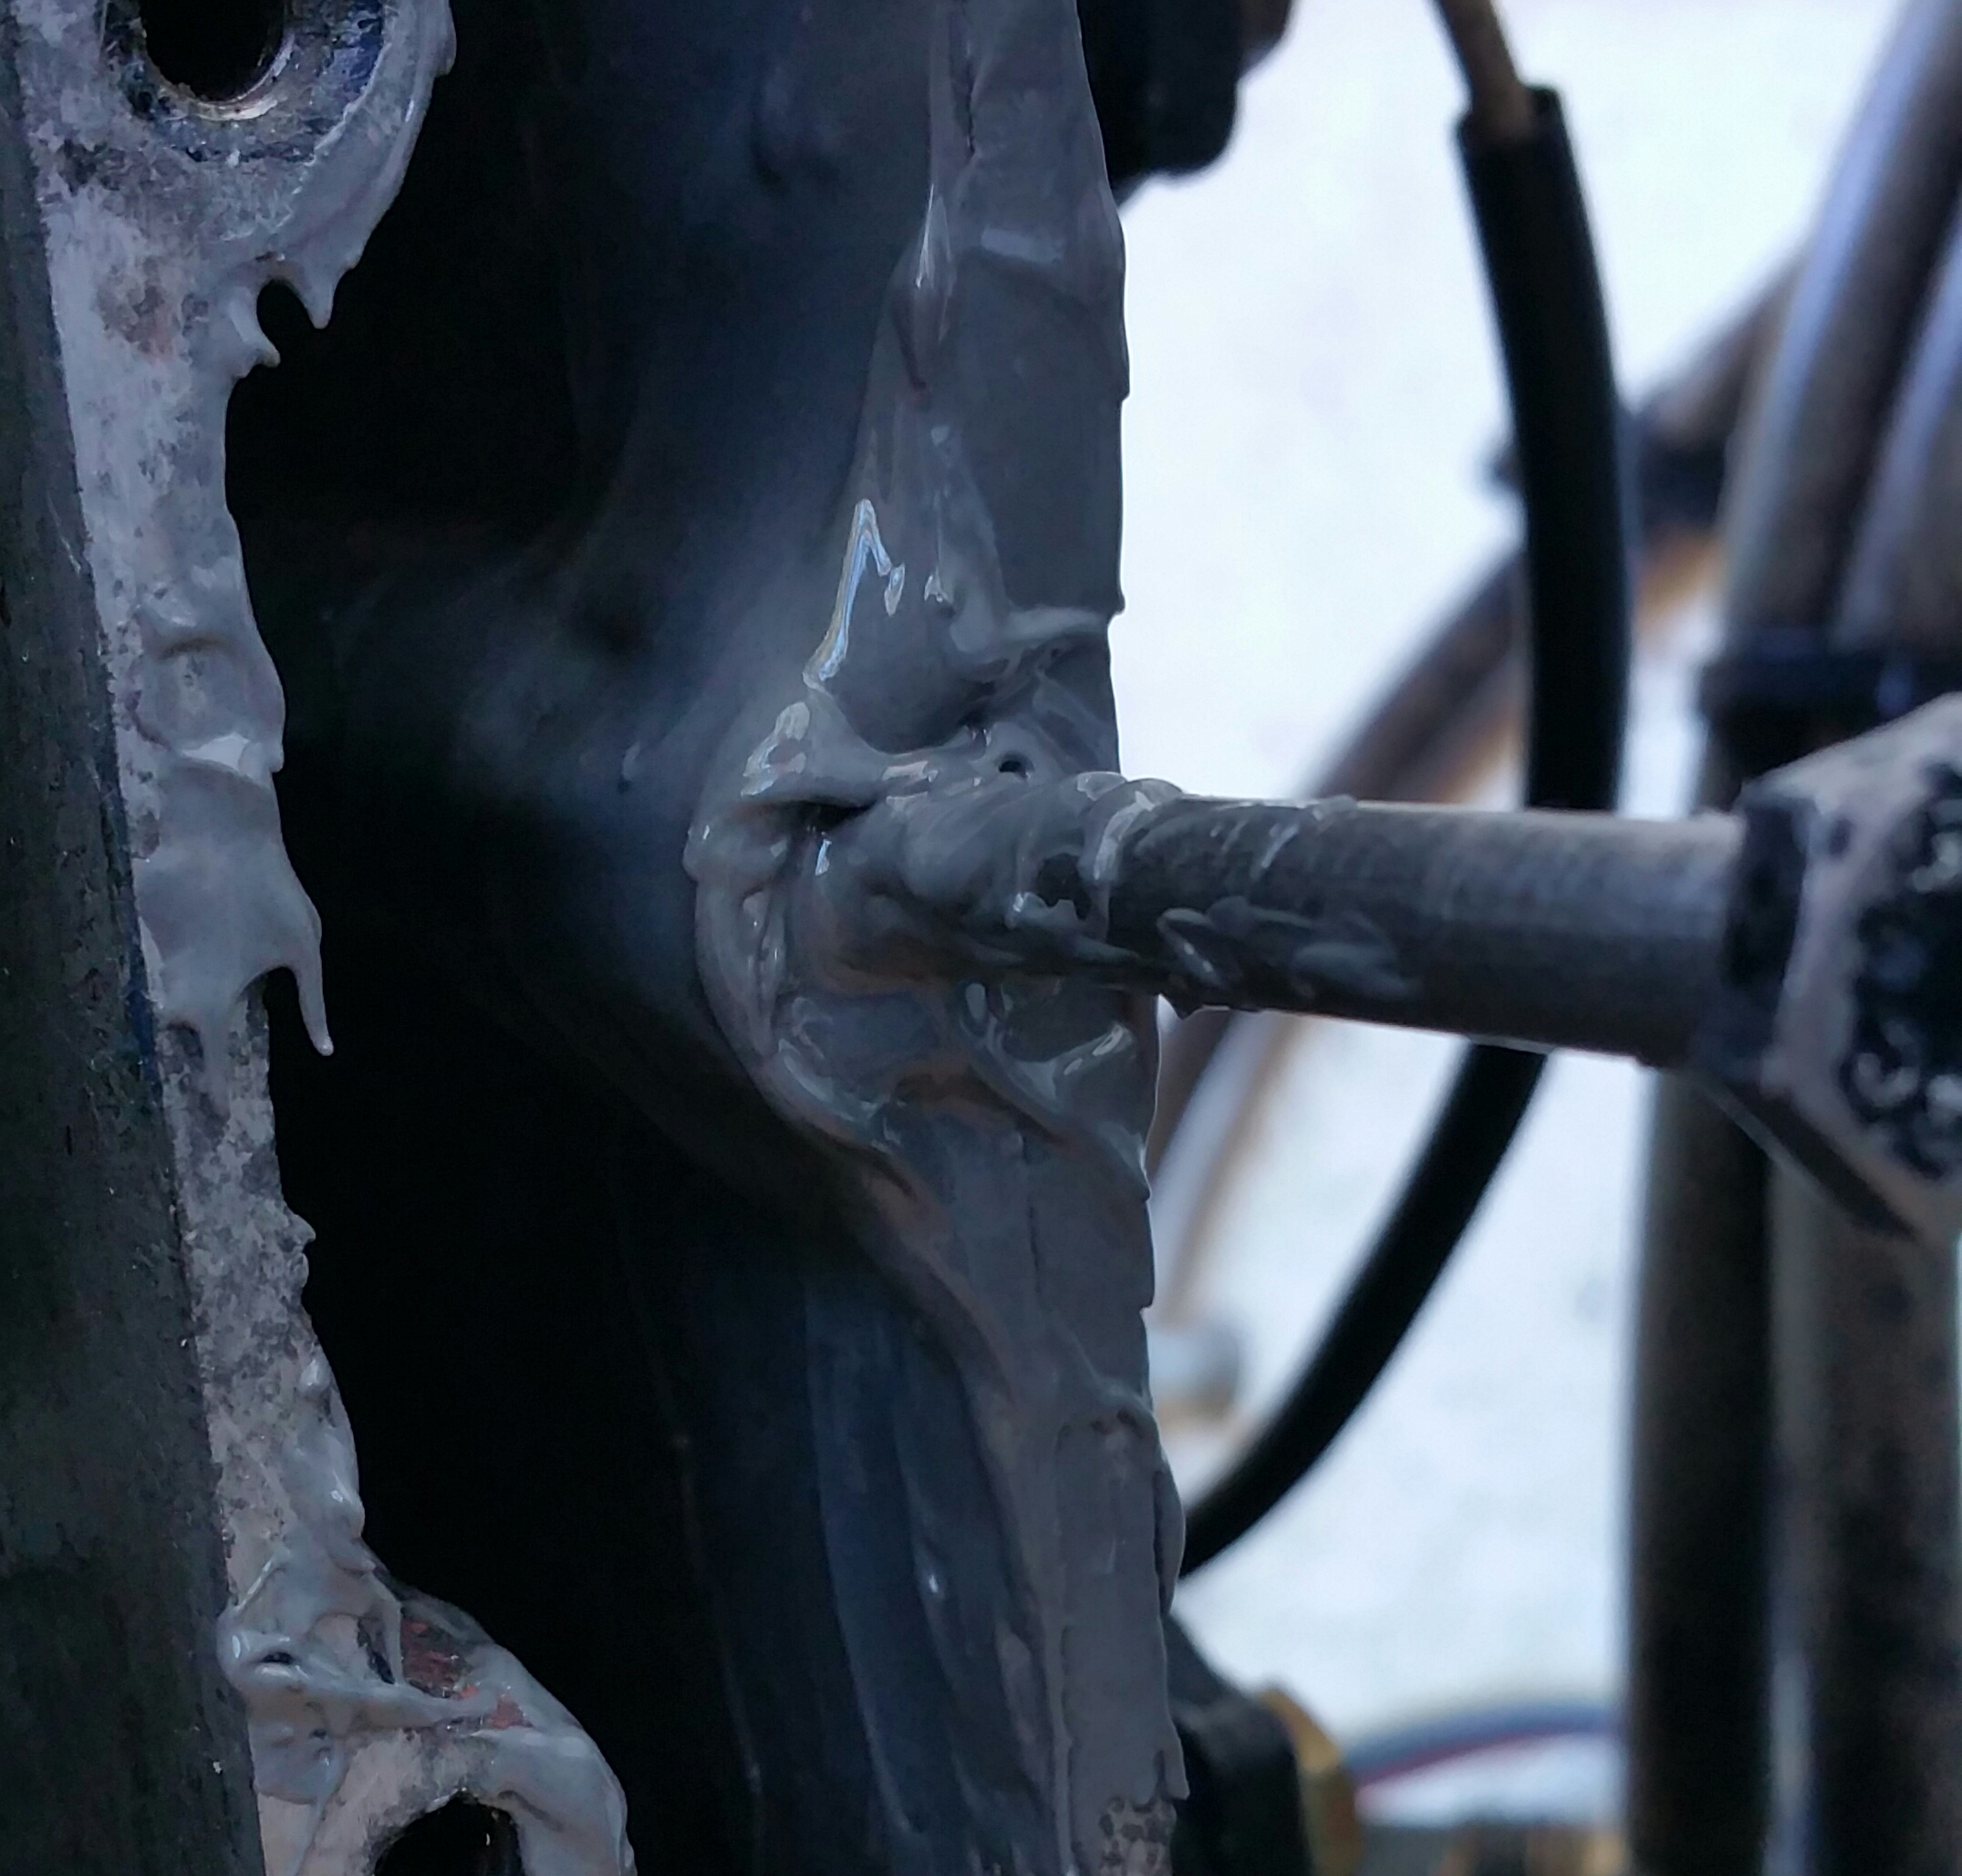
I am going to see if I can extract the repairs later today when it warms up a little and see how much material is left to work with. If there is enough for a Time-Sert I may use them since they actually swage into place to hold them in and they are also available in stainless.

Does anyone have any suggestions?
I think that this is the remaining problem.

Thanks,
 
Last edited:

RedBarron55

Jet Boat Addict
Messages
280
Reaction score
100
Points
122
Location
Navarre, FL
Boat Make
Jetcraft
Year
1995
Boat Model
Other
Boat Length
16
I pulled out the inserts successfully and they seem to be Time-serts or "equivalent.
These were corroded all around the insert and there was no real aluminum threads and few on the insert left/
The inserts were basically only being held by a brown corrosion.
I have to have enough meat the be able to install new inserts and Keensert 1/4 - 20 heavy duty will fill the hole and get to new material. The Keenserts screw into a 7/16 X 14 tapped hole and have keys to keep them from backing out.
I think a part of the solution is to use red Locktite (or blue for that matter since the keys lock the fasteners) to seal the insert to keep the joining area sealed and hopefully corrosion free.
 

Cobra Jet Steering LLC

Jetboaters Admiral
Vendor
Messages
5,883
Reaction score
5,360
Points
452
Location
Florida
Boat Make
Yamaha
Year
2021
Boat Model
Other
Boat Length
Other
Be sure you resurface the head and the exhaust plate I personally never use inserts if at all avoidable, sadly someone already did it. Usually I just move to either a metric or standard oversize bolt slightly larger in diameter than the original and rethread the hole to accept it , mod the hole in the plate to allow for the extra size bolt if necessary and use just a bolt , This usually works better than tapping out the hole and using any inserts. I would have added a 1/4 in bypass hole to the thermostat also.
 

swatski

Jetboaters Fleet Admiral 1*
Messages
12,806
Reaction score
18,566
Points
822
Location
North Caldwell, NJ
Boat Make
Yamaha
Year
2016
Boat Model
AR
Boat Length
24
I'm watching and learning!
I know that @jcyamaharider knows a lot about these inserts, as he is a talented machinist, maybe he will chime in too. I've learned some thing from him when I was dealing with my collapsed wake tower structure last summer.

--
 

RedBarron55

Jet Boat Addict
Messages
280
Reaction score
100
Points
122
Location
Navarre, FL
Boat Make
Jetcraft
Year
1995
Boat Model
Other
Boat Length
16
I resurfaced the head, but I don't know how to surface the exhaust manifold with the deflectors on it.
I have ordered heavy duty Keenserts in 303 stainless for the task. I hope that they won't corrode like the others, but who knows how long they have been installed? The Keensert heavy duty are a little larger diameter so that the tap drill will clean up the old corroded ID.
Can I drill a hole in the head cover for the bypass?

Perhaps weakening the spring by shortening it would provide pressure relief or connecting the 1/8" NPT tap on the Head side of the thermostat to the 1/8" NPT on the cover side?
I want to install a temp gauge and perhaps with the bypass I can install a Tee and measure the temp of the bypassed water ?
For testing installed a pressure gauge in the head side tap just to see the pressure.
I think that the problem raised it's head when flushing because there is no exhaust pressure to keep water from making it's way from the water jacket into the exhaust expansion chamber.
 
Last edited:

Ben Okopnik

Jet Boat Lover
Messages
58
Reaction score
57
Points
77
Location
Tampa FL
Boat Make
Other
Year
1995
Boat Model
Other
Boat Length
Other
I'm watching and learning!
Ditto here! I've done some machining, etc. in the past, but it's very cool to see this diagnostic/solution process step by step.

(Sorry, @RedBarron55 - I know it's a problem for you, and I wish you weren't having it. But as long as you are, I'm grateful that you're writing it up - and that knowledgeable folks like @Cobra Jet Steering LLC are responding.)
 

RedBarron55

Jet Boat Addict
Messages
280
Reaction score
100
Points
122
Location
Navarre, FL
Boat Make
Jetcraft
Year
1995
Boat Model
Other
Boat Length
16
Too bad that this is an orphan motor!
I think I am going to investigate drilling a hole in the exhaust manifold to see if water is getting into the exhaust chamber before it gets into the cylinder for testing purposes.
Water should not get into the cylinders so easily and wondering if it might be
1. leaking exhaust manifold
2. leaking head gasket
3. Crack in the cylinder wall
4. Bad Karma.
5. External water level in the boat too high
6. Water pressure from the hose too high.
7. blockage in the water flow causing #6 above,
 

Ben Okopnik

Jet Boat Lover
Messages
58
Reaction score
57
Points
77
Location
Tampa FL
Boat Make
Other
Year
1995
Boat Model
Other
Boat Length
Other
By the way - and I'm just spitballin' here, because some of the surface patterns I see on your exhaust head remind me of an "invisible" crack I had on an aluminum oil pan on a bike that caused me no end of problems until I figured it out - a trick I learned from a welding engineer buddy of mine (who actually figured out the problem with that pan) is to run a gas torch flame over anything that looks like a crack. Solid aluminum won't react at all, but a hairline crack will "open up" and be immediately obvious. Works on cast iron as well, according to him. You might want to give that a shot before drilling holes.
 

RedBarron55

Jet Boat Addict
Messages
280
Reaction score
100
Points
122
Location
Navarre, FL
Boat Make
Jetcraft
Year
1995
Boat Model
Other
Boat Length
16
I'll try that trick before it goes back together.
I don;t see anything that look cracked, but you never know.
It will take a while for the next packet of parts to get here.
Meanwhile I am going to look a way to get that tell tale, tattle tale drain in the exhaust manifold below #3 cylinder.
There is a weep hole in the bottom but it is blocked by the gasket
 

Ben Okopnik

Jet Boat Lover
Messages
58
Reaction score
57
Points
77
Location
Tampa FL
Boat Make
Other
Year
1995
Boat Model
Other
Boat Length
Other
There is a weep hole in the bottom but it is blocked by the gasket
There's also supposed to be a water pressure relief valve near the lower end of the cylinder block, starboard side. If I was scratching my head about this kind of thing, I'd peek at it just to see if there were any weird surprises there.
 

RedBarron55

Jet Boat Addict
Messages
280
Reaction score
100
Points
122
Location
Navarre, FL
Boat Make
Jetcraft
Year
1995
Boat Model
Other
Boat Length
16
there is a bolt blocking an outlet on the bottom of the water jacket on the exhaust manifold and a pressure regulator colf be added there, but I haven;t seen one on the Jet motor.
The thermostat is held down to the seal with a spring and that would act like a regulator to some extent.
I would like to have an indicator to see it there is water in bottom of the exhaust log when testing with the hose.
I think I am going to install a loop from the top of the head ahead of the thermostat and the plug where the previous owner installed a spit tube for indication of cooling flow.
Perhaps a tee on the head with a connection for the flush or pressure or temp tap.
These ports are 1/8" NPT so would not flow a lot, but would help limit the pressure build up.
As I see it even a low flow would end up at the same pressure as the faucet max - except for the nozzle feeding the exhaust elbow and bellows cooling that feeds from a 1/4" tube with some holes in it.
I wish there was a way to pressure test the entire assembly when it is all together.
On an automotive engine you can test the pressurized system, but not here!
 

RedBarron55

Jet Boat Addict
Messages
280
Reaction score
100
Points
122
Location
Navarre, FL
Boat Make
Jetcraft
Year
1995
Boat Model
Other
Boat Length
16
Too cold to work!
Well not too cold today, but yesterday was a disappointment.
I got the Keenserts and drilled and tapped thehousing.
I found out that one of the holes that had a thinsert had a helicoil buried back in the hole, but it was only a little below the surface and was close enough to be OK (IMO).
The other three I drilled out and two of the three were tapped and the Keensert was installed OK.
The third on the rear middle of the outside of the water jacket split at the interior surface.
Bummer.
Instead of removing it and crying for a few hours I decided to try cleaning the inside area of the water jacket, sanding and using JB Weld to build up a boss around the area. Too cold to work with any epoxy for the next few days.
I have a couple of new opinions.
1. I might try something like HTS2000 aluminum brazing rods to build up and make new threads, The videos look promising.
2. Fill the holes after a through cleaning with JB Weld and then drill through the JB Weld and into fresh aluminum and use longer bolts.
I am tempted to try #1 if this repair fails in service.
The risk is that if the manifold fails then the chance of getting water in #3 cylinder raised the specter of more damage the the powerhead.
Here is an observation as to what I now think is the problem.
With the surface area of the manifold so great even a small pressure build up might over pressure the bolts, especially if already weakened.
With the thermostat closed the only limit to the pressure below water supply pressure is small 1/4" tube feeding the exhaust water jacket.
I think that to be safe with even very low flow is a adapter to limit the head pressure to a couple of feet higher than the top of the engine.
I am going to build a PVC pipe with a tee at the bottom for the water hose to feed and an outlet to the engine.
The top of the PVC pipe will be about 6 feet tall and the excess flow should exit there.
So wish me luck when it warms up.
I will try the JB Weld approach next week when it warms up a little and a small heater in the rear can keep everything warm enough (over 70*f).
When it warms up a little I will post some pictures.
 

Ben Okopnik

Jet Boat Lover
Messages
58
Reaction score
57
Points
77
Location
Tampa FL
Boat Make
Other
Year
1995
Boat Model
Other
Boat Length
Other
I'd recommend not bothering with JB Weld. Much as I like the stuff, tapping it for load-bearing applications - like bolts that have to be torqued - is a waste of time.

If you're already thinking about welding, then I'd recommend that. TIG does a beautiful job of filling holes, especially if you drill out all the thread and get rid of every last speck of dirt. BUT: if you've never welded aluminum, get some help - or at least some practice first. Key tip: unlike steel, you can't use the color change to tell when you're overheating! The trick is to use small rod and dab it.

(To be honest, I consider Helicoils and such field expedients. Drilling oversize and retapping, or filling and redrilling are what I think of as the right solutions in a high-load situation like that.)
 

RedBarron55

Jet Boat Addict
Messages
280
Reaction score
100
Points
122
Location
Navarre, FL
Boat Make
Jetcraft
Year
1995
Boat Model
Other
Boat Length
16
You are correct, Ben.
I would have done that if I were still working and had access to a good TIG machine etc, but here we are!
You can imagine how unhappy I was with this

Since ther is some engagement with the larger parts of the casting I decided to try the JB Weld.
If it doesn't work I will probably pull the engine and rebuild it completely, but I would rather not.
So I cleaned the boss up.

And I put a heater in the engine compartment and bought some fresh JB Weld and decided to warn everything up and try it.

I put the bolt in after coating it with a thick silicone grease to keep it from sticking so that I could add JB Weld to the mating surface to help seal the gasket.
Of course I need to file the JB weld flush with the surface after I remove the bolt.
I hope that the stabilized casting along with the engagement over a larger area than the original bolt gives some chance of survival, but ???.
While I was in there I also did the same bolt trick where the Helicoils were recessed, again to give some more sealing surface for the gasket.
 

Ben Okopnik

Jet Boat Lover
Messages
58
Reaction score
57
Points
77
Location
Tampa FL
Boat Make
Other
Year
1995
Boat Model
Other
Boat Length
Other
You are correct, Ben.
I would have done that if I were still working and had access to a good TIG machine etc, but here we are!
You're going to laugh, but... Harbor Freight has a TIG welder for ~$200. And it's - well, it's not the piece of crap you'd expect; for a job like this, it should work just fine. When I was in welding school, one of our guys bought one and brought it in just so we could all laugh at it - and I've got to say, we were all left scratching our heads and going "...ya know... that's NOT horrible, for the price." Something to think about.

Good luck with the JB Weld, though!
 

RedBarron55

Jet Boat Addict
Messages
280
Reaction score
100
Points
122
Location
Navarre, FL
Boat Make
Jetcraft
Year
1995
Boat Model
Other
Boat Length
16
Thanks, Ben.
But the Harbor Freight unit is a DC inverter, I think that you need an AC unit for Aluminum/
Personally I would prefer the Miller Syncrophase unit, but Oh Well!

I mentioned the brazing rods that would work and should work OK and could be possible used on the boat, but if this doesn't work I think that I will just pull the engine and go through the whole thing.
Since the previous "almost" worked with 4 bad threaded holes perhaps even a JB Weld reinforced outside hole will serve for a while.
Thanks for the reply.
I think that I am talking with myself much of the time, but perhaps someone else will benefit later.
 

Ben Okopnik

Jet Boat Lover
Messages
58
Reaction score
57
Points
77
Location
Tampa FL
Boat Make
Other
Year
1995
Boat Model
Other
Boat Length
Other
Thanks, Ben.
But the Harbor Freight unit is a DC inverter, I think that you need an AC unit for Aluminum/
Personally I would prefer the Miller Syncrophase unit, but Oh Well!
Hm, yeah - I forgot it was only DC. :\ Oh, well. MIG would be cheaper, but making it work for this job... yeah, you've got a bit of a tough row to hoe. Well, cross your fingers for the solution you've got!
 

RedBarron55

Jet Boat Addict
Messages
280
Reaction score
100
Points
122
Location
Navarre, FL
Boat Make
Jetcraft
Year
1995
Boat Model
Other
Boat Length
16
Thanks, Ben I have my fingers crossed as well.
The previous fixes failed so this would be no worse.
I looked at a product called HTS2000 which is a low temp brazing rod (https://www.aluminumrepair.com/)
It can be done without having to melt the base metal and maybe just maybe it would work if necessary.
Allegedly a bolt can be cast into the metal and make the threads, but I don't think that would work here.
Perhaps if I had not invested the $50.00 in the Keenserts when I found this I would have gone that way.
Today it may be warm enough and perhaps not rain long enough to file the bosses flat an see what, if anything, I have to work with.
 

RedBarron55

Jet Boat Addict
Messages
280
Reaction score
100
Points
122
Location
Navarre, FL
Boat Make
Jetcraft
Year
1995
Boat Model
Other
Boat Length
16
Here are some pictures of the trip through the travail...

to this.

here is the exhaust side with "repairs"

Still some clean up necessary.
Funny how a big picture shows all the dirt!
Hopefully the JB Weld epoxy will help stabilize the cracked boss around the insert.
It has to be stronger than the inserts that pulled out so easily the first two times I had the manifold off.
There is more contact area and holding power than was in the inserts and their corroded interface in the threads in the block.
If this doesn't work then out comes the whole engine, install some new metal and rebuild the engine.
I hope it doesn't come to that as I am already over budget on this project!
 

tdonoughue

Jetboaters Admiral
Messages
4,890
Reaction score
4,022
Points
417
Location
The Woodlands, TX 77381
Boat Make
Yamaha
Year
2012
Boat Model
AR
Boat Length
24
Ok, so just letting you know you are not talking to yourself. :) Unfortunately, you are so far above my experience level with this engine it is not even funny. But I love the writeups and the pics. Following you closely, learning lots and wishing you luck with this latest fix!
 
Top