Zackdadams
Jet Boat Junkie
- Messages
- 276
- Reaction score
- 424
- Points
- 137
- Location
- MS Gulf Coast
- Boat Make
- Yamaha
- Year
- 2021
- Boat Model
- FSH Sport
- Boat Length
- 25
Here is a detailed walkhrough of the Radar installation on my FSH 252.
After recently being caught off guard by a severe storm while offshore, i've decided it's time to get a radar.
In case you are wondering, the boat now has 142" (11' 8") clearance on the trailer with the Radar Dome installed.
Part 1: The Radar Dome
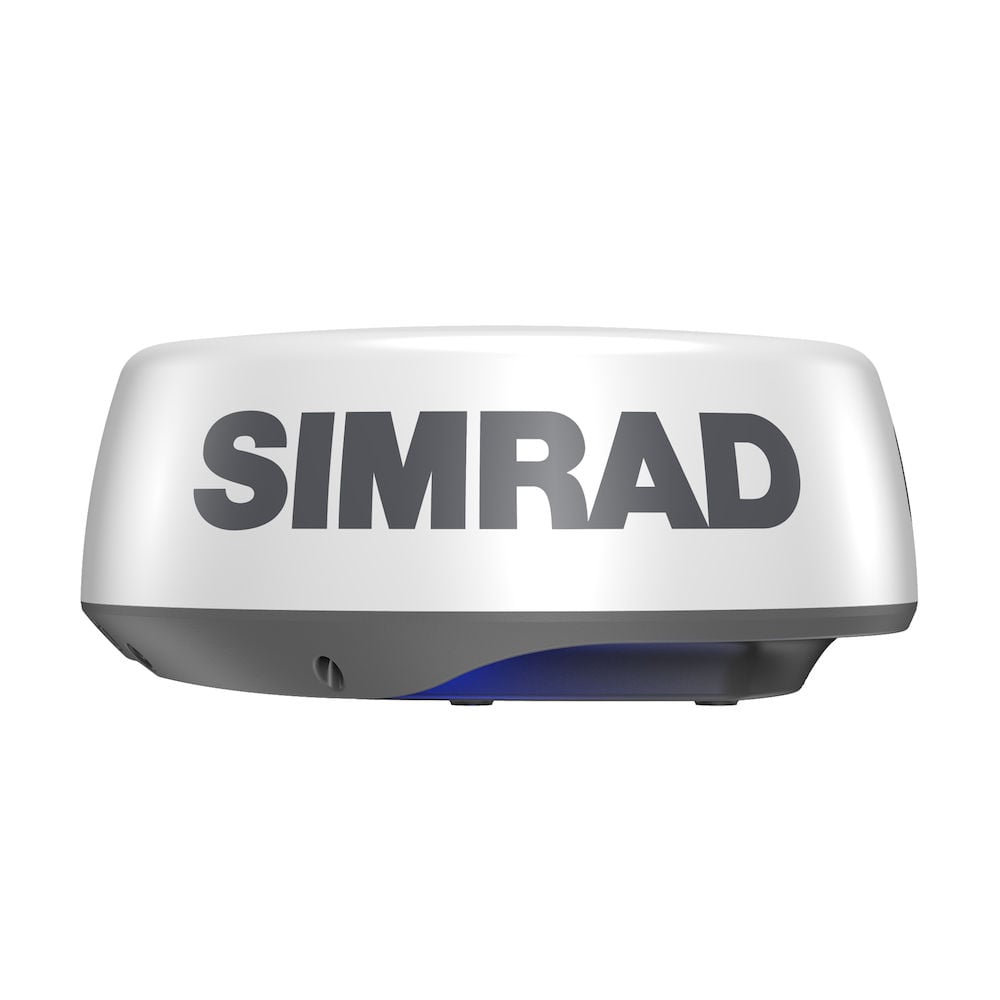
The Simrad unit we have on our boat is the GO12 XSE.
According to Simrad, this is compatible with the Halo 20 and 20+ Radar domes.
I've decided to go with the Halo 20+, because of longer range, among other bells and whistles.
 www.simrad-yachting.com
I purchased mine from Hodges Marine.
 www.hodgesmarine.com


One of the biggest decisions about mounting your radar is how high it needs to be, and the angle.
Here is a great YouTube video from Simrad about mounting heights, setup, etc.
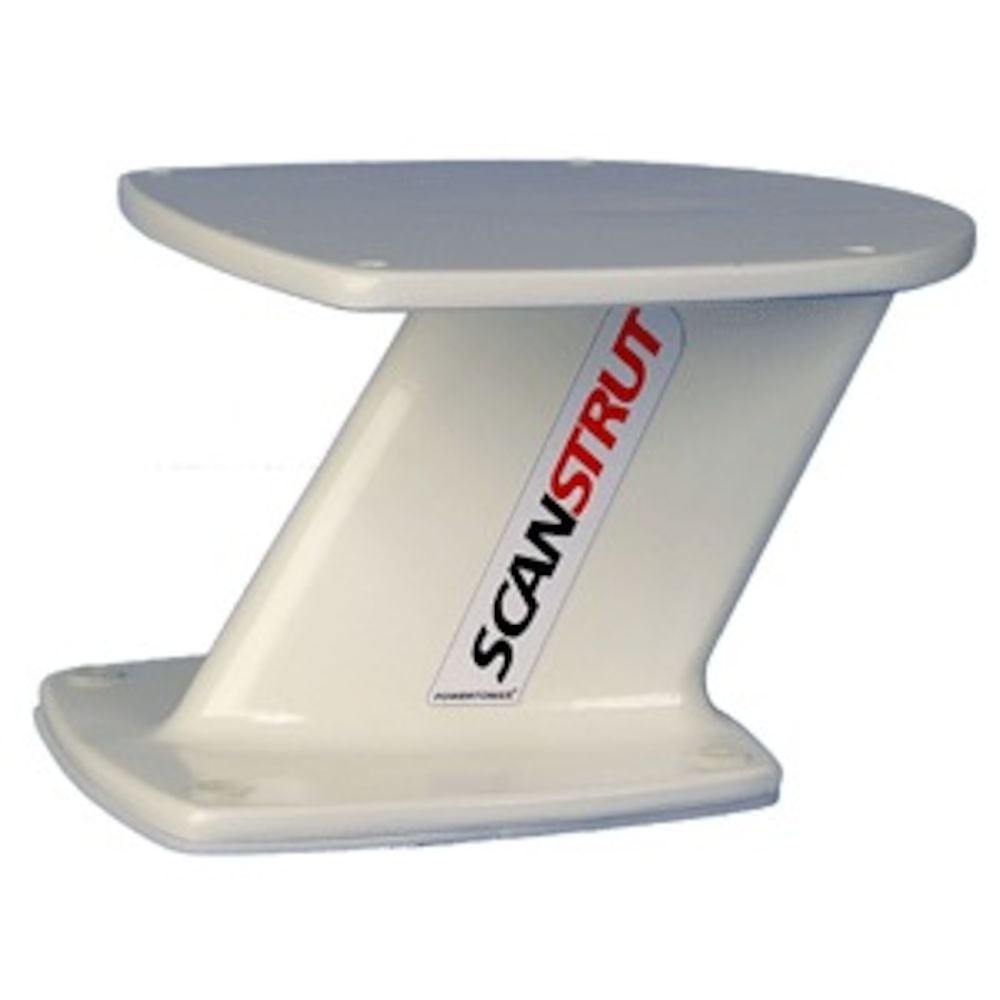
I'll be installing Simrad's recommended mount, the Scanstrut 6" PT2004.
There are other options, as well as angle wedges, but I believe this will be fine for my setup.
 www.simrad-yachting.com
I also purchased this from Hodges Marine.
 www.hodgesmarine.com
Step 1: Mounting Radar to Scanstrut
The first thing to do is layout the template Simrad provides, on the Scanstrut.
I measured the mount, and drew accurate lines to find the center.
I centered up the template, and taped it down once I found the best location.


I then drilled 4x 3/8" holes per Simrad's instructions.
Note: The Scanstrut is fiberglass, so I ran my drill bit in reverse so as not to crack it.
I did have to end up hogging out the holes a little for the bolts to fit properly.

Afterwards, I flipped the dome upside down, installed the cable, and set the Scanstrut on top.
I coated each bolt with Loctite, and installed them.


Step 2: Mounting Radar to Boat
The next step is to choose a location on your T-Top roof.
I set the Radar on my roof, to get a feel for where it would work best.
I unscrewed the black plastic above the window, and using a bungie cord, hung my VHF equipment, so I wouldn't have to disconnect it.

I then pulled a tape measure from the rear of the T-Top to the inside of the opening, to see how far forward the radar could be mounted.
In my case, it was 60" from back of the T-Top towards the bow.
To find the center of the roof, I pulled a tape from the rod holder openings in the T-Top.
In my case it was 20-5/8" to the center from the rod holder opening.
I drew pencil lines to mark the center, and also marked the center of the Scanstrut.
(My anchor light was in the way, so I had to remove it.)


Once I liked the position, I marked and drilled 4x 3/8" holes in the roof.
Afterwards I drilled a 1/2" hole in the center for the cabling.


Next I ran the radar cabling through the Scanstrut.
The mount includes some cable glands, but I decided to use my own.
I linked to them on my VHF Radio installation.


The T-Top roof is only around 1/4" thick, so you'll need to install a backer material of some sort.
I had a nice piece of cedar that I used.
I had my helper hold the backer from below, while I marked all the holes from above.
Afterwards, we installed the bolts, nuts, and washers, using Loctite once again.


And it's mounted! Now on to wiring!

After recently being caught off guard by a severe storm while offshore, i've decided it's time to get a radar.
In case you are wondering, the boat now has 142" (11' 8") clearance on the trailer with the Radar Dome installed.
Part 1: The Radar Dome
The Simrad unit we have on our boat is the GO12 XSE.
According to Simrad, this is compatible with the Halo 20 and 20+ Radar domes.
I've decided to go with the Halo 20+, because of longer range, among other bells and whistles.
HALO20+ Radar | Simrad USA
Pulse compression radar with 20-inch dome antenna, 36nm range, 60 RPM operation and VelocityTrack.
www.simrad-yachting.com
I purchased mine from Hodges Marine.
Simrad Halo20+ 20" Radar Dome W/10m Cable
SIMRAD HALO20 20 RADAR DOME WITH 10M CABLEHALO20 20 Radar with 10M CableSee Far And Near With One Compact DomePerfect for a wide midsized to large sailboats, HALO20 comes in a compact 20inch dome antenna and delivers highquality short, mid an...
One of the biggest decisions about mounting your radar is how high it needs to be, and the angle.
Here is a great YouTube video from Simrad about mounting heights, setup, etc.
I'll be installing Simrad's recommended mount, the Scanstrut 6" PT2004.
There are other options, as well as angle wedges, but I believe this will be fine for my setup.
Scanstrut 6" Powertower For BR24 Dome | Radar | Simrad USA
The Scanstrut 6" Powertower For BR24 Dome. Find more industry leading Marine Radars and electronics here. Buy Online.
www.simrad-yachting.com
I also purchased this from Hodges Marine.
Scanstrut Pt2004 - Powertower Radar Mount - 6" Aft Leaning
SCANSTRUT POWERTOWER 6 COMP FOR RAYMARINE GARMIN DOMESBy elevating your antenna clear of obstructions, PowerTowerreg maximizes the performance of your radar. Manufactured using the best composite materials, PowerTower is moulded as a single 3...
Step 1: Mounting Radar to Scanstrut
The first thing to do is layout the template Simrad provides, on the Scanstrut.
I measured the mount, and drew accurate lines to find the center.
I centered up the template, and taped it down once I found the best location.
I then drilled 4x 3/8" holes per Simrad's instructions.
Note: The Scanstrut is fiberglass, so I ran my drill bit in reverse so as not to crack it.
I did have to end up hogging out the holes a little for the bolts to fit properly.
Afterwards, I flipped the dome upside down, installed the cable, and set the Scanstrut on top.
I coated each bolt with Loctite, and installed them.
Step 2: Mounting Radar to Boat
The next step is to choose a location on your T-Top roof.
I set the Radar on my roof, to get a feel for where it would work best.
I unscrewed the black plastic above the window, and using a bungie cord, hung my VHF equipment, so I wouldn't have to disconnect it.
I then pulled a tape measure from the rear of the T-Top to the inside of the opening, to see how far forward the radar could be mounted.
In my case, it was 60" from back of the T-Top towards the bow.
To find the center of the roof, I pulled a tape from the rod holder openings in the T-Top.
In my case it was 20-5/8" to the center from the rod holder opening.
I drew pencil lines to mark the center, and also marked the center of the Scanstrut.
(My anchor light was in the way, so I had to remove it.)
Once I liked the position, I marked and drilled 4x 3/8" holes in the roof.
Afterwards I drilled a 1/2" hole in the center for the cabling.
Next I ran the radar cabling through the Scanstrut.
The mount includes some cable glands, but I decided to use my own.
I linked to them on my VHF Radio installation.
The T-Top roof is only around 1/4" thick, so you'll need to install a backer material of some sort.
I had a nice piece of cedar that I used.
I had my helper hold the backer from below, while I marked all the holes from above.
Afterwards, we installed the bolts, nuts, and washers, using Loctite once again.
And it's mounted! Now on to wiring!
Attachments
-
 3.2 MB Views: 27
Last edited: