
Zackdadams
Jetboaters Lieutenant
- Messages
- 314
- Reaction score
- 484
- Points
- 157
- Location
- MS Gulf Coast
- Boat Make
- Yamaha
- Year
- 2021
- Boat Model
- FSH Sport
- Boat Length
- 25
Here is a detailed walk-through of my VHF Radio installation on the FSH 252.
I was inspired by many members of the community, and will be linking to their posts.
Don't forget to register an MMSI.
index
Part 1: The VHF Radio

I researched VHF Radios for quite a while, and ultimately decided on the Icom M330G.
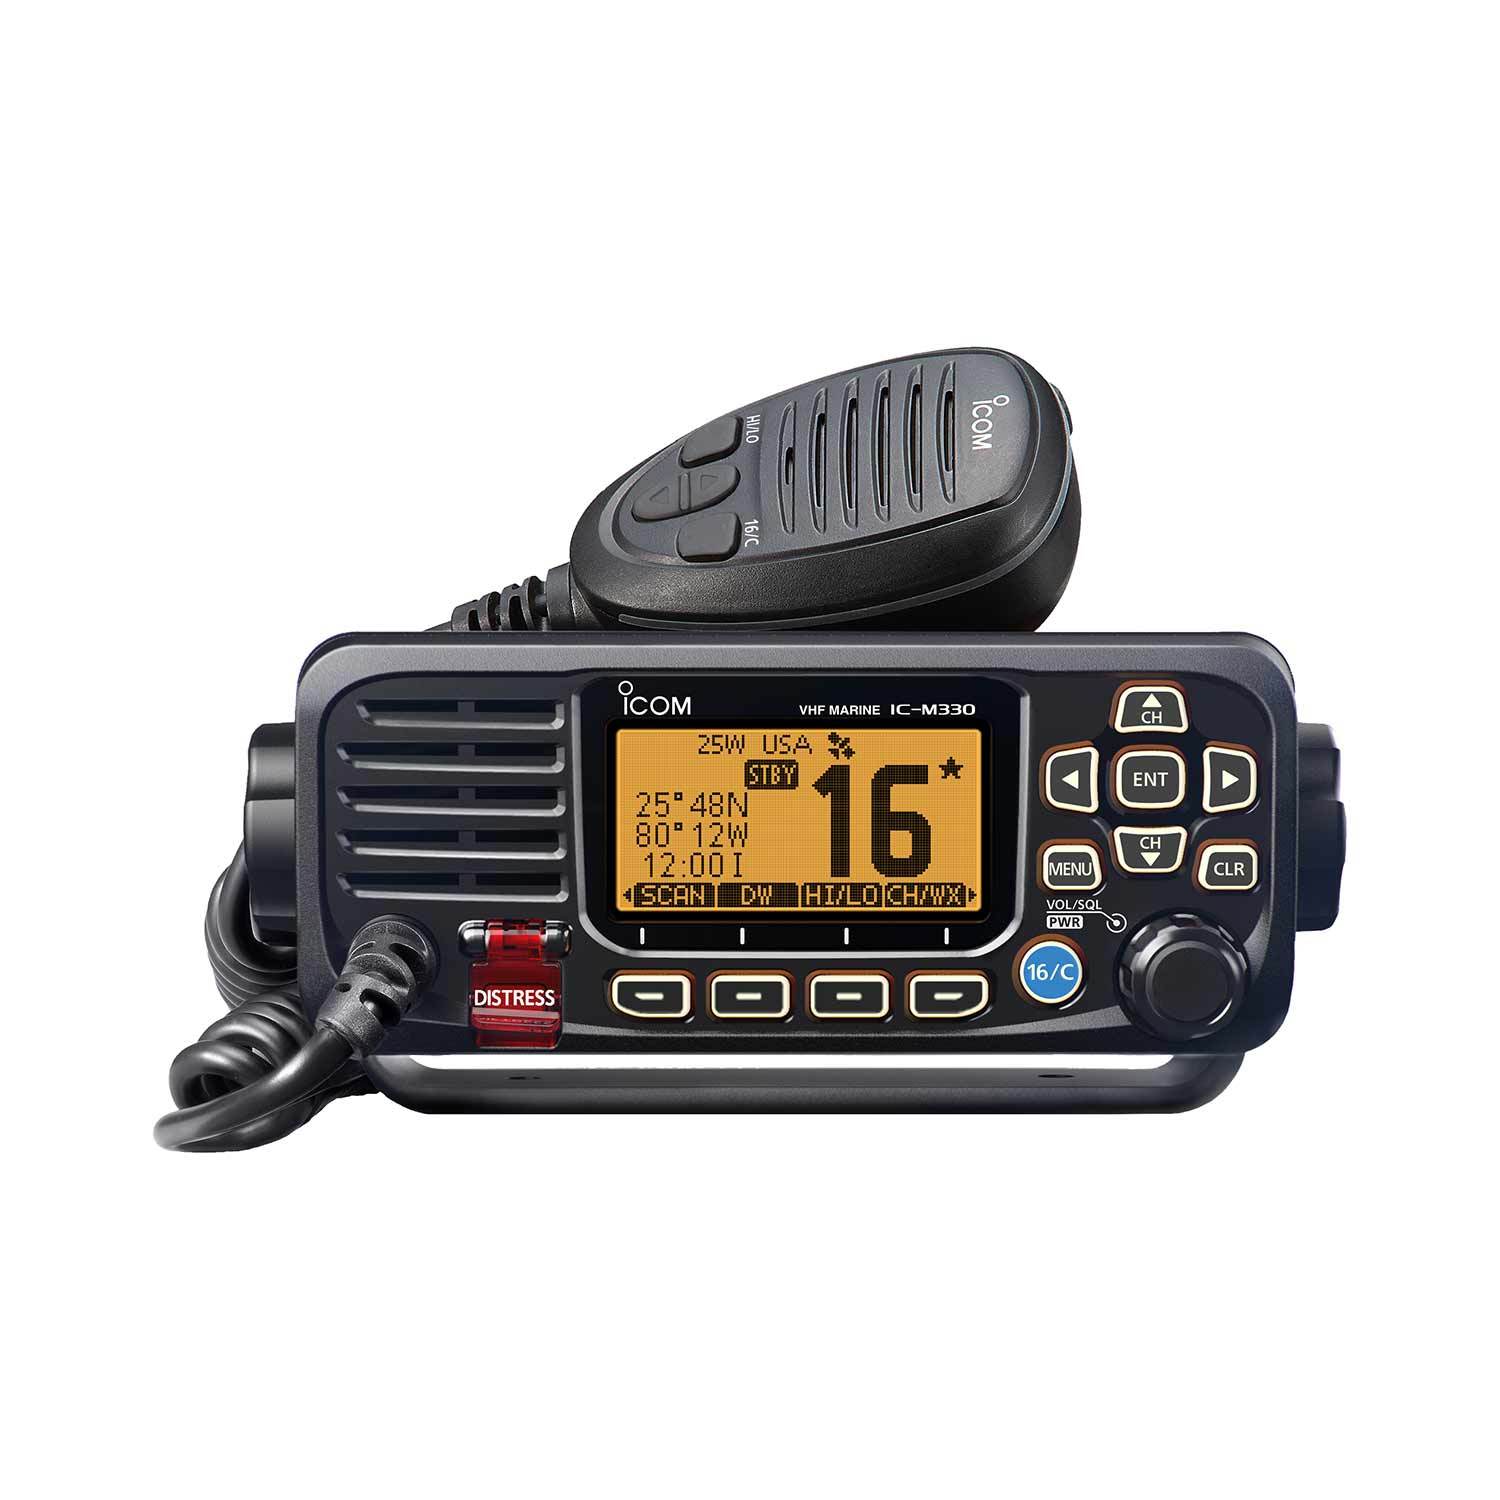
 www.westmarine.com
It has all the features I wanted, plus GPS.
www.westmarine.com
It has all the features I wanted, plus GPS.
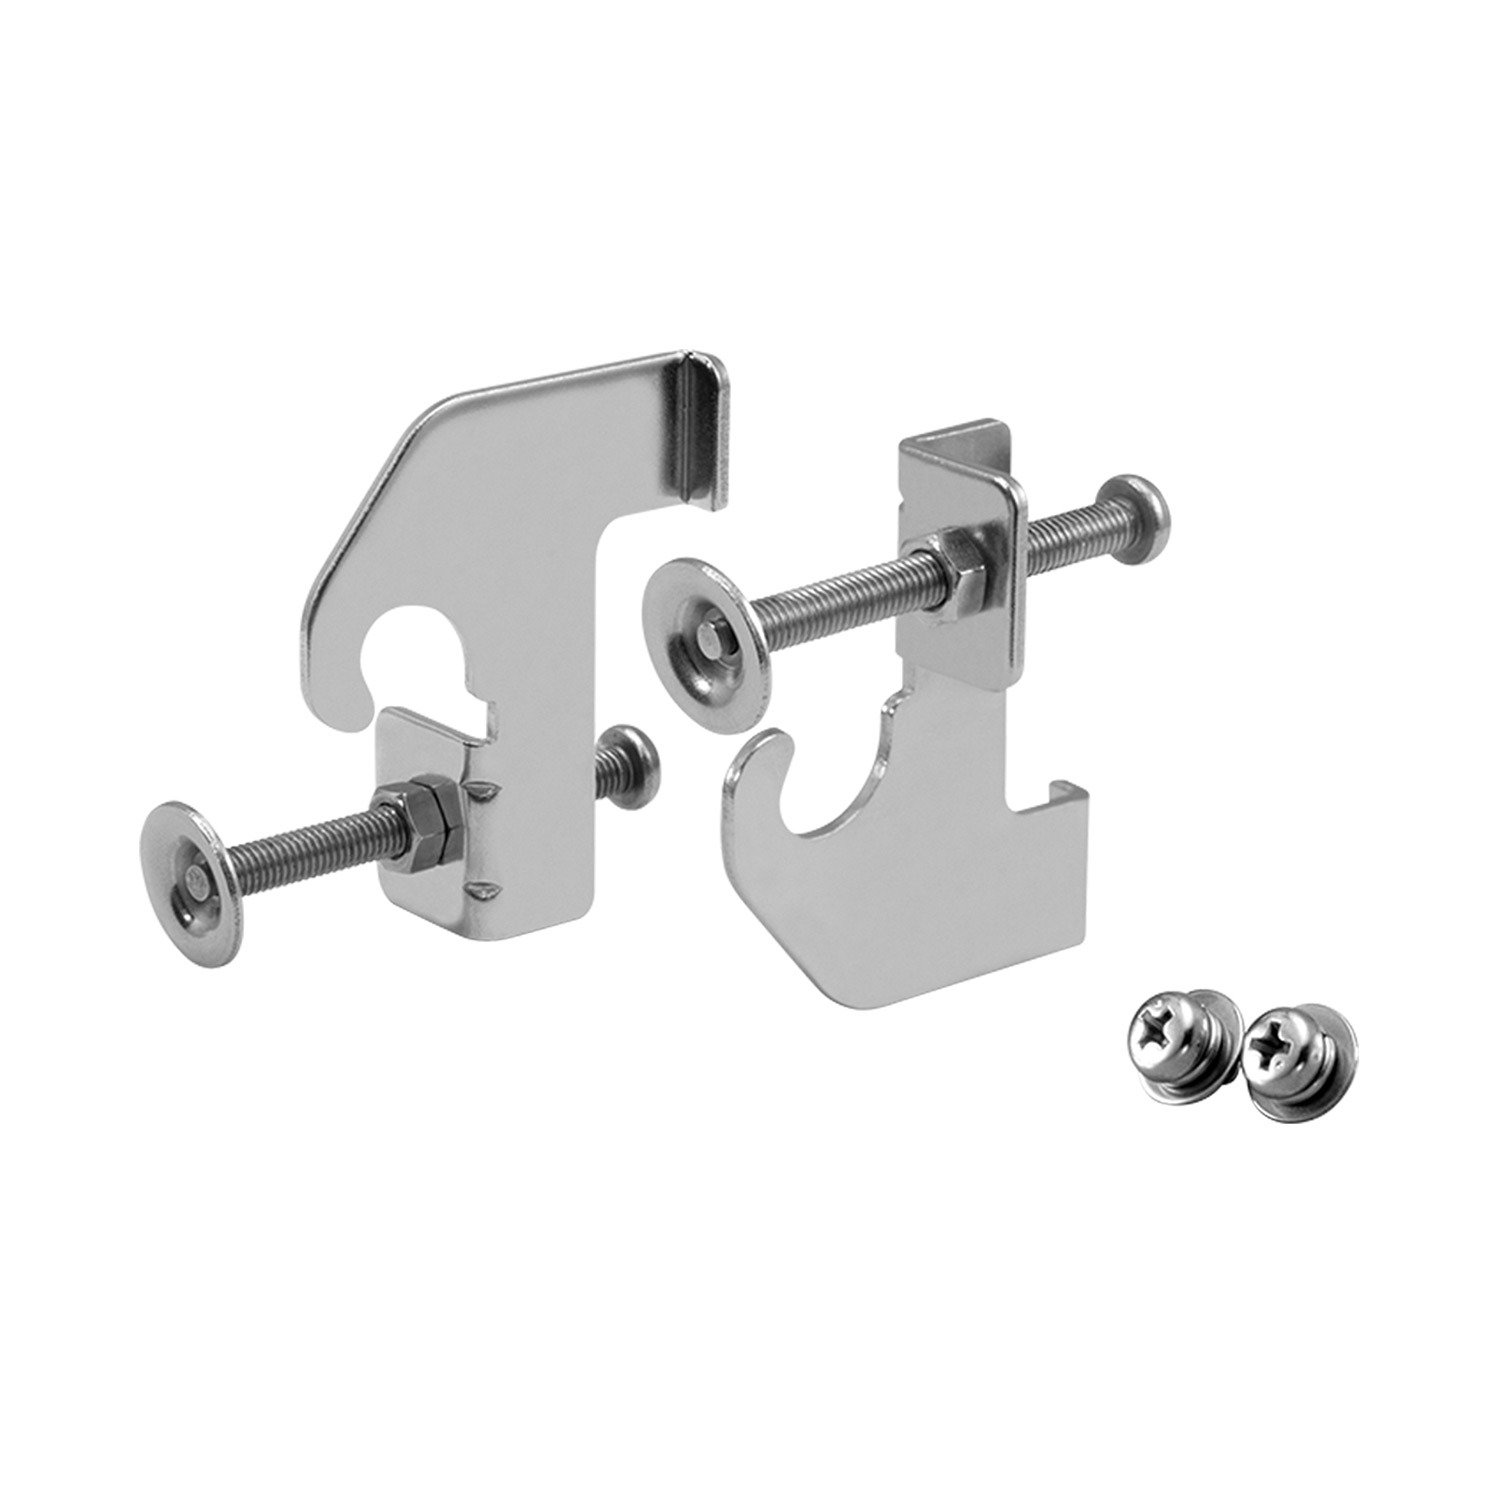
You'll also need to buy the flush mount kit.
 www.westmarine.com

A while back @GrampaDoug had installed a locking glove box, which I loved.
I decided to do the same.
Step 1: Prepare Opening
You'll want to remove the black plate held in place with 6 phillips head screws.
Once off, you'll need to assess the opening, and determine if you need to do any cutting.
In my case, the opening was pretty jagged, and poorly cut at the factory.

I decided to place the VHF on the right, to allow my first mate to use it while i'm driving, rather than reach over the steering wheel.
The glove box would go on the left.
I checked the size of the opening with the Glove Box, and it was just a little too tight.
So i masked it off with painters tape, and used a jig saw to cut the opening about an 1/8" larger all the way around.
Make sure to wear a mask and goggles for safety!


Once the Glove Box fit properly, I took some measurements, and masked off the black plate.
Just a side note: This black plate is plastic, and can easily break.
Take extra precautions while you are handling it.
I carefully screwed mine down to several blocks of wood, to ensure it would not move while cutting.


Using a circular saw, I cut out the 2 openings, and finished off with an oscillating tool.
I then checked the glove box and radio for fit, making more cuts where needed.


Step 2: Wiring

Now this was not the easiest wiring job, as many have mentioned.
The access is through one of the pillars, and is a tough spot to get to.
You'll want to use the starboard pillar, as the port pillar is already full of wire.
I of course have all the fancy electrical tools, being an electrician, so I made use of my nylon fish tape.
You could use a standard metal fish tape, available at Home Depot or Lowes.
I ran the fish tape down from the top of the pillar, but it just would not go through.
There is a metal lip around the pillars opening, both at the top and the bottom.
I ultimately used my endoscope to find the fish tape, and a piece of metal clothes hanger with a small hook, to grab the fish tape.

I ran #12 wire inside 1/2" split tubing, attached it to the fish tape, and pulled it up to the opening.

Now, as I mentioned in a few posts, I decided to add a small fuse box for all my new accessories.
The power wire that originally fed the factory Wet Sounds amp, I was using to feed my Kicker KMC5.
I'm now using that to feed the fuse box.
I installed the fuse box, and added heat shrink crimp connectors to the power wires.

Finally, I mounted the Glove Box and Radio in the black plastic plate, and checked for fit.
The VHF Radio is installed using the optional flush mount kit.
The Glove Box is installed using stainless #6 bolts with washers/nuts.

Now, on to Part 2, the antenna installation!
I was inspired by many members of the community, and will be linking to their posts.
Don't forget to register an MMSI.
index
Part 1: The VHF Radio
I researched VHF Radios for quite a while, and ultimately decided on the Icom M330G.
M330G Class D DSC VHF Radio with GPS | West Marine
Check out our M330G Class D DSC VHF Radio with GPS and more from West Marine!
www.westmarine.com
You'll also need to buy the flush mount kit.
Flush Mount Kit for M330 Series Radios | West Marine
Check out our Flush Mount Kit for M330 Series Radios and more from West Marine!
www.westmarine.com
A while back @GrampaDoug had installed a locking glove box, which I loved.
I decided to do the same.
Step 1: Prepare Opening
You'll want to remove the black plate held in place with 6 phillips head screws.
Once off, you'll need to assess the opening, and determine if you need to do any cutting.
In my case, the opening was pretty jagged, and poorly cut at the factory.
I decided to place the VHF on the right, to allow my first mate to use it while i'm driving, rather than reach over the steering wheel.
The glove box would go on the left.
I checked the size of the opening with the Glove Box, and it was just a little too tight.
So i masked it off with painters tape, and used a jig saw to cut the opening about an 1/8" larger all the way around.
Make sure to wear a mask and goggles for safety!
Once the Glove Box fit properly, I took some measurements, and masked off the black plate.
Just a side note: This black plate is plastic, and can easily break.
Take extra precautions while you are handling it.
I carefully screwed mine down to several blocks of wood, to ensure it would not move while cutting.
Using a circular saw, I cut out the 2 openings, and finished off with an oscillating tool.
I then checked the glove box and radio for fit, making more cuts where needed.
Step 2: Wiring
Now this was not the easiest wiring job, as many have mentioned.
The access is through one of the pillars, and is a tough spot to get to.
You'll want to use the starboard pillar, as the port pillar is already full of wire.
I of course have all the fancy electrical tools, being an electrician, so I made use of my nylon fish tape.
You could use a standard metal fish tape, available at Home Depot or Lowes.
I ran the fish tape down from the top of the pillar, but it just would not go through.
There is a metal lip around the pillars opening, both at the top and the bottom.
I ultimately used my endoscope to find the fish tape, and a piece of metal clothes hanger with a small hook, to grab the fish tape.
I ran #12 wire inside 1/2" split tubing, attached it to the fish tape, and pulled it up to the opening.
Now, as I mentioned in a few posts, I decided to add a small fuse box for all my new accessories.
The power wire that originally fed the factory Wet Sounds amp, I was using to feed my Kicker KMC5.
I'm now using that to feed the fuse box.
I installed the fuse box, and added heat shrink crimp connectors to the power wires.
Finally, I mounted the Glove Box and Radio in the black plastic plate, and checked for fit.
The VHF Radio is installed using the optional flush mount kit.
The Glove Box is installed using stainless #6 bolts with washers/nuts.
Now, on to Part 2, the antenna installation!
Attachments


Last edited:


