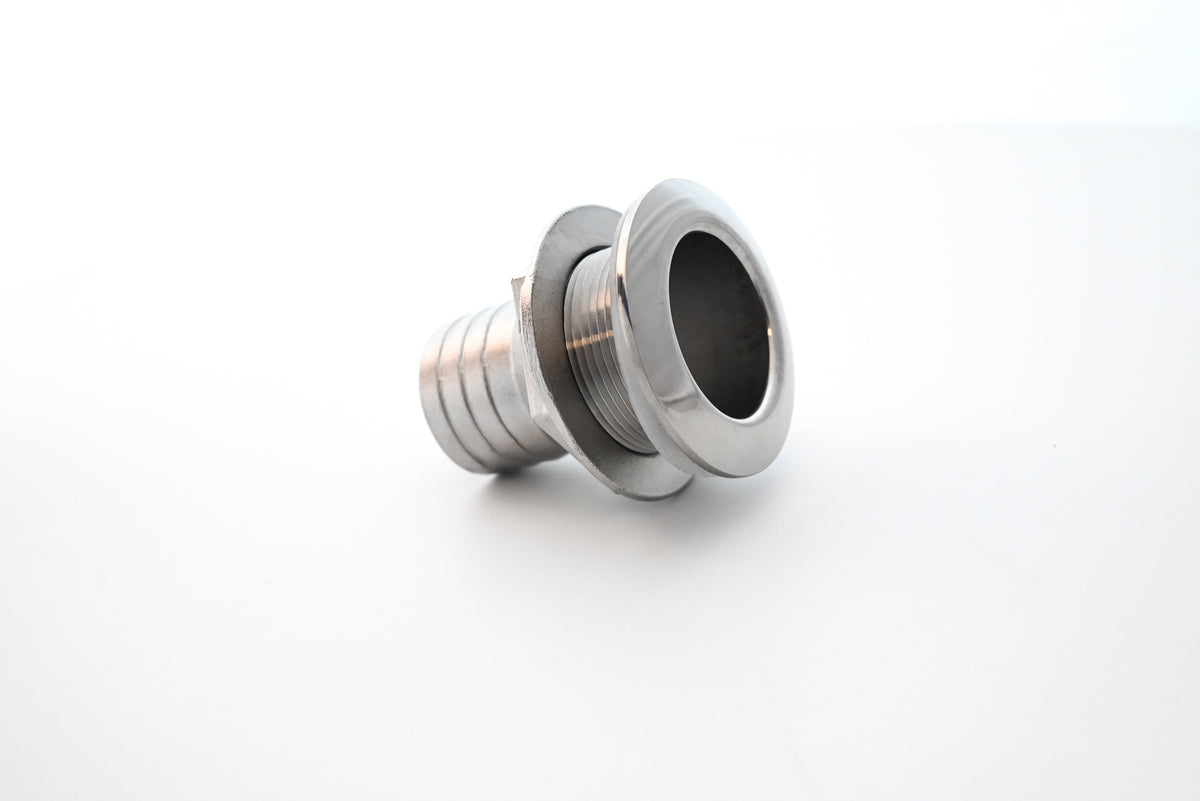
I finally got around to replacing my anchor locker drain in my quest to chase down the water coming out at the end of the day…I’m pretty sure adding a proper anchor and 20’ of 5/16” stainless chain dropped the bow just enough to push the anchor locker drain down into the water, I know that water doesn’t flow as quickly towards the back when I wash the deck down.
Unlike
@drewkaree , where my anchor locker drain fitting protrudes into the anchor locker there is not a flat surface for the flanged nut to seat on. I had to make a shim out of schedule 80 pvc for the nut to sit on so it would pull up on the thru hull evenly. This precluded me from having a clean finished product on the inside of the anchor locker.
Stock anchor drain:


When I sent these pics to my friend with 30 years marine experience he said it best, “pretty Neanderthal“
This is what it looked like with the new stainless thru hull installed. The proximity to the walls only allowed the use of the open end of a 7/8” wrench. The only way to get the box end of the wrench would have required a lot of grinding on my wrench.


I made a spacer out of schedule 80 PVC pipe. I must be living right, I only had to slightly modify the pvc after my first eyeball engineering using a belt sander laying on the bench to make the compound angle on the spacer.

When I applied the 5200 and went to tighten the nut, the added stiction of the 5200 made the spacer / shim rotate with the nut. This was one of the few instances where I could get both hands on the piece to put it back where it needed to be as I tightened the nut. After tightening the nut I had to use Q tips with a dab / dollop of 5200 on them to seal up around the shim and the anchor locker since my oh so carefully applied 5200 got smooshed all over the place.

I’ll put some more 5200 around the shim / anchor locker interface today to make sure I didn’t miss any spots. There is no way to see behind the nut. The Q tips quickly start pulling apart with 5200, so it’s a bit of a challenge to get it to flow in there correctly. But, as my friend said when I showed him these pics, “that’ll do pig, that’ll do”.

I had bought a couple of stoppers a while back for the drain I never used. They won’t work on the inside but they will work on the outside…. I may use one next trip out just to make sure no water gets into the anchor locker at all. Heck, if I can reach it from the inside the boat while on the water it may just stay there for the duration and I can just reach over the bow and remove it when needed. This way my rode will stay mostly dry.
Thanks again to
@drewkaree for making this post and
@Yambers for letting me know the thru hull
@drewkaree was almost of stock at the time I bought the fitting.
After racking my brain looking for possible leaks and fixing a couple of other small leaks on the live well I came up with only three spots where water could be getting in, the anchor locker drain, the main drain plug, and lastly the seacock for the live well fill. That last one will require jacking the boat up while on the trailer so I can inspect it, it sits right on one of the bunks. I don’t like to complain, but I think Yamaha could have possibly done better on the location for the seacock so that it could be inspected and or serviced while on the trailer. I have a couple of spare brand new drain plugs so a new one will be installed today. I’ll run that for the next outing and see how much water comes out, if it’s nill then I know it’s not the seacock but will still inspect it.
Thanks again to all contributed to this thread.
@Can0n11


