• Welcome to Jetboaters.net!

    We are delighted you have found your way to the best Jet Boaters Forum on the internet! Please consider Signing Up so that you can enjoy all the features and offers on the forum. We have members with boats from all the major manufacturers including Yamaha, Seadoo, Scarab and Chaparral. We don't email you SPAM, and the site is totally non-commercial. So what's to lose? IT IS FREE!

    Membership allows you to ask questions (no matter how mundane), meet up with other jet boaters, see full images (not just thumbnails), browse the member map and qualifies you for members only discounts offered by vendors who run specials for our members only! (It also gets rid of this banner!)

    free hit counter

Where/how to mount second fire extinguisher?

AlpharettaRK

Jet Boat Lover
Messages
180
Reaction score
214
Points
72
Boat Make
Yamaha
Year
2023
Boat Model
FSH Sport
Boat Length
22
My boat has 1 extinguisher, mounted under the seat in front of the livewell. This would provide air to engine compartment, so doesn't seem like a great idea in the event of an engine fire. It also has a "Fire Extinguisher inside" sticker on port side storage by the doors. In there seems like a good place to mount it. The inside wall in the middle of the boat seems stout enough. I'm thinking of drilling and using some round head hex bolts with 1-1/2" fender washer on the outside with nylock nuts on the extiguisher bracket inside. The round head bolts shouldn't be an issue walking down the center aisle, but obviously will be visible. Comments? Better ideas? Thanks
Cheers
RandyIMG_3835-1.jpg
 
Last edited:
In the 210FSH, I have one mounted in the FWD port storage pod as you mentioned. However, it is #10 screwed into the area that would be the back of the port forward seat backrest within the pod compartment. I also have another mounted in the center console, starboard side just inside the hatch. If you look around you may find areas of reinforced fiberglass in those interior compartments that may hold a screw pretty well.
If it doesn't bother you to look at hardware gleaming through your gel-coat then go for it, but i tried to avoid doing that. I guess it doesn't really matter though, whatever you think makes good access.
 
I just added one of these Black Friday extinguishers to the cart. Thanks for the reminder!
 
Are the front seat backs made on plywood screwed into the fiberglass. If so is it 1/2”? I see a couple screws poking into the pod that look like they hold the seat back. How is seat back remove? Obviously I don’t want to run screws thru to the cushion.
Thanks
 
I would try one of these rollbar extinguisher holders Amazon.com
Strapped to/between the legs under helm seating if there is enough room vertically.
Edit: I like safety devices to be visible to others. For instance...You, the captain, go MOB. Then, your crew/guest spilled the grille and started a fire on the boat. The fire extinguisher should be visible, not in a locker with gear on top of it. My $.02.

I know the rod holders are in the way on the FSH, but I have one in the side of our center console.

20231124_070748.jpg
 
Last edited:
Don't forget a halon bottle for the motor extinguishing port .
My changing room has a fire ext sticker so I put one in there and same with the battery compartment.
I also have a loose one in the box, to show the LEOs.
 
My boat has 1 extinguisher, mounted under the seat in front of the livewell. This would provide air to engine compartment, so doesn't seem like a great idea in the event of an engine fire.

[...]

I'm thinking of drilling and using some round head hex bolts with 1-1/2" fender washer on the outside with nylock nuts on the extiguisher bracket inside.

I'd recommend getting a Halotron extinguisher for the engine compartment. A standard dry chemical extinguisher likely won't work if you spray through the engine-extinguisher port.

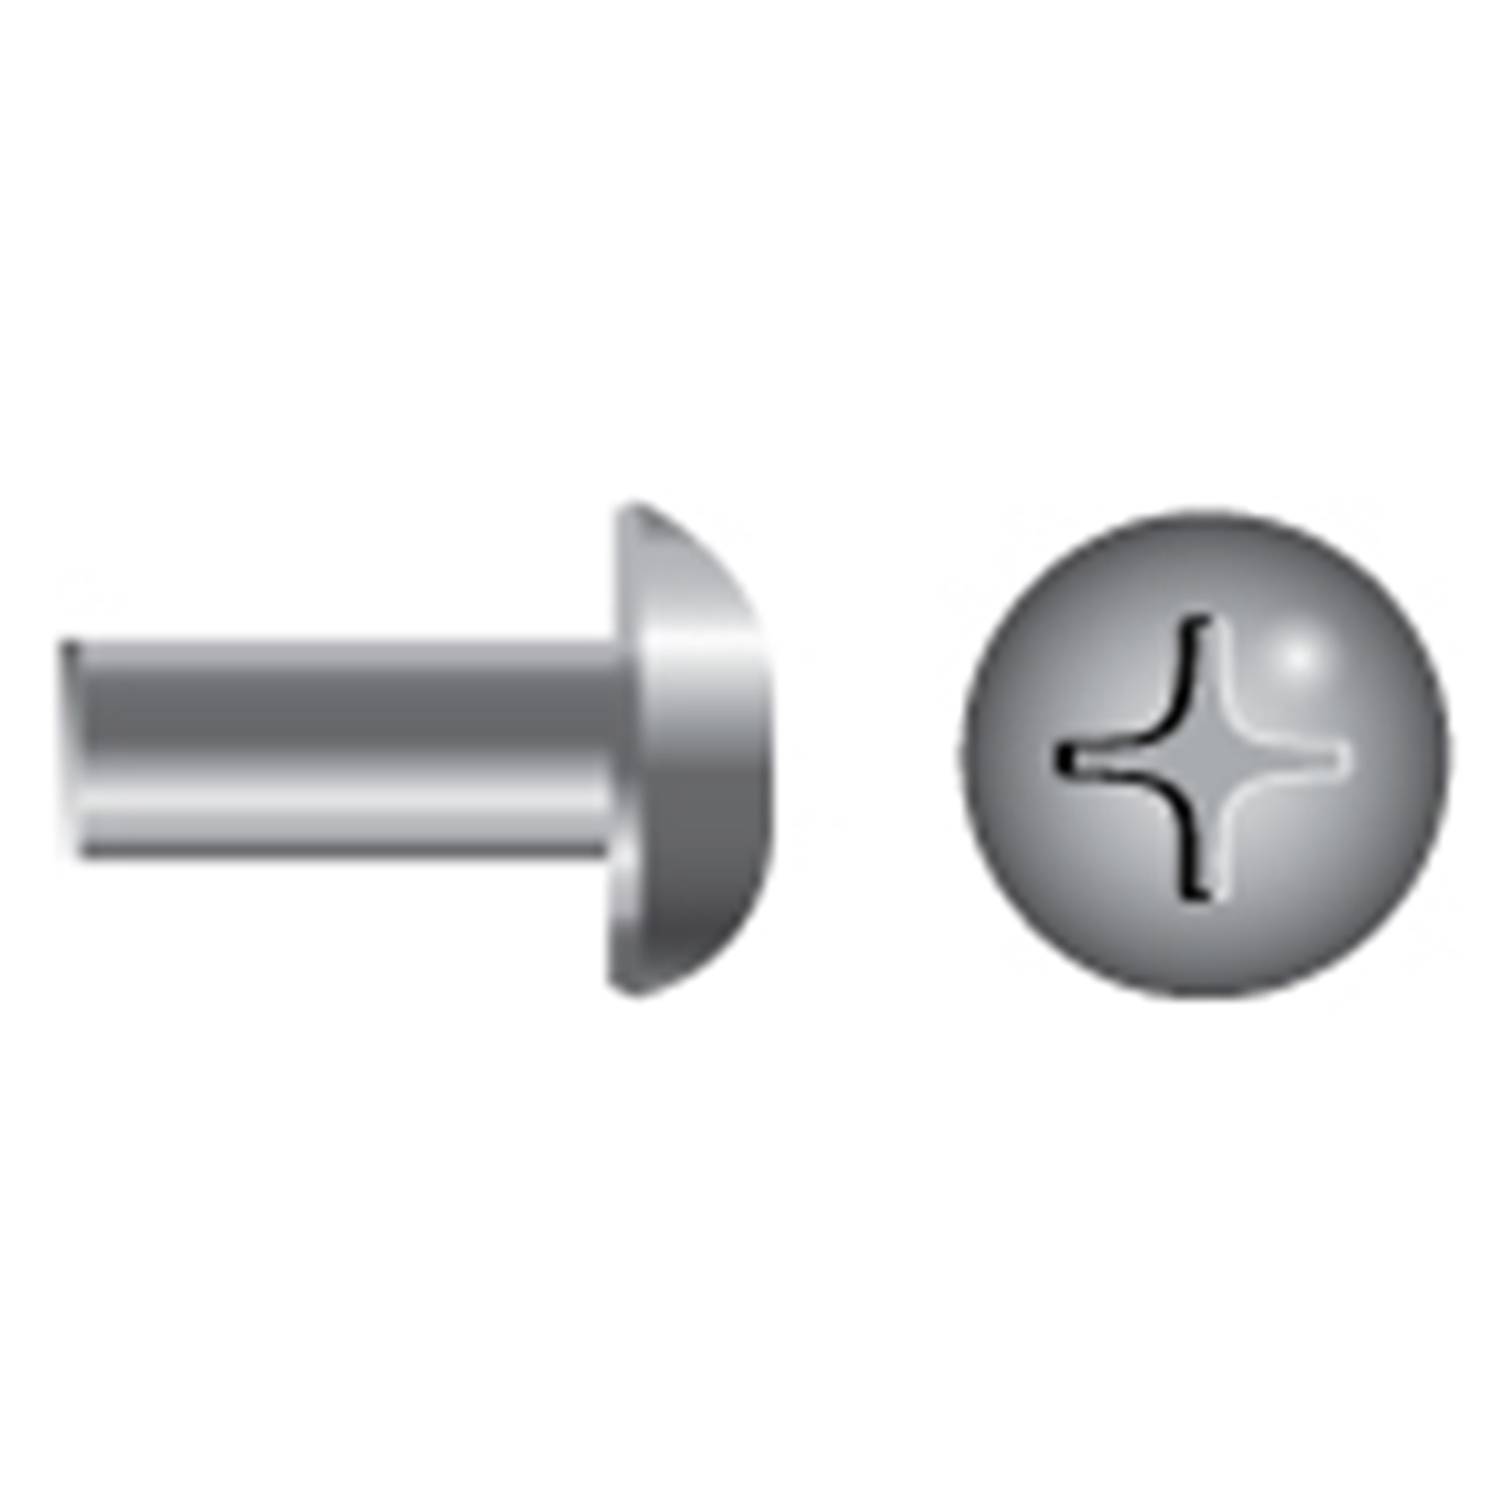
Regarding your mounting location — I did the same on my 255 FSH (for my Halotron extinguisher), but I used wide-head barrel nuts (AKA "sex bolts" and "Chicago screws") to attach the extinguisher harness to the inside wall of the locker. On the outside, the barrel nuts look much nicer than the combination of round-head hex bolts on top of fender washers, but more importantly, you can use a standard round-head bolt on the harness-side, to mate with the barrel nut, rather than a nylock nut threaded onto a bolt. A nylock nut might not offer enough clearance for the extinguisher to fit into the harness, and even if there's room for the nylock, your bolt will have to be the exact length to maintain clearance (or you'll have to cut down the bolt).

Because barrel nuts are so useful for mounting things on boats, I've purchased many blister-packs of Fasco barrel nuts (in all sizes) from West Marine, but here's the only website I found with a good photo of them:


Here's the West Marine page (with a useless image):


Photos attached of my Halotron extinguisher inside the locker... of my very dirty boat.
 

Attachments

  • PXL_20220804_143842054.jpg
    PXL_20220804_143842054.jpg
    312.3 KB · Views: 37
  • PXL_20220504_215025424.jpg
    PXL_20220504_215025424.jpg
    342.8 KB · Views: 34
@MilesPrower you didn't use any washers or anything under the barrel nuts on the outside to spread the load? They aren't really any bigger than the bolts I was looking at, I'm worried about cracking the fiberglass with years of bouncing around.
Thanks!
 
@MilesPrower you didn't use any washers or anything under the barrel nuts on the outside to spread the load? They aren't really any bigger than the bolts I was looking at, I'm worried about cracking the fiberglass with years of bouncing around.
Thanks!

Sorry for not being clear. Yes, I am using washers under the barrel bolts, but they're not wide-diameter fender washers. I'm using washers that are the same size as the barrel nuts' heads. And yes, I would highly recommend using washers, because the barrel nuts have ridges on the mating surface of their heads to prevent spinning.

Also, the barrel nuts are significantly bigger than the corresponding bolts, because the bolt has to thread into the barrel nut. When you place the barrel nut next to the bolt, you can see how much bigger the head of the barrel nut is. Therefore, the head of the barrel nut offers more surface area without having to rely on a bigger fender washer.

Moreover, I am "spreading the load" a bit further by using 6 barrel nuts per Halotron extinguisher (9.5 lb weight with a stainless USCG compliant bracket).

I haven't experienced any cracking at the barrel-nut side of the gelcoat on any of my boats... even though I pound through 1-3 ft seas to get 10-20 miles offshore at least a couple times a month, and sometimes spend hours trolling at 7+ knots in those seas.

When I drill holes through gelcoat, I tape up the gelcoat before I drill the hole (as we all do, right?). After I remove the tape, I use a 90° cross-hole (AKA zero-flute) countersink bit (vs. a standard 82° fluted bit) to remove a slightly wider diameter of the gelcoat layer than the widest point of whatever section of the fastener is going into the hole. A cross-hole countersink will also deburr the gelcoat-fiberglass interface, further reducing the chances of the gelcoat cracking when you insert and tighten a fastener.


Also, make sure you install the washers so that the rounded edge is toward the gelcoat. Stainless-steel washers are manufactured by stamping them out of a sheet of steel. Therefore, one side of the washer will have smooth, rounded edges, while the other side will have sharp edges. Make sure the rounded side touches the gelcoat.

If you're still really concerned of cracking the gelcoat, I'd recommend going with white nylon washers under the barrel nuts so that the washer will offer a softer material against the gelcoat, in case there's an uneven load due to slight angling of the fastener.

And don't forget to use Loctite or equivalent on the threads of the barrel nuts. (I prefer nail polish over Loctite.)
 
Thanks - I like the nylon washer idea. My bracket only has 2 screw holes so that's why I'm concerned about spreading the load. I'll see if there's another bracket that fits my extinguisher. It is still in the box, but at least it is in the compartment with the "Extinguisher Inside" sticker, I just need to get it off the floor. I'm a car guy so I have all manner of Loctite. I figure if it's worth my time to put it together I'm gonna do my best to make sure it doesn't come apart until I want it to!
 
Are the front seat backs made on plywood screwed into the fiberglass. If so is it 1/2”? I see a couple screws poking into the pod that look like they hold the seat back. How is seat back remove? Obviously I don’t want to run screws thru to the cushion.
Thanks

On my AR210 (sold) and 255 FSH, the seatbacks are held on with metal tabs that slot into the back plates of the seatbacks. One or two screws at the bottom of each seatback prevent the seatbacks from lifting off the tabs.

Look underneath the seatback and "roll" the soft edge of the seatback upward. Remove the visible screw(s). Then lift the seatback up 1 or 2 inches until you feel it slide off the tabs.
 
@MilesPrower thanks for the info on the seat backs and suggesting barrel nuts. They did the trick. I used same basic system on the other side for paper towels. Before i tightened the screws I pinned a couple gear ties behind bracket to hang stuff on. Not really major mods but I like to close loops. IMG_2162 Medium.jpegIMG_2161 Medium.jpeg
cheers
 
Looks great. Smart use of the space!
 
@MilesPrower thanks for the info on the seat backs and suggesting barrel nuts. They did the trick. I used same basic system on the other side for paper towels. Before i tightened the screws I pinned a couple gear ties behind bracket to hang stuff on. Not really major mods but I like to close loops. View attachment 212896View attachment 212897
cheers

Suggestion..shorten that drain hose a bit so you won’t have water laying in there?
 
On my AR210 (sold) and 255 FSH, the seatbacks are held on with metal tabs that slot into the back plates of the seatbacks. One or two screws at the bottom of each seatback prevent the seatbacks from lifting off the tabs.

Look underneath the seatback and "roll" the soft edge of the seatback upward. Remove the visible screw(s). Then lift the seatback up 1 or 2 inches until you feel it slide off the tabs.

Thanks, I wondered how the seat backs were held on!
 
Suggestion..shorten that drain hose a bit so you won’t have water laying in there?

Thanks - I'll take a look at that, although I just mostly use that compartment for dry storage and not as a cooler, but when I do I won't think about the drain
 
Back
Top