• Welcome to Jetboaters.net!

    We are delighted you have found your way to the best Jet Boaters Forum on the internet! Please consider Signing Up so that you can enjoy all the features and offers on the forum. We have members with boats from all the major manufacturers including Yamaha, Seadoo, Scarab and Chaparral. We don't email you SPAM, and the site is totally non-commercial. So what's to lose? IT IS FREE!

    Membership allows you to ask questions (no matter how mundane), meet up with other jet boaters, see full images (not just thumbnails), browse the member map and qualifies you for members only discounts offered by vendors who run specials for our members only! (It also gets rid of this banner!)

    free hit counter

Removing 23 year oldSport Jet ride plate!

RedBarron55

Jet Boat Addict
Messages
280
Reaction score
100
Points
122
Location
Navarre, FL
Boat Make
Jetcraft
Year
1995
Boat Model
Other
Boat Length
16
The other day we were fishing a shallow creek feeding Santa Rosa sound when we ran aground and upon extricating the boat (low speed grounding) we noticed cavitation and unable to get up on a plane.
After a few miles of 5 mph cruising at 2500 rpm we pulled the Hobie Jet Fisherman on the trailer expecting to find a lot of grass in the inlet.
To my surprise there was little there!
When we got back to the house I pulled off the jet nozzle and wear ring and inspected the impeller and it still looks like new. The wear ring was a little sanded but also very good condition and the clearance good.
When I ran the flush water through the engine I noticed that water was running out of the front of the ride plate!
The 23 year old gasket has finally given up the ghost and is leaking around the front letting exhaust gas get into the pump and is most likely the reason for the cavitation.
Now for the problem...
The 23 year old screws! They are very very very seized by that 23 years of corrosion and will most likely have to be drilled out.
I tried the inlet grate screws earlier and gave up after popping one head off.
Any suggestions?
I have tried the Dewalt impact driver and have broken one phillips bit off in the head making to even more difficult to drill that screw out!
The joys of a 23 year old Sport Jet!
I might as well bite the bullet and fix the thing since the Hobie Jet Fisherman is a great boat!
 

Bruce

Jetboaters Fleet Admiral 1*
Staff member
Administrator
Messages
13,332
Reaction score
13,426
Points
857
Location
Royal, AR
Boat Make
Yamaha
Year
2007
Boat Model
SX
Boat Length
23
Have you tried heat?

A little torch time night free up that rust.

Beyond that I would try penetrating oil and using an appropriately sized impact to remove them.
 

RedBarron55

Jet Boat Addict
Messages
280
Reaction score
100
Points
122
Location
Navarre, FL
Boat Make
Jetcraft
Year
1995
Boat Model
Other
Boat Length
16
The aluminum of the pump is behind the ride plate.
Unfortunately the stainless steel screws and the aluminum casting set up an electrolytic corrosion between the pieces and the aluminum will expand and seize the screws like they were welded.
I am going to go by Harbor Freight and get one of those hammer impact tools and at least try that.
The battery impact driver will just wring the cross out of the Phillips head.
One of the apex bits just broke off in the head and now I need to get THAT out before I can even drill out that one.
I pit a little ACF-50 on the screw head and maybe that will creep into the threads, but I have little hope that will help.
Most likely is strip the head, drill the screw out, retap, repeat.
22 years of neglect will collect the accrued interest!
 

RedBarron55

Jet Boat Addict
Messages
280
Reaction score
100
Points
122
Location
Navarre, FL
Boat Make
Jetcraft
Year
1995
Boat Model
Other
Boat Length
16
Some good news, some bad...

I got all of the screws out of the ride plate using a soaking of ACF-50 and an impact screwdriver.
The ACF-50 is a very good anti-corrosion and penetrating fluid and I applied it for two days before starting the process.
Unfortunately the intake grill for the Hobie Jet Fisherman extends over the front of the ride plate so it has to come off as well and it doesn't seem to be a willing.
I have already broken off one screw head and sheared off the tips of #3 impact Phillips tips.
I am soaking these screws some more and buying a second impact screwdriver to get another set of Phillips tips for it.
These screws might well end up being drilled out...
However I am far ahead of where I thought I would be.
As an aside the corrosion in the screw threads that were treated with ACF-50 was mushy and fully wetted out with the fluid so it penetrates well and seems to break down the corrosion products to some extent.
Here is a link to the manufacturer.
https://learchem.com/products/acf-50.html
What I used was a small dropper sample bottle I got at a FAA IA seminar last year.
Being a dropper it was hard to get it to drop UP to the screws on the bottom of the boat!
If you want to control corrosion this is the stuff to use, but it is expensive.
The Navy and Air Force have tested and use it as well.
 

RedBarron55

Jet Boat Addict
Messages
280
Reaction score
100
Points
122
Location
Navarre, FL
Boat Make
Jetcraft
Year
1995
Boat Model
Other
Boat Length
16
With ACF-50 and heat and whacking with an impact screwdriver I got all but one screw out.
That last one involved drilling and retapping.
I was worried about getting the new seal installed, but it was not too bad.
I pushed the rear in first and then bumped with a light 4 lb tapping hammer and put screws in as I went.
A big pry bar pounding, light duty cursing and I got it in.
Before I installed it I put sealing Permatex Hylomar blue that seals, but never gets hard and is easier to remove than RTV.
Instead of the Phillips 6 X 20 mm screws I ordered 6x20 Torx #30 that perhaps will not strip out as easily.
Tomorrow I will try the boat out to see how well I got it fixed up.
If everything goes well I might fair out the junction between the hull and the ride plate.
With the JB weld build up of the wear ring etc we will see if the boat still cavitates.
Also when we were limping back to the dock I noticed that the temps were reading a which since the gauge starts at 100 degrees was not normal.
Perhaps the aereated stream in the jet caused that or some sand etc in the pickup or in the engine.
I flushed the engine well and we will see if I have to pull the exhaust manifold and head to check for blockages
 

Julian

Jetboaters Fleet Admiral 2*
Staff member
Administrator
Messages
18,374
Reaction score
20,468
Points
1,082
Location
Raleigh, NC 27614
Boat Make
Yamaha
Year
2016
Boat Model
242X E-Series
Boat Length
24

RedBarron55

Jet Boat Addict
Messages
280
Reaction score
100
Points
122
Location
Navarre, FL
Boat Make
Jetcraft
Year
1995
Boat Model
Other
Boat Length
16
Sorry about no pictures, but with the heat and rain....
The R&R is fairly straight forward, but getting the screws out is the problem.
In my case the hull was molded pretty close to specifications so I did not have as many problems as some have reported.
I started in the back and got the plate started there and located the plate with those rear screws.
Longer screws than stock might help get things started, but I didn't have to do that and these are metric and not SAE.
I used a heavy hammer to bump the plate into place a little at a time from the rear to the front.
Others have suggested some soap or other lube, but I didn't have to do that and it went easier than I thought it might.
A short piece of 2X4 to hit with a really heavy hammer would be a help, but most will be working in a restricted space like I was under the boat on the trailer.
I got a little more space by putting the tongue all the way down to raise the rear.
The very biggest problem I had was the breaking off of the tip of a Phillips screwdriver bit in the head of the screws!
The bits were firmly stuck in the stainless making further work nearly impossible!
You can't really drill out the remaining bits of hardened apex screwdriver bits!
Heat, ACF-50, Impact screwdriver(s), and make sure you have a straight line impact so that you do not break the tip!
It took two Harbor Freight impact screwdrivers to get the job done (Broken bits).
Tip - GET A BIG HAMMER!!!
It takes a lot of momentum to get this job done.
 

RedBarron55

Jet Boat Addict
Messages
280
Reaction score
100
Points
122
Location
Navarre, FL
Boat Make
Jetcraft
Year
1995
Boat Model
Other
Boat Length
16
An important note:
I have a Dewalt impact driver that broke off two of those bits and wrung off the head on one.
While they are handy, use the impact screwdriver instead and make sure it is straight and the bit is in good condition.
Heat hell out of the area, use good penetrating fluid and try, try to not damage of twist off the head.
It is easy to damage or wring of the head and make your job just that much more difficult.
HARD TO GET PICTURES OF THIS PART!
 

RedBarron55

Jet Boat Addict
Messages
280
Reaction score
100
Points
122
Location
Navarre, FL
Boat Make
Jetcraft
Year
1995
Boat Model
Other
Boat Length
16
Tested the boat this morning and it seems to be A - OK.
 

Roger Ski Gapinski

Jet Boat Lover
Messages
68
Reaction score
3
Points
67
Boat Make
Other
Year
1996
Boat Model
Other
Boat Length
PWC
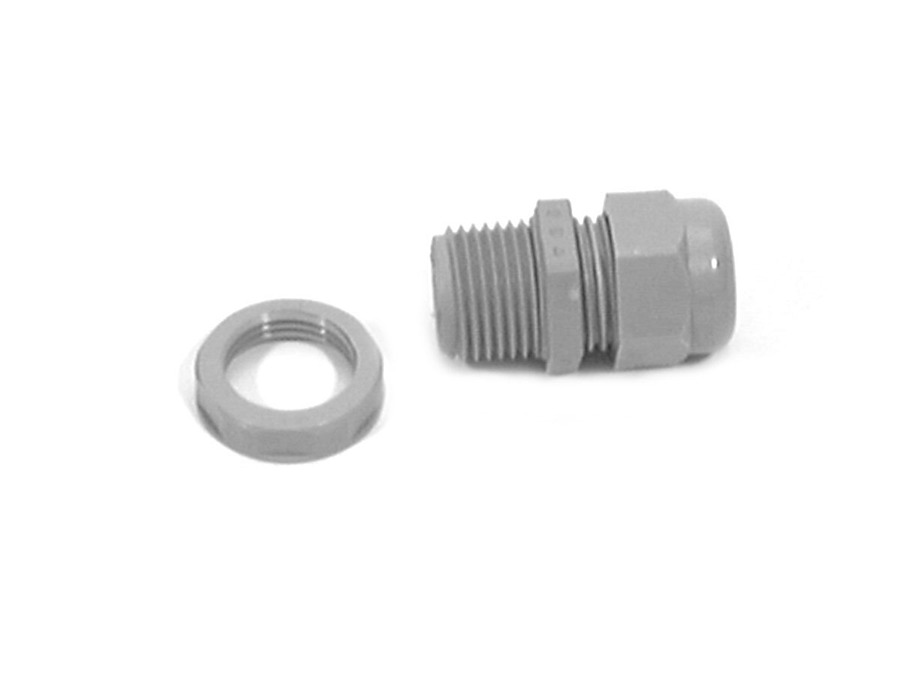
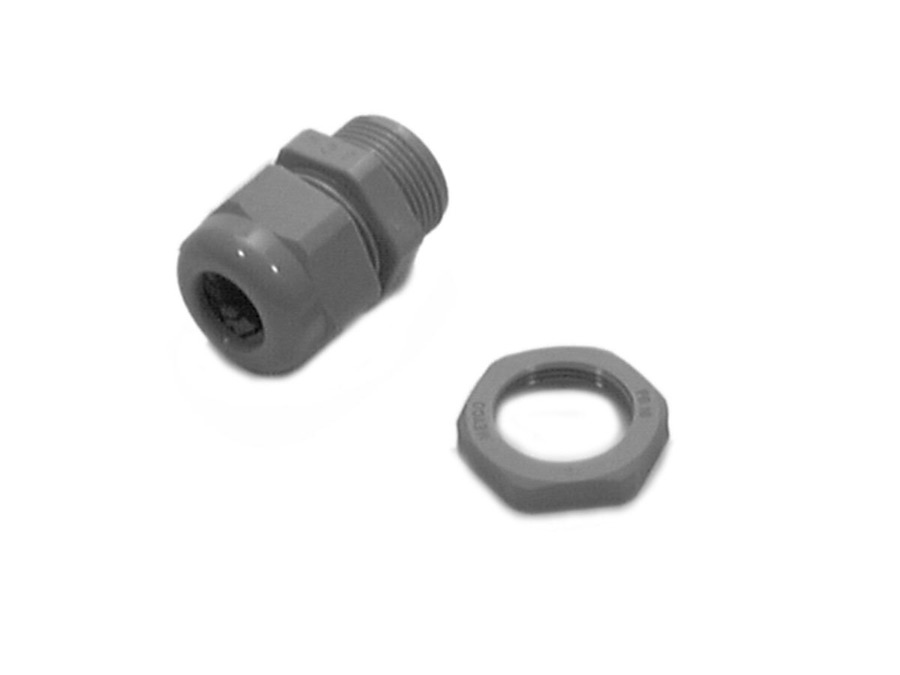
Hi, I posted my situation a few days ago - 1996 Regal Rush Broken Control/Shift cable. I was almost done but noticed the thru hull connector fitting was cracked. On closer inspection it came right out of the hole in the bilge wall. Without a good seal it will leak bad. The control cable goes through and is sealed with a plastic and rubber compression nut.
My dilemma is how do it replace the fitting? Do I remove the engine, impeller grate and/or ride plate? I communicated with Regal boats and the VP of products told me he is not familiar with the 1996 Regal Rush xp120 jet boat and would pass me over to customer service and highly recommended that I bring the boat to an authorized Regal dealer. I could not get any help locally. I’ve looked all over the net for photos of the bottom of the engine with the ride
Plate and impeller grate removed to see if I can see the rear of the fitting and if I could get a new one in and through the hole.
Do you have any photos of your ride plate removed?
Here’s what I got off the net. Any help is greatly appreciated.
Regards,
Ski
 

Attachments

Roger Ski Gapinski

Jet Boat Lover
Messages
68
Reaction score
3
Points
67
Boat Make
Other
Year
1996
Boat Model
Other
Boat Length
PWC
Thanks so much! Hopefully I’ll be able to utilize once I get the thru hull connector fitting situation figured out. Waiting on a response from Regal Boats!
 
Top