• Welcome to Jetboaters.net!

    We are delighted you have found your way to the best Jet Boaters Forum on the internet! Please consider Signing Up so that you can enjoy all the features and offers on the forum. We have members with boats from all the major manufacturers including Yamaha, Seadoo, Scarab and Chaparral. We don't email you SPAM, and the site is totally non-commercial. So what's to lose? IT IS FREE!

    Membership allows you to ask questions (no matter how mundane), meet up with other jet boaters, see full images (not just thumbnails), browse the member map and qualifies you for members only discounts offered by vendors who run specials for our members only! (It also gets rid of this banner!)

    free hit counter

Bus bar or fuse block?

Speedling

Jetboaters Admiral
Messages
5,152
Reaction score
4,364
Points
432
Location
Cedar Lake, IN
Boat Make
Yamaha
Year
2008
Boat Model
SS
Boat Length
21
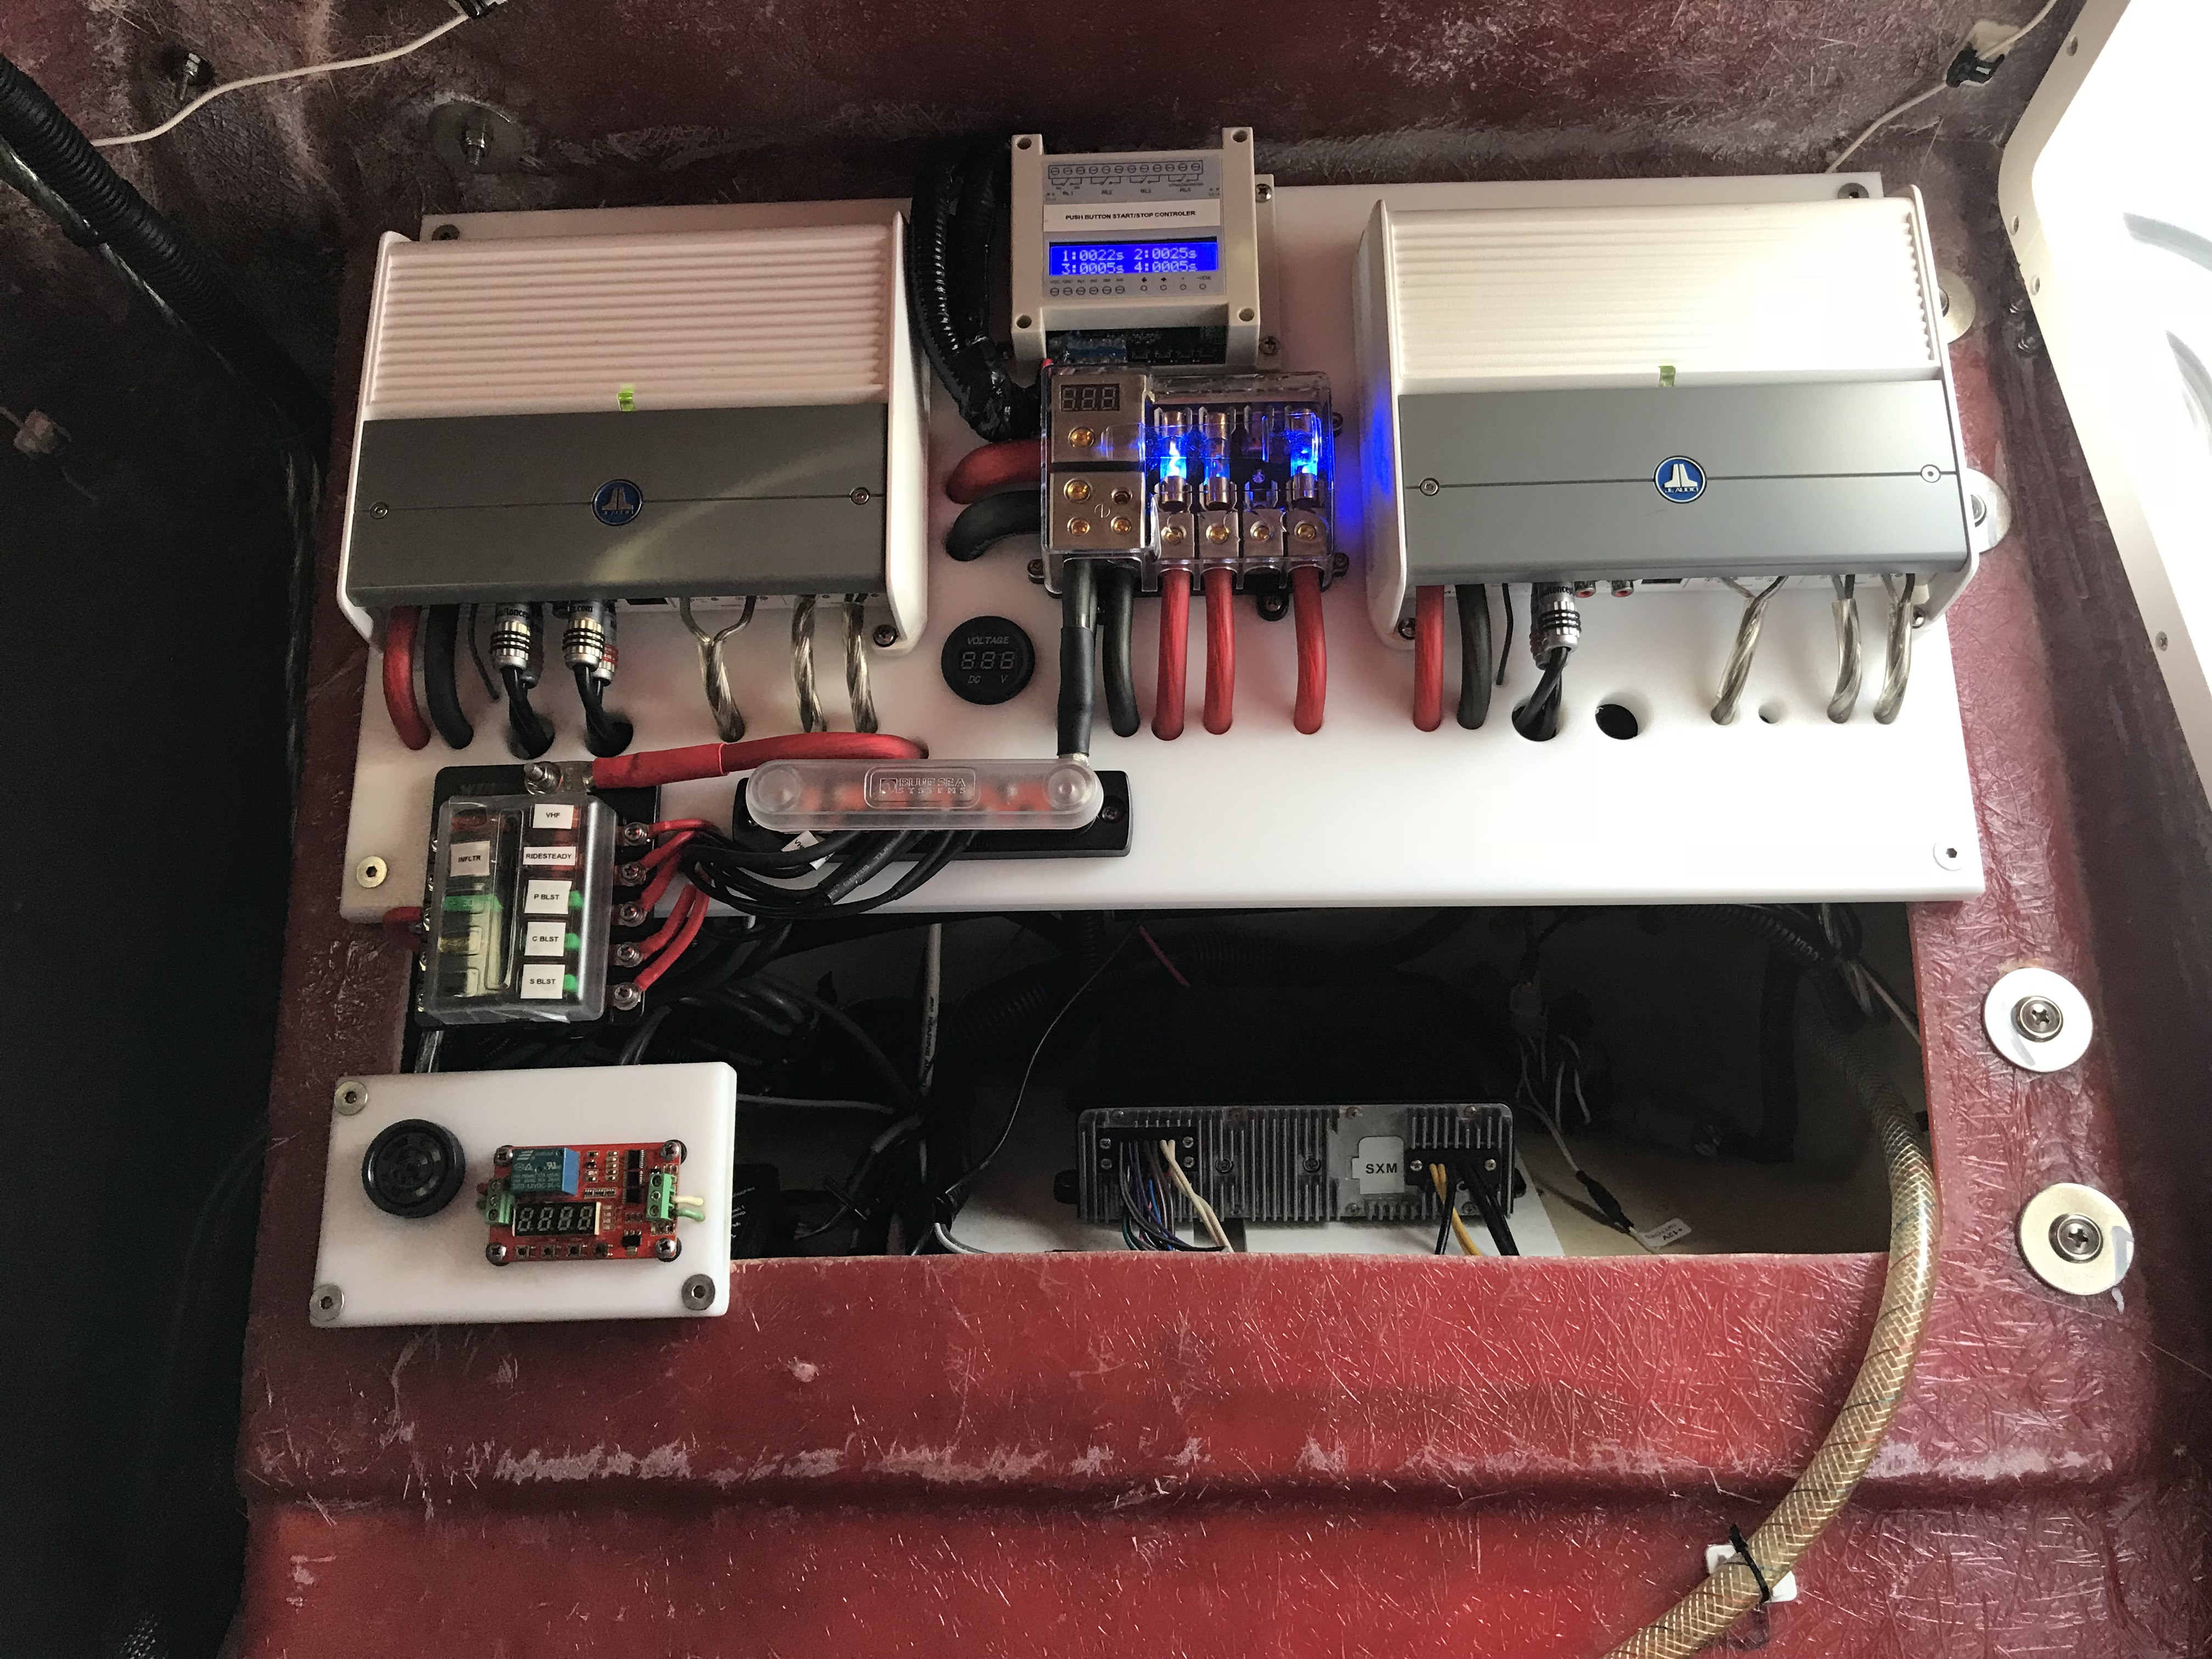
Looking to simplify my wiring and have it all a bit more secure as well.
I want to have simple connections to battery and all the accessories not just tied to the batteries directly.
Looking to do an amazon purchase soon because my wife has add on items waiting that she needs.
Bus bars look nice and are compact but the marine fuse boxes look nice as well but take more room. They add expandability as well.
 
I used the fuse block placed behind the helm powered by 4 gauge wire for my single amp and the fuse block... I split all of my other stuff off of the fuse block.. Vhf, plotter etc.. I have a 80 amp breaker just after the battery on the 4 gauge.. I have a bar for the ground side running straight to the battery on another 4ga wire.
 
Makes it easy to fuse your various items to the amount they need. Some need 15 amp fuse others need 20 amp fuse.. Just my 2 cent.
 
Oh, what about it tying in amps?
 
I used this one to connect my VHF, fishfinder, trim tabs and Kenwood amp. Definitely get one with the negative buss included. Fed it for 125a service with a 100a breaker at the battery. Looks great and install is clean.
https://www.amazon.com/Systems-Circuit-Blade-Block-Negative/dp/B00JWZ9LB8 . I don't remember where I ordered it from, I installed last year. I placed mine in storage/head locker, shorter run to battery. My VHF and fishfinder are mounted just above, the other two circuits run to helm storage via the forward edge of ski locker under the deck, good area to run wires across there on my boat.
 
I used a bus bar, everything is individually fused off of it though. I have a breaker next to the battery to easily turn on/off juice to the bar.
 
I used both...bus bar for my negative connections at the battery, and I have 2 blue sea fuse blocks...one by the battery and one behind the helm. I bought the ones with a negative bus bar as the sorts of devices I'm connecting don't need massive power so connecting small wires to the fuse block is much easier. My installs are linked in my 242X link in my signature.
 
With my 2.0 amp board I have a 0 awg run to a 4 way amp distribution block (center of board in photo below). Two amps, negative bus bar (left 1/3 bottom of board) and a postive only fuse block after that ( far left bottom of board) all with dedicated fused 4 awg distribution from the block. I looked at the fuse blocks that included grounding bars but decided to go this way instead for easy of connections. I also used the negative bus bar to provide new robust grounds for the ignition harness and polk head unit so they follow the exact same path to ground as the amps with the 0 awg backbone. Was not having issues but figured good to do while I was at it.

One thing that separated some of the different fuse blocks out there for me was screws for ring terminals vs spade connections (I prefer screws). I remove the stupid plastic insulator ends on ring terminals and instead used double walled glued 3:1 heat shrink for a trouble free connection. The board helps wrangle the wires while keeping everything neat and clean for easy inspection. This is obviously overkill for some applications but should provide some ideas.

PS the top center of the board is the push start/stop 2.0 controller and the little board bottom left is the shrill to chill mod to modulate the insane system boot tone.

 
When are you going to start making those and selling them????? I want one of those!!! LOL Already have push button starts!!!

Unfortunately the factory buzzer is not connected with a plug and play harness. The connections for the buzzer are robustly heat shrinked and screwed as I remember. I will have to see if there is a way that a kit could be built where it would be easy for the end user but even then anyone that can’t fit in the helm may have a hard time installing. I will take this away as an opportunity to research.
 
Wiring question here! How is everyone wiring up their fuse blocks? I have a blue seas fuse block with 6 awg wire and looking at two different ways..positive wire from fuse block straight to my second battery with a terminal fuse block on the battery post with the negative wire connected to the same battery to the negative terminal. 2nd option...wire positive wire from the fuse block to the battery switch and negative wire to 2nd battery negative terminal. Thanks for any help!
 
It's nice and useful to be able to shut power by disengaging the master switch. Unless you have very good reason to bypass this, I suggest you wire the positive to the master switch.
 
It's nice and useful to be able to shut power by disengaging the master switch. Unless you have very good reason to bypass this, I suggest you wire the positive to the master switch.
Ok thank you! So just to get it right have the positive wire from fuse block to a circuit breaker then from breaker to load side of the master switch? Does it matter which battery I hook up the negative wire to?
 
Both batteries should have the grounds connected to each other, so it should not matter which you pick on the ground side. The closer your circuit breaker is to the battery the more wiring is protected by the circuit breaker. (Something to keep in mind as you think of the placement of your components)
 
Back
Top