Plpbecks
Jet Boat Addict
- Messages
- 187
- Reaction score
- 205
- Points
- 102
- Location
- Medina, Ohio
- Boat Make
- Yamaha
- Year
- 2019
- Boat Model
- 242 Limited S E-Series
- Boat Length
- 24
I recently finished making a full enclosure for my 19 242 LSE. This is a project I’ve been planning since before I purchased the boat. The boating season in Ohio is June-Sept. at best, but there are plenty of sunny but “crisp” days in the months surrounding, hence the enclosure. The extended Bimini top on the E series is perfect for this purpose, it extends way back, but perfectly follows the lines of the windshield.
One huge requirement I had in the design of this was that it not require ANY holes to be put into the gel coat, I knew this would mean sacrifices elsewhere, such as being able to run full speed with the curtains on, but again, this is a limited use setup, for a specific purpose. Total cost of materials was around $200, and I did all the work myself on an old ken, so labor was free.
Credit where credit is due: there are a few posts on this and the other forum with others’ custom camper enclosures, and they were a huge inspiration.
From the outside:


Interior Shot:

I’m still using the OEM top cover, all of these panels (4 in total) wrap around the top tube and Velcro back onto itself. The top then goes on right over that and cinches it down even tighter. Here’s a pic before the top was on:

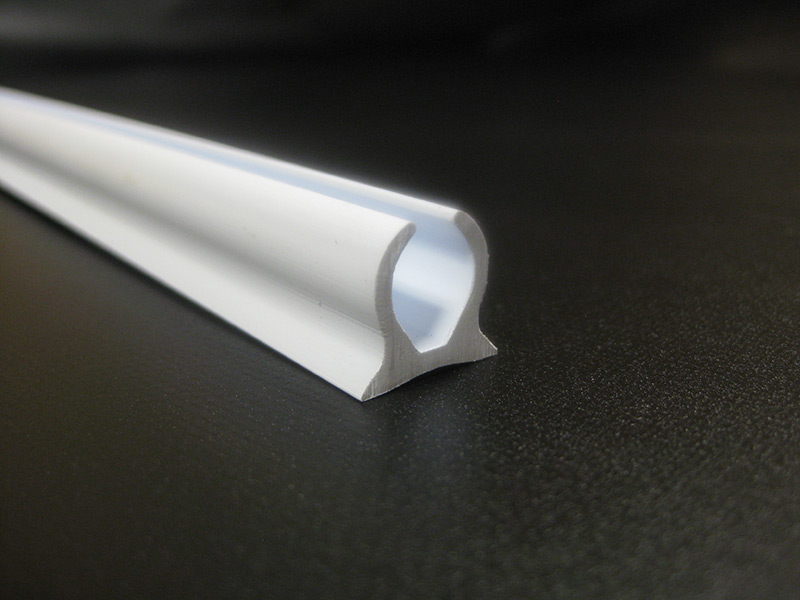
Around the front, I used the Taylor-made plastic inserts in the OEM Taylor made windshield rail and one-way Taylor made snaps. 2” Velcro at fabric to fabric joints, the back relies on tension from a Buckle and strap that loops down to the back cleats. At the back there is an opening near the rear deck due to the “No holes in gel coat” constraint, so I couldn’t snap off to follow to count our like in others’ installs, but it’s low enough that I’m not worried about it.
Hopefully this helps or inspires others!
One huge requirement I had in the design of this was that it not require ANY holes to be put into the gel coat, I knew this would mean sacrifices elsewhere, such as being able to run full speed with the curtains on, but again, this is a limited use setup, for a specific purpose. Total cost of materials was around $200, and I did all the work myself on an old ken, so labor was free.
Credit where credit is due: there are a few posts on this and the other forum with others’ custom camper enclosures, and they were a huge inspiration.
From the outside:


Interior Shot:

I’m still using the OEM top cover, all of these panels (4 in total) wrap around the top tube and Velcro back onto itself. The top then goes on right over that and cinches it down even tighter. Here’s a pic before the top was on:

Around the front, I used the Taylor-made plastic inserts in the OEM Taylor made windshield rail and one-way Taylor made snaps. 2” Velcro at fabric to fabric joints, the back relies on tension from a Buckle and strap that loops down to the back cleats. At the back there is an opening near the rear deck due to the “No holes in gel coat” constraint, so I couldn’t snap off to follow to count our like in others’ installs, but it’s low enough that I’m not worried about it.
Hopefully this helps or inspires others!


